How to Delete Kik Account and Messages on the iPhone: Step-by-Step Guide

Jul 12, 2024 • Filed to: Data Wipe Solutions • Proven solutions
Instant messaging is a great way to send and share thoughts, ideas, and messages in text/images/video form. On the said format, Kik instant messaging service found its way to reach a large user base. With its fast messaging service, it has gained much popularity in no time.
Well, there is a unique twist to its appearance. At first instant Kik messaging service looks similar to other services like Whatsapp, iMessage however, underneath its simple interface, Kik allows contact with strangers or become a member to various groups through its search criteria.
It is quite a well-known fact that getting involved with a stranger is not always impressive all the time. Strangers can be predators that might cause harm to the young mind by sending inappropriate messages or media content. Thus, as a parent, you must keep a check over the usage of your kid’s Kik account, and if you find anything wrong, then you should take stringent action to permanently delete Kik account to ensure the safety of family members.
Hence, to make the process smooth, for you, the article will focus on how to deactivate Kik account, or delete Kik account permanently, and what happens when you deactivate Kik account.
So, stay tuned to learn the process to protect your kids and family members from the treacherous approach of unknown members through Kik account in the sections below:
Part 1. Permanently delete Kik messages/ media/traces in 1 click
It is imperative to understand how to permanently delete Kik messages/media/trails since, any misleading information, notes, or media will attract the young minds more earnestly. So, keeping that urgency in mind, let’s find out how you can delete all the traces of Kik messages or media files from the iPhone device by using Dr.Fone - Data Eraser (iOS).
The software is well-known as the best way to completely wipe out the data related to the Kik account. Thus you can remain assured about kid’s safety from online predators.
Dr.Fone - Data Eraser (iOS) brings you a one-click solution against erasing data files from the device. With a few simple steps, you can safeguard your kids and other family members.
So, what is Dr.Fone - Data Eraser (iOS) and how is it different from other sources or application in task performance. Well, specific points catch our eye.
Dr.Fone - Data Eraser
Permanently delete Kik messages/ media/traces from iOS
- It can erase iOS data permanently to keep your privacy intact.
- It can clear all the junk files to speed up the device
- One can manage large files or other unused data to free up the iOS storage
- Complete data deletion for 3rd party apps such as Kik, Whatsapp, Viber, etc.
- Selective deletion option gives a more extensive choice to delete data category wise.
Now, that you know a bit about the functions of this fantastic software, move on to understand how to permanently delete Kik messages, media, or any of the traces of information using Dr.Fone - Data Eraser (iOS) in the following step by step guideline.
Step 1: Launch Dr.Fone
To permanently delete Kik data, after you have Dr.Fone downloaded, installed, and launched on your PC, from the home page you can go to the Data Erase option.

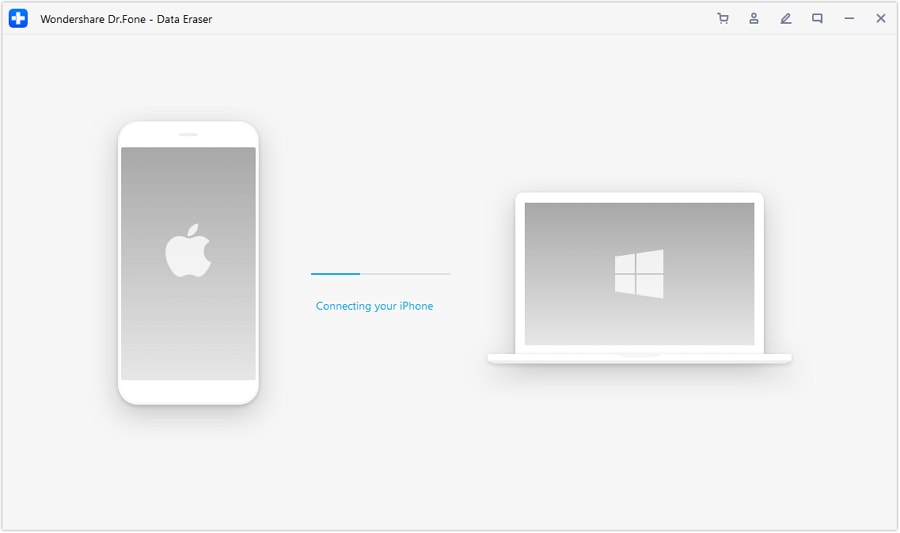
Step 2: Create a connection
In this step, you need to connect your iOS device to the System PC by taking the help of a USB wire, then, from iOS device screen accept the connection as a trusted one.
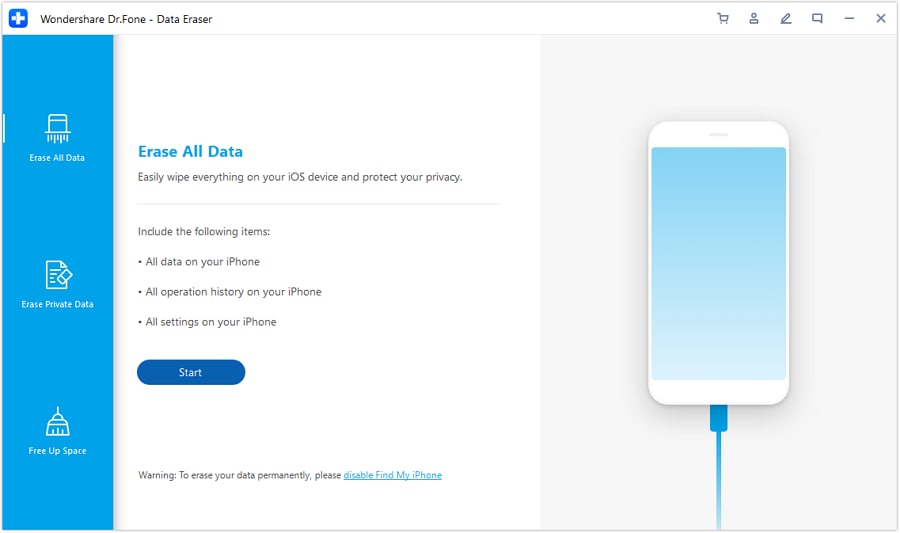
Soon, Dr.Fone will recognize the device and will display options to erase private, all data, or free up space. As, you are looking to delete Kik account data, so, go with Erase Private Data option, available at left side.
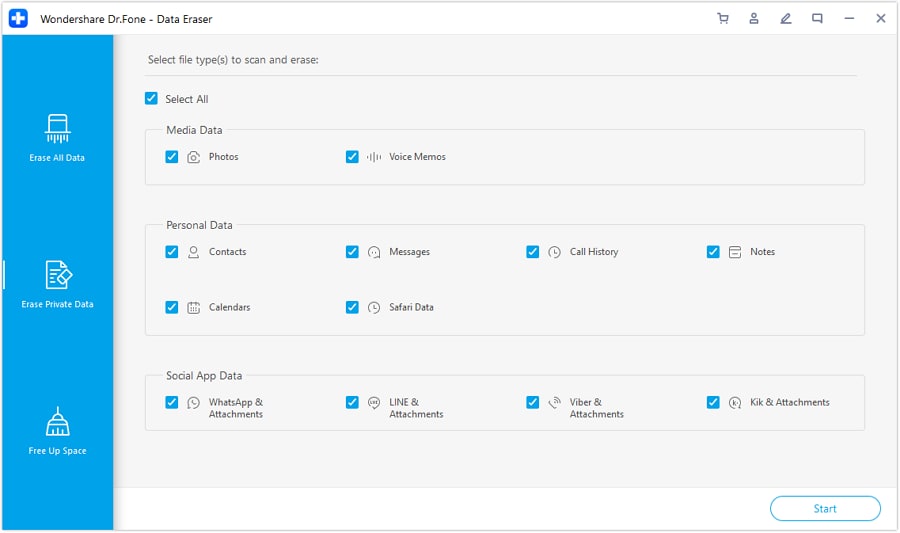
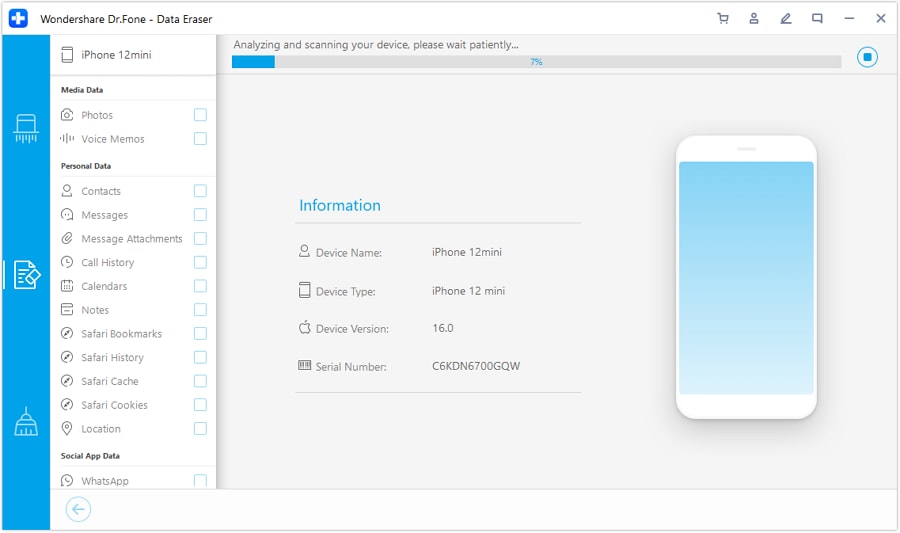
Step 3: Start the scanning of private data
To proceed with the permanent deletion of Kik account data first select the area, you need to scan. Then use the Start button to move further and to examine the iOS device accordingly.
Step 4: Erase data selectively
Once the scanning finishes, preview the data in the scan result. Then select the type of data you want to erase, such as messages, images, videos, or any other information and after that press the “Erase” button.

Note: If you wish to delete the traces of deleted data from iOS device, then check out the option listed as “Only Show Deleted Data.” Select the required ones and press the Erase button.

Step 5: Confirm to Erase
To complete the process, you need to confirm that you wish to delete the Kik data permanently, type “000000” in the confirmation box and press “Erase Now.”
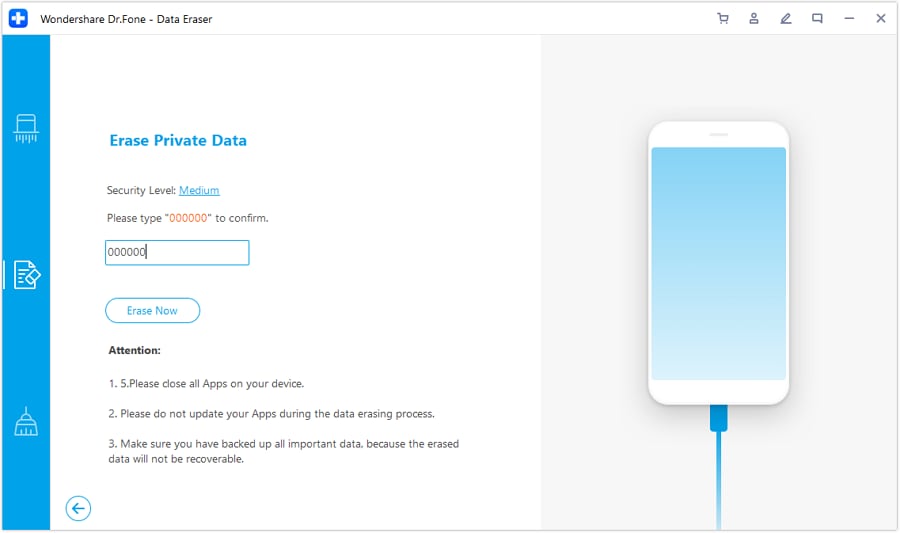
Note: Deletion might take some time, and during the process, your phone will get restarted a few times, no need to worry, as it is under the process and need not disconnect the device from the system.
Soon, you will see the confirmation message on the screen that Kik account data deleted permanently.
Part 2. What happens when you deactivate Kik account?
Have you ever wondered or if this question comes to your mind; what happens when you deactivate a Kik account? If so, then this section will equip you with all the necessary information associated with the outcome of Kik account deactivation.
If you go with the deactivation of Kik account then following outcomes will appear in front of you, let’s have a look over them:
- You will be devoid from accessing or login to Kik account.
- People will not be able to search or find you through Kik
- No notification, message, or email is sent to you.
- The account will be out of the service from any of Kik account benefits.
- Your profile will soon get disappeared from the person you previously chatted with them.
- Your contact list will get empty.
Well, there is a particular criterion under Kik account deactivation, that is, one can choose either to deactivate Kik account temporarily or permanently.

So what happens when you deactivate Kik account temporarily?
- Your contact list and chat are deleted.
- No one can search, contact, or message you, though the previous conversion with them remains safe (If not deleted by either of you).
- You will not receive any email notification, messages, etc.
- You can have the option to activate account later on or retrieve contact list.
Part 3. 2 ways to delete/deactivate Kik account
As, it was discussed previously, you have two options with Kik account deactivation process: You can either deactivate the Kik account temporarily or permanently as per your requirements.
If in future you are willing to reactivate the account the temporary option is the one you need to opt, otherwise can go with the permanent deactivation process.
3.1 Temporarily deactivate Kik account
If for the time being you need to deactivate Kik account for some time only, and at a later date willing to bring back your Kik account then you can choose temporary deletion. So, let’s proceed further to know how to deactivate Kik account temporarily, here is the step guide:
Step 1: Visit the Kik deactivation website
First, you need to visit, either the Kik help center page (https://help.Kik.com/hc/en-us/articles/115006077428-Deactivate-your-account) to get the access to Kik temporary deactivation page

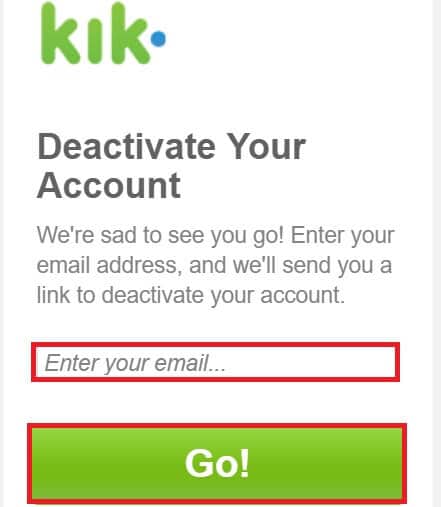
Or directly visit https://ws.Kik.com/deactivate, in this page you need to enter your email id and press “Go” button
Step 2: Open deactivation link
Now, access your email account there you will have deactivation link (Sent from Kik administration), click on that link to deactivate the Kik account temporarily.
3.2 Permanently delete Kik account
Well, if you are not willing to continue with the Kik services and never want to get back to it, then, the option left to you is deleting the Kik account permanently. Doing so will not allow you to bring back the account at a later date.
So, be double sure before proceeding with how to delete Kik account permanently in following steps:
Step 1: Open the Kik website
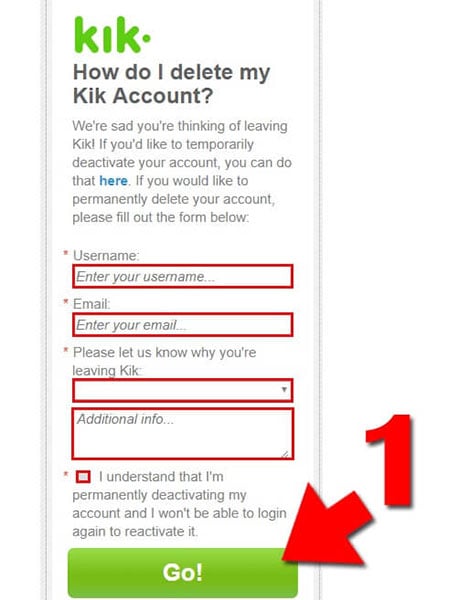
To delete Kik account permanently, you need to visit Kik help center page, there select permanent deactivation option. When you scroll down the page, it will give a link (https://ws.Kik.com/delete) to enter your username, email id and reason to leave the account.
Step 2: Visit your email account
Now, open email account, click on the received link to delete Kik account permanently.
Conclusion:
So, now you must be aware what a Kik instant messaging service is, how it functions, the possible risk associated with it, and how to overcome them by permanently deleting Kik or deactivating Kik account. However, before you perform the deletion task, first erase the traces of data available in the iPhone with Dr.Fone - Data Eraser (iOS). It is the best solution to help you delete Kik account data, messages, media files with complete safety and make sure that no such traces are left out. After that, you can proceed to delete or deactivate the Kik account as per your requirement.


iPhone Erase
- Clear iPhone
- Delete iPhone
- 1. Delete Albums on iPhone
- 2. Delete Apps from iPhone
- 3. Delete Calendar Event on iPhone
- 4. Delete Documents on iPhone
- 5. Delete Email Account on iPhone
- 6. Delete Visited Sites on iPhone
- 7. Delete Music from iPhone
- 8. Delete Snapchat Messages on iPhone
- 9. Delete Songs from iCloud
- 10. Delete Voicemail on iPhone
- 11. Delete WhatsApp Message for Everyone
- 12. Delete WhatsApp Message Permanently
- 13. Delete Downloads on iPhone
- 14. Delete Calendars from iPhone
- 15. Delete History on iPhone
- 16. Delete Snapchat Story/History
- 17. Delete Call History on iPhone
- 18. Delete Kik on iPhone
- 19. WhatsApp Delete Message Tips
- 20. Anti Spyware for iPhone
- 21. Get Rid of Virus on iPhone
- 22. Delete Other Data on iPhone/iPad
- 23. Remove Subscribed Calendar iPhone
- Erase iPhone
- 1. Erase an iPhone without Apple ID
- 2. iPhone Data Erase Softwares
- 3. Remove Cydia from iPhone/iPad
- 4. Erase All Content and Settings
- 5. Erase Old iPhone
- 6. Erase iPhone 13 Data
- 7. Erase Data Old Device
- 8. Erase iPhone without Apple ID
- 9. Empty Trash on iPhone
- 10. Sell My Old iPhone
- 11. Sell A Used Phone
- 12. Safely Sell Used Phones
- 13. Apple Trade in Program
- iPhone Storage Full
- 1. iPhone Cleaners to Clean iPhone
- 2. Clean Master for iPhone
- 3. Clean Up iPhone
- 4. Free Up Storage on iPhone
- 5. Make iPhone Faster
- 6. Speed Up iPhone/iPad
- Wipe iPhone
- Sell Old iPhone
James Davis
staff Editor