Three Solutions to Delete Songs from iCloud

Jul 12, 2024 • Filed to: Manage Device Data • Proven solutions
Apple provides a smart solution for iOS users to keep their data safe and handy. By taking the assistance of iCloud, you can easily upload your songs to the cloud and access them as per your needs. Since Apple provides only 5 GB of free storage, users need to learn how to delete songs from iCloud as well. This allows them to make the most of their iCloud storage. If you also wish to learn how to delete music from iCloud then you have come to the right place. In this guide, we will teach you in three different ways how to remove songs from iCloud.
Part 1: Update iCloud Music Library from iTunes
If you are using iTunes, then you can easily manage your iCloud music library from it. To do this, you need to enable the option of Update iCloud Music library on iTunes. This will connect your iCloud music with your iTunes. After syncing your library, you can directly remove music from iCloud via iTunes. It is pretty easy and will help you manage your music right from iTunes. To learn how to delete songs from iCloud via iTunes, follow these steps.
- 1. Launch an updated version of iTunes on your system and go to iTunes > Preferences.
- 2. If you are using iTunes on Windows, you can access Preferences from the Edit menu.
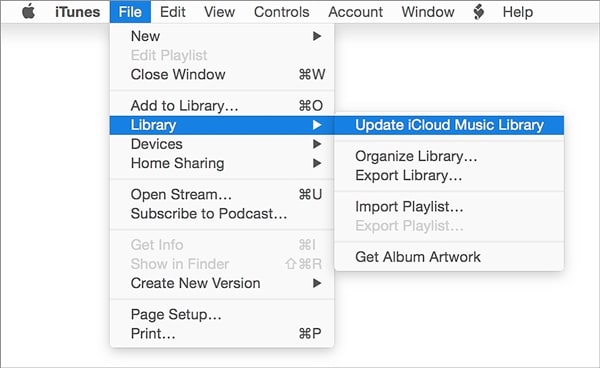
- 3. In some versions of iTunes, you can directly access this feature from File > Library > Update iCloud Music Library.
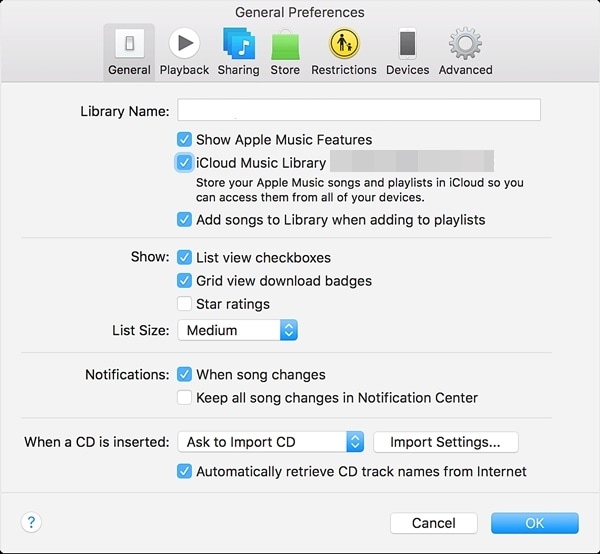
- 4. After opening the Preferences window, go to the General tab and enable the option of “Update iCloud Music Library”.
- 5. Click on the “Ok” button to save your changes and exit the windows.
Wait for a while as iTunes will rescan your iCloud music and make the necessary changes. Afterward, you can delete your iCloud music right from iTunes.
Part 2: Manually rescan your iCloud Music Library to delete music
Sometimes, we need to manually rescan iCloud music library with iTunes in order to delete certain tracks. Even though it is a time-consuming process, it is sure to provide the desired results. You can learn how to delete music from iCloud library by following these steps:
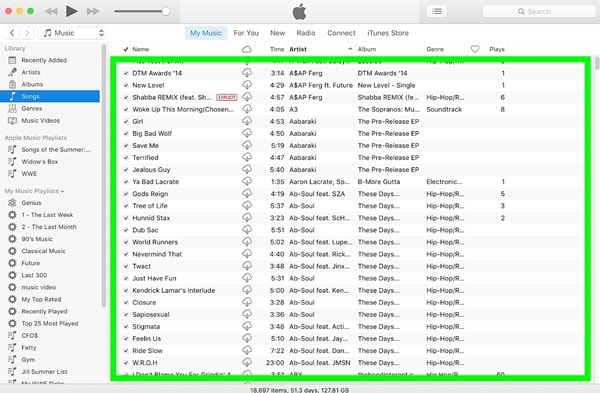
- 1. Launch iTunes and visit its Music section.
- 2. From here, you can select a library and view various songs that are added to the library.
- 3. Simply select the songs you wish to delete. To select all songs, press Command + A or Ctrl + A (for Windows).
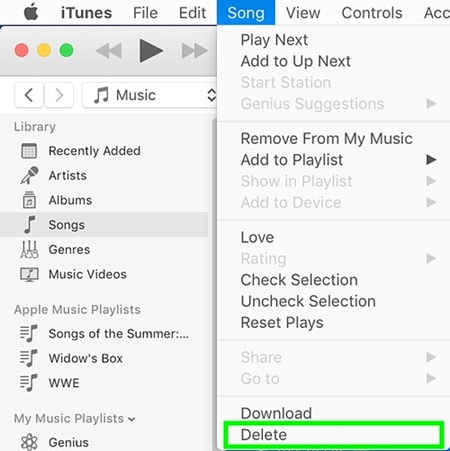
- 4. Now, press the Delete key or go to Song > Delete to remove the selected songs.
- 5. You will get a pop-up message like this. Just confirm your choice by clicking on the “Delete Items” option.
Rescan the iCloud library and wait for the changes to be saved. After following these simple steps, you can learn how to remove songs from iCloud. Since your iCloud library would be in-sync with iTunes, the changes you made in iTunes will be reflected on iCloud as well.
Part 3: How to delete songs on iPhone?
After learning how to delete songs from iCloud in two different ways, you can simply manage your iCloud music library. If you wish to get rid of unwanted content on your iOS device as well, then you can simply take the assistance of a third-party tool like Dr.Fone - Data Eraser. It is a 100% secure and reliable tool that can be used to wipe your phone’s storage entirely. Simply pick the kind of data you wish to remove and follow its easy click-through process.
Compatible with every leading iOS version, the desktop application is available for both Mac and Windows systems. Not just music, it can also be used to remove photos, videos, contacts, messages, and every other data type. Since your data would be permanently deleted, you don’t have to worry about identity theft while reselling your device. After learning how to delete music from iCloud, remove songs from your iOS device as well by following these steps:
Dr.Fone - Data Eraser
Easily Wipe Your Personal Data from Your Device
- Simple, click-through, process.
- You select which data you want to erase.
- Your data is permanently deleted.
- Nobody can ever recover and view your private data.


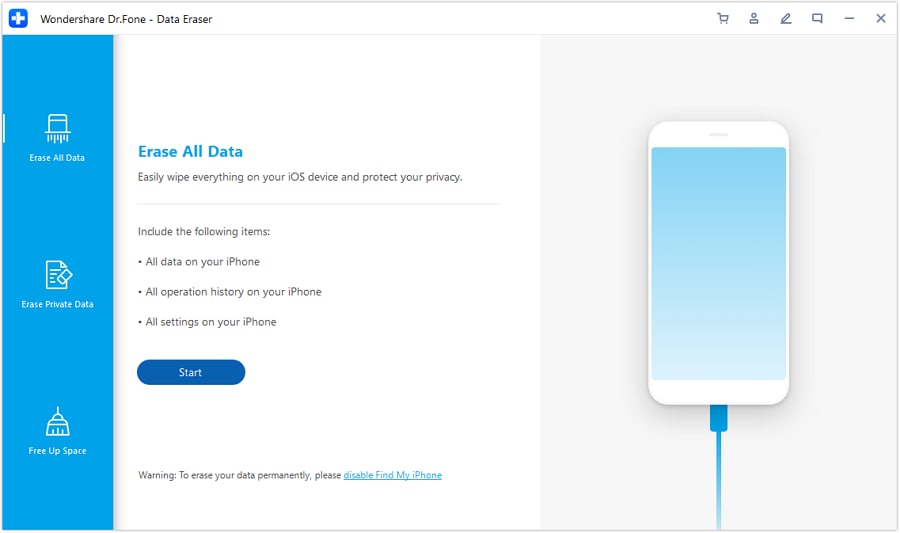
1. Install Dr.Fone - Data Eraser (iOS) on your computer. Launch it and click on the option of “Data Eraser” from the Dr.Fone toolkit home screen.

2. Connect your iOS device to the system using a USB or lightning cable. Wait for a while as the application will automatically detect your device. Click on "Erase Private Data" > "Start Scan" to initiate the process.
3. Wait for a while as the application will scan your device. Make sure that it stays connected to the system as the scanning process takes place.
4. Once the scanning is done, you can view all the data displayed in different categories (photos, notes, messages, and more). Simply visit the data type and select the audio files you want to delete.
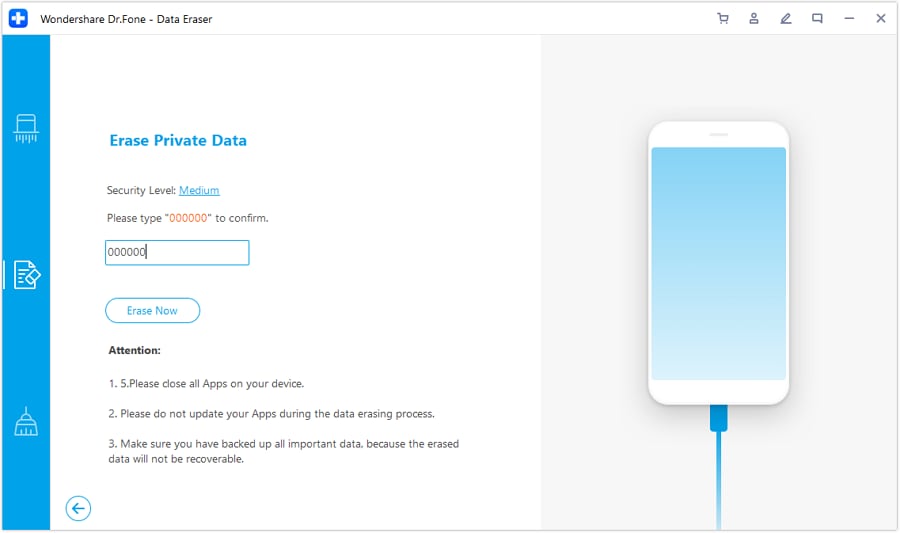
5. After selecting the files, click on the “Erase from the Device” button.
6. The following pop-up message will appear. Simply type the keyword (“delete”) to confirm your choice and click on the “Delete” button.
7. As soon as you click the Delete button, the application will start erasing your selected content permanently.
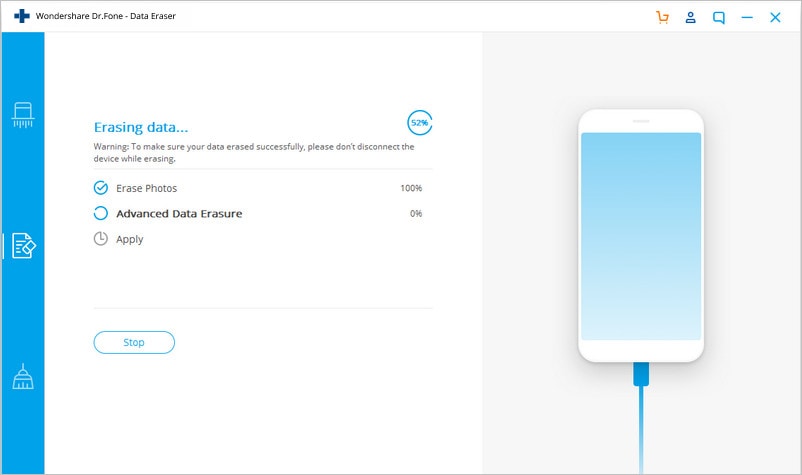
8. After completing the process, you will get a message "Erase completed".
You can simply disconnect your iOS device from the system and use it the way you like. Since your files will be deleted permanently, there would be no way to recover them. Therefore, you should remove your data using this tool only when you have a backup or when you are sure you don’t want it back.
After following these solutions, you would be able to learn how to remove songs from iCloud without any trouble. With so many options, you can easily manage your iCloud music library via iTunes. If you want to get rid of your music from your device permanently, then you can also take the assistance of Dr.Fone iOS Private Data Eraser. Extremely easy to use, it will let you wipe your device with its simple click-through process and that too without causing any harm. Feel free to use it and let us know if you face any setbacks in the comments below.


iPhone Erase
- Clear iPhone
- Delete iPhone
- 1. Delete Albums on iPhone
- 2. Delete Apps from iPhone
- 3. Delete Calendar Event on iPhone
- 4. Delete Documents on iPhone
- 5. Delete Email Account on iPhone
- 6. Delete Visited Sites on iPhone
- 7. Delete Music from iPhone
- 8. Delete Snapchat Messages on iPhone
- 9. Delete Songs from iCloud
- 10. Delete Voicemail on iPhone
- 11. Delete WhatsApp Message for Everyone
- 12. Delete WhatsApp Message Permanently
- 13. Delete Downloads on iPhone
- 14. Delete Calendars from iPhone
- 15. Delete History on iPhone
- 16. Delete Snapchat Story/History
- 17. Delete Call History on iPhone
- 18. Delete Kik on iPhone
- 19. WhatsApp Delete Message Tips
- 20. Anti Spyware for iPhone
- 21. Get Rid of Virus on iPhone
- 22. Delete Other Data on iPhone/iPad
- 23. Remove Subscribed Calendar iPhone
- Erase iPhone
- 1. Erase an iPhone without Apple ID
- 2. iPhone Data Erase Softwares
- 3. Remove Cydia from iPhone/iPad
- 4. Erase All Content and Settings
- 5. Erase Old iPhone
- 6. Erase iPhone 13 Data
- 7. Erase Data Old Device
- 8. Erase iPhone without Apple ID
- 9. Empty Trash on iPhone
- 10. Sell My Old iPhone
- 11. Sell A Used Phone
- 12. Safely Sell Used Phones
- 13. Apple Trade in Program
- iPhone Storage Full
- 1. iPhone Cleaners to Clean iPhone
- 2. Clean Master for iPhone
- 3. Clean Up iPhone
- 4. Free Up Storage on iPhone
- 5. Make iPhone Faster
- 6. Speed Up iPhone/iPad
- Wipe iPhone
- Sell Old iPhone
Alice MJ
staff Editor