
Here're 10 Best Photo/Video Compressor Apps Worth Trying for iPhone
Aug 27, 2025 • Filed to: Data Wipe Solutions • Proven solutions
If you love capturing memories with your iPhone's camera or enjoy sharing them on social media, understanding how to compress a video is essential. The challenge often lies in large file sizes or high resolutions that make saving or sharing media difficult. This can be frustrating when you want to store more photos and videos or upload them online seamlessly.
To tackle this issue, learning how to compress a video on your iPhone can be a game-changer. We've compiled a list of the top 10 photo and video compressor apps for iPhone that you shouldn't miss. By using these apps, you can optimize your storage capacity and make sharing media files easier. Dive in to discover the best way to manage your media effortlessly!
10 best photo compressor apps for iPhone
As stated above, in this section, we shall talk about iPhone photos/video compressor apps that will deal with significant media file issues successfully with their unique compression technology.
So without waiting any more, let's move to learn how to compress a video or photo on the iPhone with the following apps:
1. Dr.Fone - Data Eraser (iOS) [an iOS-space-saver application]
Dr.Fone - Data Eraser (iOS) is the best application to compress photos/videos on the iPhone without losing the quality. Thus, it is the leading source to easily and comfortably compress media files. Dr.Fone - Data Eraser (iOS) optimizes the performance of an iOS device and enhances its storage capacity.

Dr.Fone - Data Eraser
Compress photos on iPhone without losing quality
- It is capable of managing large media files and saves the iOS device space.
- It can clear additional data, junk files, and compress photos to enhance iPhone processing.
- It can export as well as backup the large files.
- It has selective as well as full data erase facility to keep privacy intact.
- You can manage the data from third-party apps, too, such as Whatsapp, Viber, Kik, Line, etc.
Now, here is the step-by-step guide to compress photos on iPhone with Dr.Fone - Data Eraser (iOS)
Step 1: Launch Dr.Fone toolkit
After downloading and installing the software, you need to launch Dr.Fone interface to choose the Erase option.

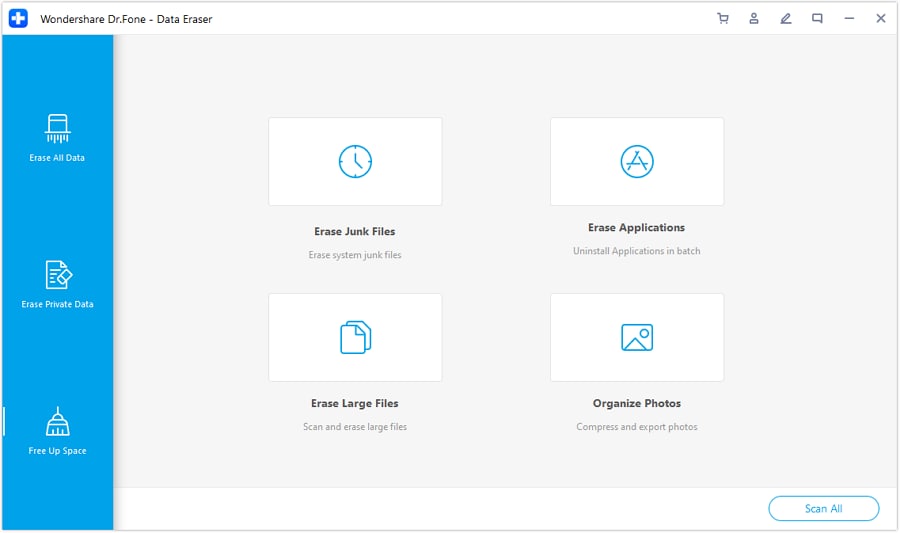
Step 2: Select to Organize Photos
In the next page, from the left section, go with “Free Up Space.” Then, click on Organize Photos.
Step 3: Lossless compression
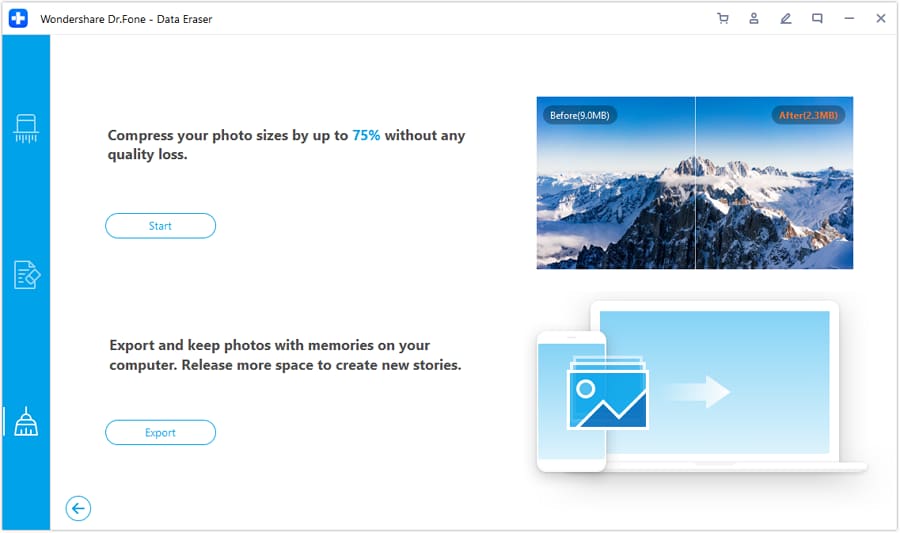
Now, you will see two options, from there go with Lossless Compression and press the Start Button.
Step 4: Make a selection of photos to compress
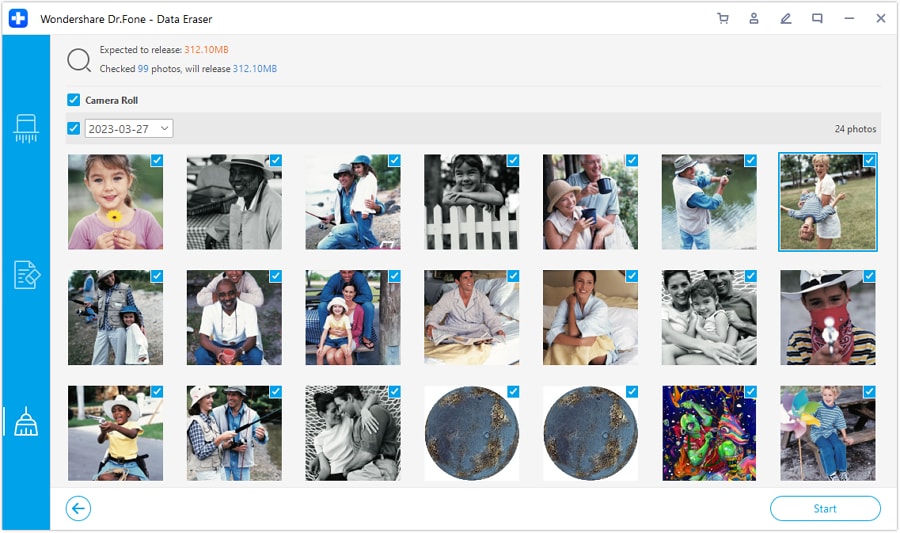
Once the software detects the images, select a particular date, and choose the pictures that you want to compress. After that, click on the Start button.
This way, you can comfortably compress images on your iPhone.
2. Photo Compress- Shrink Pics
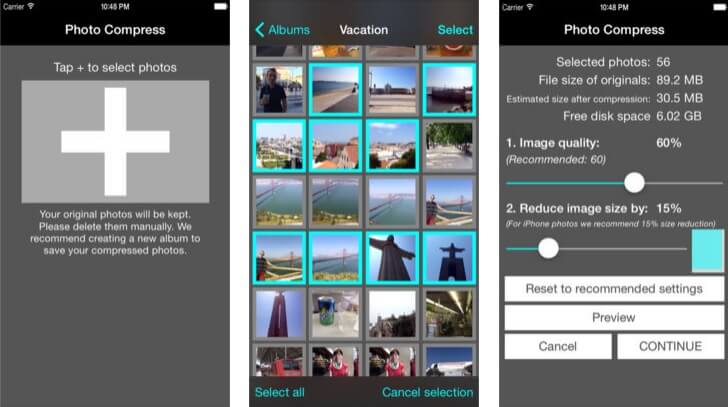
This photo compressor app quickly reduces the size of pictures on your iPhone so that you have enough space to save any critical files. Its services are free for iPhone users. Its high-quality compressed size images can be shared on social media platforms like Whatsapp, Facebook, iMessage, and others.
URL: https://itunes.apple.com/us/app/photo-compress-shrink-pics/id966242098?mt=8
Pros:
- It can compress images in bulk.
- Its preview function helps in image quality and disk space availability after the conversion.
- You can customize the image size.
Cons:
- It is compatible with JPEG format only.
- Its bulk compression option is time-consuming.
- It has limited features for the free version.
Steps:
- Download and launch application.
- Click on the + sign to add photos.
- Select the pictures and continue the action. Then preview the images and finish the task.
3. Resize Photos
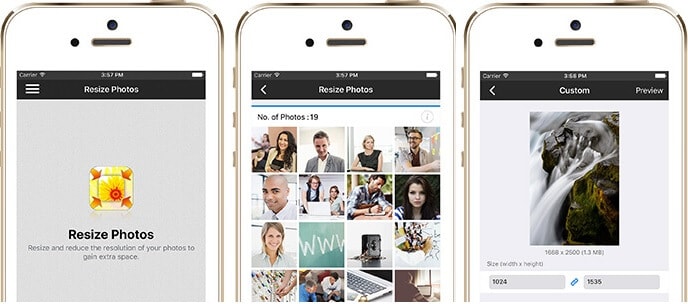
Do you want to resize photos so that they fit your requirement? Try the photo compressor app called “Resize Photos.” It is an excellent way to release extra space occupied by the images and thus save more space for the iPhone.
URL: https://itunes.apple.com/us/app/resize-photos/id1097028727
Pros:
- It can resize images with quality maintenance.
- It has preset dimension values for easy selection.
- Batch resize is possible.
Cons:
- It can only resize the image resolution, and not compress images.
- It is compatible with iOS 8 or later versions only.
Steps:
- Launch the tool and click on the Resize icon to select the images.
- Choose the recommended settings and then the resolution.
- Lastly, confirm the action.
4. PhotoShrinker
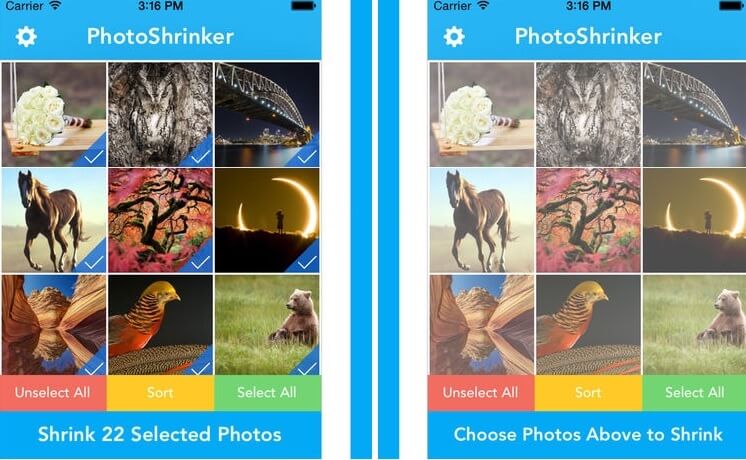
PhotoShrinker is a smart app to compress photos on iPhone, to one-tenth of its original size. Thus, it gives you a vast space to carry more data and files on your device.
URL: https://itunes.apple.com/us/app/photoshrinker/id928350374?mt=8
Pros:
- It helps reduce photo size up to a great extent.
- It provides a full preview function.
- It optimizes photos to keep the quality of the images unchanged.
Cons:
- No free version.
- You can delete only 50 images at one time.
Steps:
- First, launch PhotoShrinker.
- Then, from page end, click on the Choose Photos option.
- Finally, confirm to shrink selected images.
5. Resize image
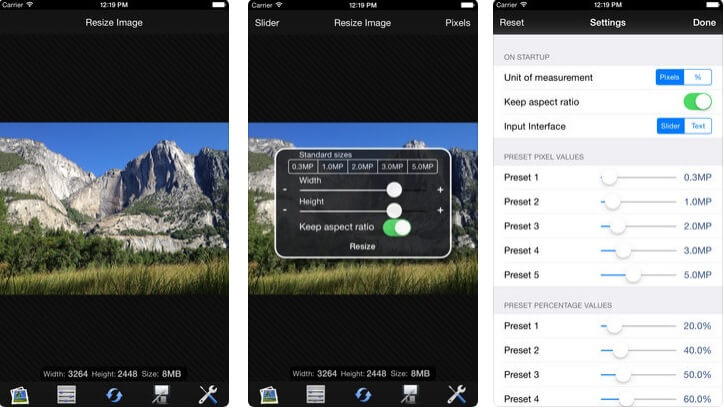
It is one of the widely used photo compressor apps that makes the image resize process quite simple with its preset standard sizes.
URL: https://itunes.apple.com/us/app/resize-image/id409547517?mt=8
Pros:
- You can comfortably convert large image to a small size in quick mode.
- It has easy to access interface with sharing option on Twitter, Facebook, etc., directly.
- Users are given both free and advanced versions as per their requirement.
Cons:
- The free version is equipped with Ads.
- It works for only iOS 8.0 or later versions.
Steps:
- First of all, open the application and add the images.
- Now, choose the standard size, and make necessary settings.
- Lastly, to complete the process, click on Done.
6. Pico – Compress Photos
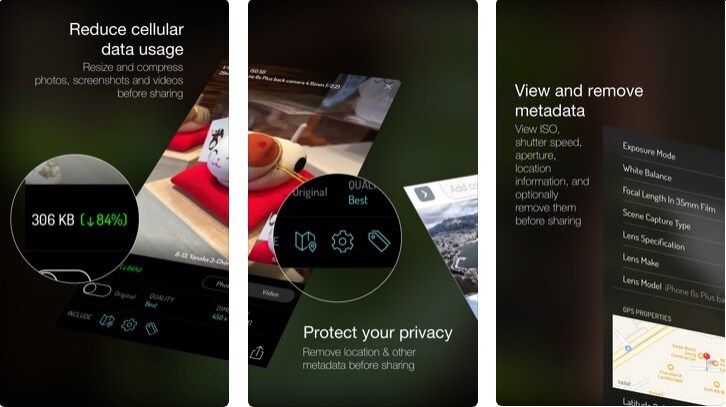
Pico photo compressor App assists you to compress your photos, as well as videos so that you can share them without compromising on the device data and space/size issue.
URL: https://itunes.apple.com/us/app/pico-compress-photos-view-exif-protect-privacy/id1132483125?mt=8
Pros:
- You can check the compression and sharpness detail of compressed images/videos in the final preview.
- You can compress and also share the media file.
- You can optimize the dimension setting to enhance quality. D: It allows seeing the metadata information.
Cons:
- Some users complain about the app crash issue.
Steps:
- Download the Pico photo compressor app.
- Allow installation from third-party apps.
- Locate Pico .apk file from either browser location or file manager.
- Follow the installation process, and then start the process.
- Lastly, add media file to compress.
7. Video Compressor- Shrink Videos
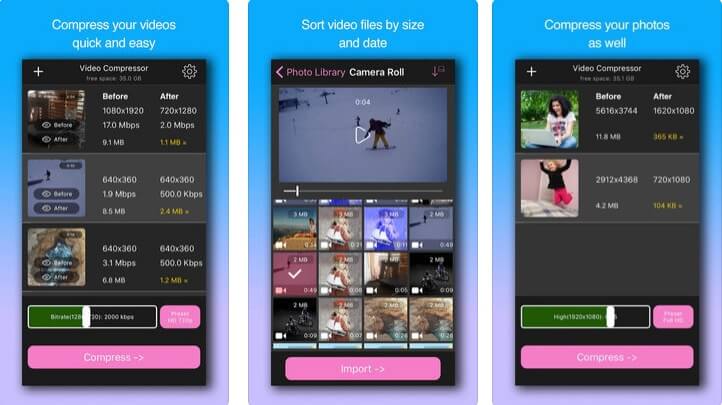
This video compressor provides a stable platform to compress both your videos and photos up to 80% of its size. It can quickly identify the large files and can help you compress media files in batch.URL: https://itunes.apple.com/us/app/video-compressor-shrink-videos/id1133417726?mt=8
Pros:
- It can decrease the size of the media file by 80%.
- It can compress both photos and videos.
- You can compress multiple photos/videos at one shot.
Cons:
- The free version has add-ons.
- It does not for work for 4k resolution.
Steps:
- To start, open the Photo Compressor App.
- Click on the + sign from top left to add the media files.
- Select the videos or photos and define the resolution.
- At last, press the Compress button to complete the process.
8. Video Compressor- Save Space
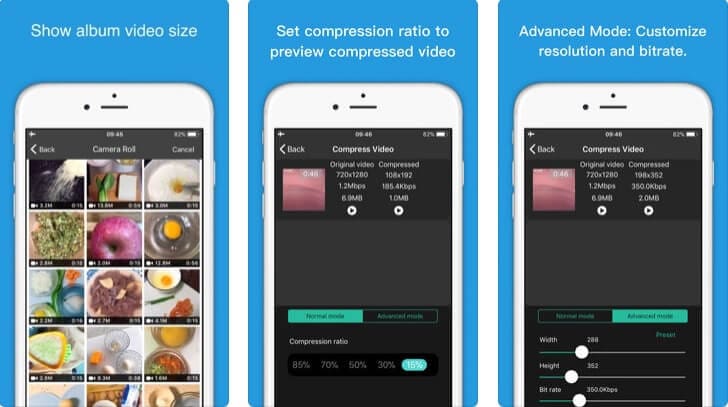
If you are aiming for a good video compressor app with various customization options, then you should try the “Video Compressor- Save Space.” It comes with some exclusive features to compress videos for iPhone or other iOS devices in a fast manner.URL: https://itunes.apple.com/us/app/video-compressor-save-space/id1422359394?mt=8
Pros:
- You can customize details such as bitrate, resolution, etc.
- It helps definethe compression ratio.
- You can preview the quality of the media file before compression starts.
Cons:
- It supports only iOS 8.0 or later versions.
- It is suitable for video conversion only.
Steps:
- Start by launching the application and selecting the videos from camera roll.
- Then, adjust the compression ratio or other settings.
- Lastly, Compress the videos.
9. Smart Video Compressor
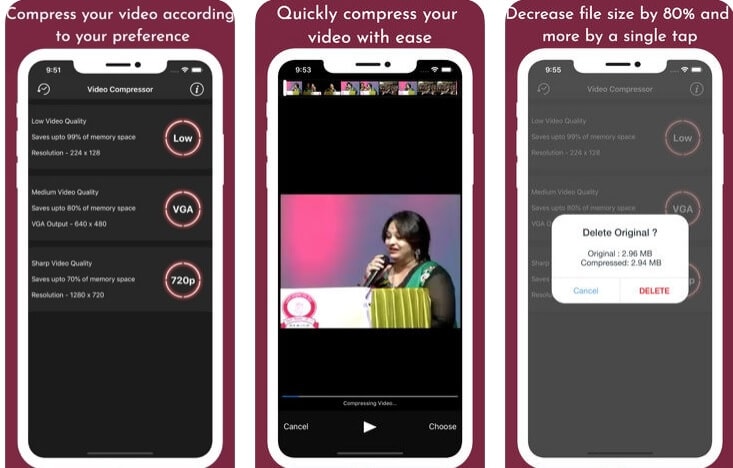
As the name suggests, this video compressor application is a smart way to compress and organize your videos.
URL: https://itunes.apple.com/us/app/smart-video-compressor/id983621648?mt=8
Pros:
- It can compress the video to reduce the size by 80% or more.
- Its mute Volume option adjusts the sound settings of the video.
- It can retain the metadata information, and there is no time limit.
Cons:
- It supports only MPEG-4, MOV file formats.
- You will get constant in-app purchases notifications and add-ons in its free version.
Steps:
- First, launch the Smart Video Compressor to select videos from your library.
- Now, resize them and collect the final compressed videos from “Compressed Videos Album.”
10. Video Compressor – Shrinks Vids
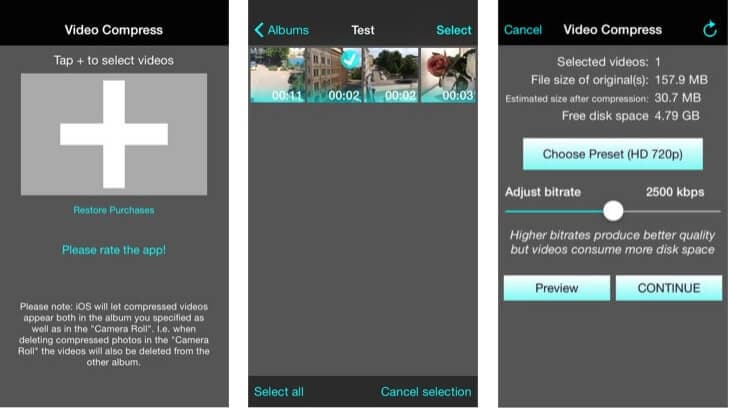
This video compressor app is a great way to compress videos since it provides with a myriad of options for compressing them like resolution setting, preview function, and much more.
URL: https://itunes.apple.com/us/app/video-compress-shrink-vids/id997699744?mt=8
Pros:
- It supports, single, multiple as well as complete album compression.
- Its preview function checks image quality apart from the available disk space.
- It works well with 4K videos too.
Cons:
- You need to pay additional charges to get rid of ads.
- It is compatible with iOS 10.3 or later versions only.
Steps:
- To start, open the app, click on plus (+) sign
- Then, select the videos for compression.
- Now, select the resolution or preview the quality and finally, compress the selected videos.
Conclusion
So are you ready to watch videos or photos on your iPhone without worrying about low storage issue or big file size? Well, we hope you now have an idea about how to compress a video on iPhone and enough information on the ten best photo compressor apps.
Lastly, we would also like to reiterate the fact that of all the above-listed apps, Dr.Fone - Data Eraser (iOS) will give you the best user experience for both photo and video compression process.
So, try today and share with us your valuable feedback!
iPhone Photos
- Convert HEIC to JPG
- 1. Convert HEIC to JPG on Linux
- 2. Convert HEIC to JPG Windows
- 3. Best HEIC Converter Online
- 4. Convert HEIC to JPG High Quality
- Export iPhone Photos
- 1. Upload iPhone Photos to Google Drive
- 2. Transfer Photo from iPhone to PC
- 3. Transfer Photo from iPhone to iPhone
- 4. Transfer from iPhone to iPhone
- 5. Transfer from iPhone to iPad
- 6. Move iPhone Photo to External Drive
- 7. Transfer from iPhone to Flash Drive
- 8. Extract Photos from iPhone
- 9. Download Photo from iPhone
- Import Photos to iPhone
- 1. Transfer from Laptop to iPhone
- 2. Transfer Photo from Camera to iPhone
- 3. Transfer Photo from Mac to iPhone
- 4. Transfer Photos from PC to iPhone
- 5. Transfer from iPhone to PC
- 6. Transfer from Android to iPhone
- 7. Transfer from Samsung to iPhone
- Manage iPhone Photos
- 1. Back up iPhone Photos
- 2. Get Photos off iPhone
- 3. Send Large Size Photos from iPhone
- 4. Photo/Video Compressor Apps
- 5. Delete Photos from iPhone/iPad
- 6. iPhone Photos Disappeared Suddenly
- 7. iPhone Photoshop Alternatives
- Recover iPhone Photos
- 1. Restore Deleted Photos from iPhone
- 2. Recover Photos from iPod Touch
- 3. Recover Deleted Picture from iPhone
- Transfer iPhone Photos to Mac
- Transfer iPhone Photos to PC
- 1. Transfer Data from iPhone to PC
- 2. Transfer Photo to Computer
- 3. Transfer Photo to PC without iTunes
- 4. Transfer Library to Computer
- 5. Send Photo from iPhone to Computer
- 6. Import Photo from iPhone to Windows
- 7. Transfer Photo to Windows
- Transfer Photos from Google Drive
- 1. Download from Google Drive to iPhone
- 2. Transfer from Google Photo to iPhone
- 3. Download from iCloud to iPhone
- Transfer Photos to Google Drive
- Image Convert Tips
- ● Manage/transfer/recover data
- ● Unlock screen/activate/FRP lock
- ● Fix most iOS and Android issues
- Learn More Learn More


James Davis
staff Editor