Permanently erase all iOS & Android data—completely unrecoverable.

 100% Security Verified | No Subscription Required | No Malware

 :
: 
 ChatGPT
 Perplexity
 Gemini
 Claude
 Grok
Grok
Deleting data from iOS devices is definitely not as straightforward as dragging and dropping files on an Android device. There are specific protocols and steps that need to be followed to ensure the data is permanently and safely removed. For legacy and modern Apple media players, the most commonly used software to delete, restore, and organize content is iTunes.
Whether you are planning to sell your device, give it away, or simply want a fresh start to free up storage space, understanding the exact process for your specific model is crucial. Let's take an in-depth look at the easiest and most reliable steps on how to clear data from iPod Nano, iPod Shuffle, iPod Classic, and iPod Touch.
In this article
Part 1. How to Clear Data from an iPod Nano
The best possible option to clear data from an iPod Nano is to clean the device completely by connecting it to iTunes on your computer. This method ensures that the file system is properly reformatted and all previous user data is safely overwritten.
The first step is to download and install the latest version of iTunes on your PC or Mac. Once installed, connect your iPod Nano to the computer using a compatible USB cable. When your device is successfully detected, iTunes will display the iPod management screen. From the main summary panel, simply click on the "Restore iPod" option.
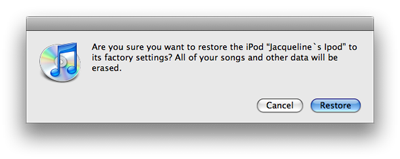
A pop-up warning will appear asking you to confirm if you truly wish to restore your device to its factory settings. Since our goal is to wipe the device, go ahead and click "Restore". In some cases, another pop-up might prompt you to update the device software to the latest version if it isn't currently up to date.
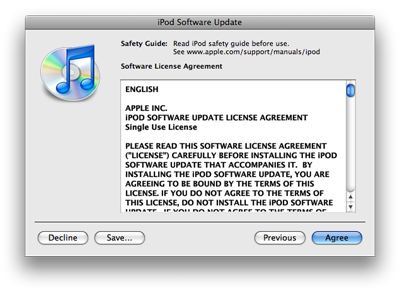
Click on "Agree" to accept the terms and proceed with updating the device's software. The system may also prompt you to enter your Apple ID and password for security verification during this step.
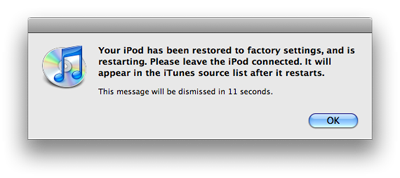
Later in the process, iTunes might prompt you to automatically sync or restore old songs and photos. To keep the device clean, simply uncheck those boxes and click on "Done". Within a few minutes, iTunes will delete all data from your iPod Nano, leaving it as good as new.
Part 2. How to Clear Songs from an iPod Shuffle
Deleting songs from an iPod Shuffle is relatively much easier than wiping an entire iPod Classic, Touch, or Nano. Because the Shuffle is strictly an audio player without complex app data, you can selectively target individual tracks.
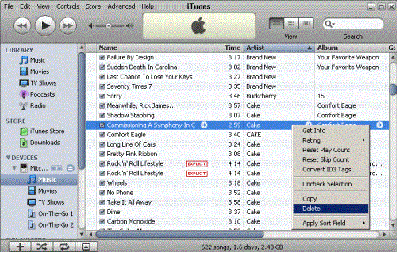
To delete songs from an iPod Shuffle, connect it to a PC that has iTunes installed. iTunes will recognize your device in a few seconds and display it in the sidebar. Next, navigate to the device's music folders. From there, you can easily delete unwanted songs one by one or select them all to delete them simultaneously.
 Effortlessly manage data through preview, delete, export, etc.
- Transfer all data between devices.
- Robust backup solutions for reliable data protection.
- Mirror screens to PC for meetings, teaching, and control.

Once your iPod Shuffle is connected, using a dedicated device manager allows you to bypass the often clunky iTunes interface. A robust tool can help organize your media library while giving you absolute control over what stays and what goes, making data management remarkably straightforward.




Part 3. How to Clear Data from an iPod Classic
Similar to the Nano, the most effective option to clear data from an iPod Classic is by connecting your device to iTunes on your computer. Because the Classic contains a physical hard drive rather than flash storage, a proper software restore is highly recommended to ensure no corrupted files are left behind.
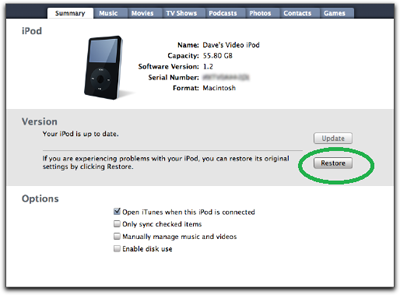
Once you connect your iPod Classic to your PC, iTunes will detect your device in a few seconds. Click on the device icon near the top left, then click on "Summary" in the side panel. After that, click on the "Restore iPod" button. The restoring process will initiate, and all the content on the device's internal hard drive will be systematically erased.
Part 4. How to Clear History on iPod Touch
When selling, donating, or exchanging old smart devices for new ones, completely deleting the data from the old device is considered the most critical security task. Unlike legacy iPods, the iPod Touch runs iOS, meaning it stores highly sensitive personal data like browsing history, cached app data, messages, and emails. Standard deletion methods often leave traces behind. There are very few trustworthy software programs that can permanently delete data from iPod, iPad, iPhone, and other iOS devices beyond standard recovery.
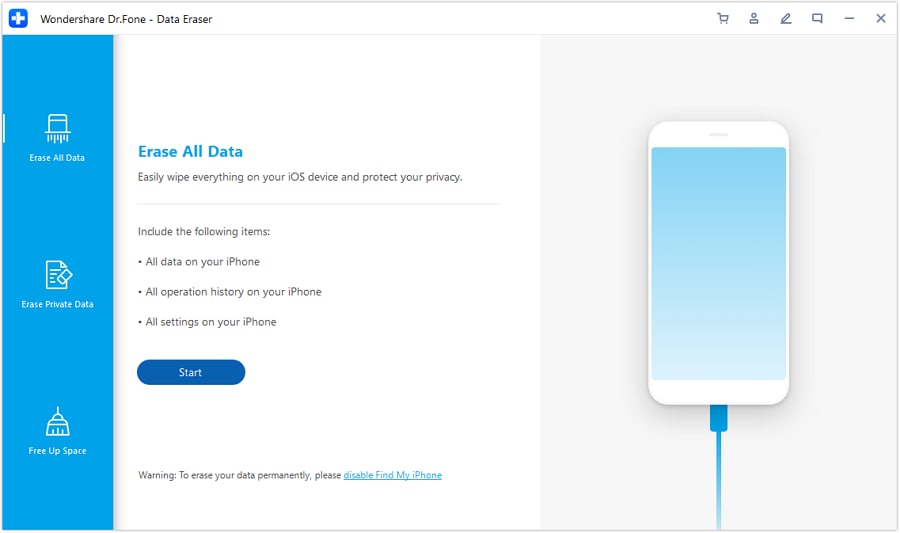
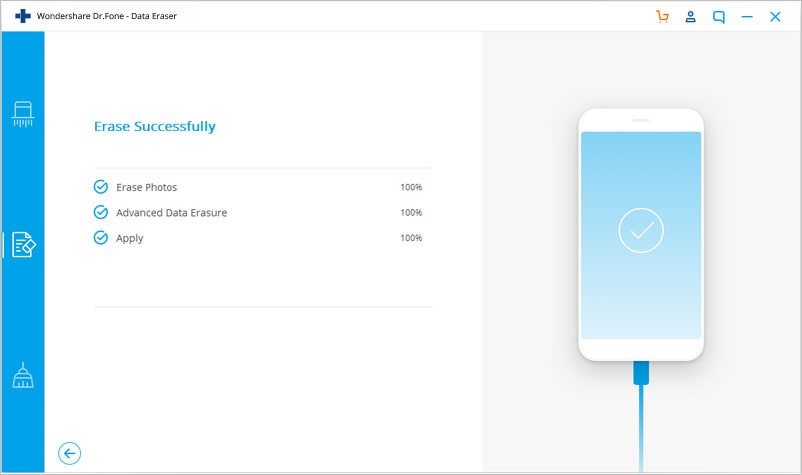
Wondershare Dr.Fone - Data Eraser is the best option that can help you prevent identity theft after selling your old tablet PC or smartphone. As mentioned earlier, the software permanently deletes all the data from iOS devices and makes it impossible to recover anything later.
- Permanently erase all data on iOS & Android — completely unrecoverable.
- Military-grade wiping to fully protect your privacy.
- Generate verified erasure reports to boost device resale value.
- Selectively erase private data and remove junk & large files.
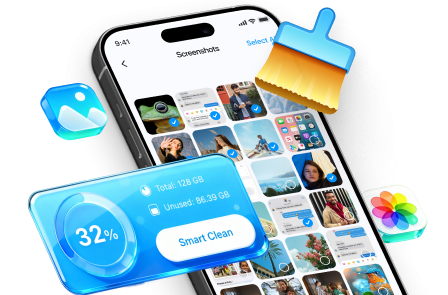
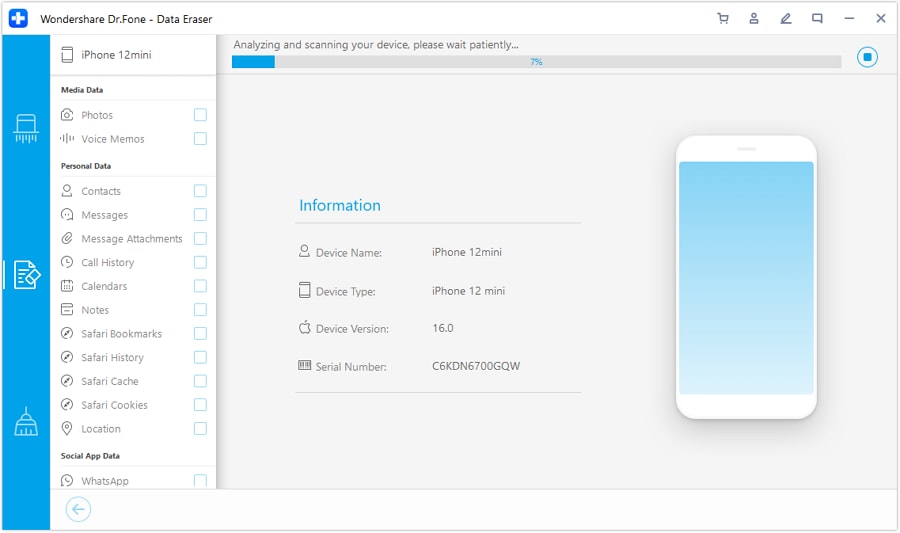
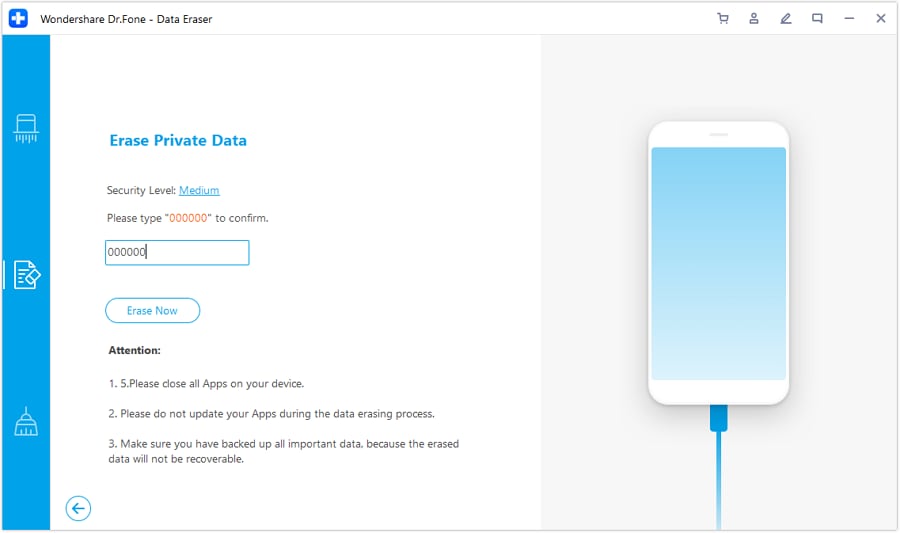
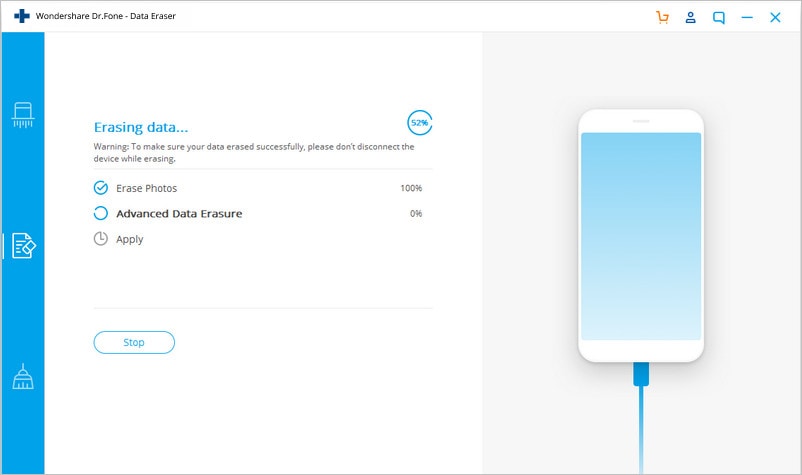
It meets several stringent permanent data deletion standards, including Mil-spec DOD 5220 - 22 M. From browsing history and private photos to cached files in various formats, Dr.Fone - Data Eraser securely deletes everything from your device. It is also an excellent tool to free up storage space instantly, clear out junk files, and compress large media assets.

 Add Wondershare Dr.Fone as a preferred source on Google