Full Tutorial to Fix iPod Not Charging 2026
Feb 11, 2026 • Filed to: Phone Repair Solutions • Proven solutions
Apple iPods are frequently in business settings, with many employers allowing their use. When an iPod is connected to a computer, it can charge. On rare occasions, a glitch arises that prevents your iPod from charging correctly.
There could be numerous causes for such a situation. The possibilities are many, from a dusty charging port to an incomplete power outage. However, we've collected a list of the most plausible causes that could result in iPod won't charge. Continue reading to learn about these causes and some of the most effective solutions to this problem.
Part 1: Why Doesn't My iPod Charge?
- The iOS bugs
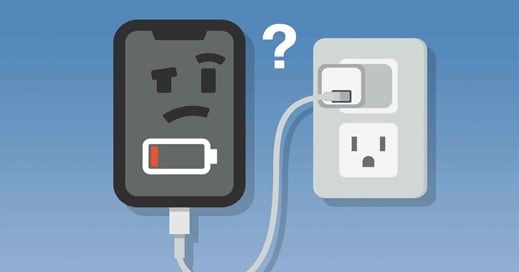
Has your iPod been working perfectly for the previous few weeks? It may be abruptly shut down, and the iPod couldn't charge. If this is the case for you, the most likely explanation is that your operating system is faulty.
A software issue may prevent your iPod classic not charging; you can try a hard reset to see if this resolves the problem.
- Battery problems
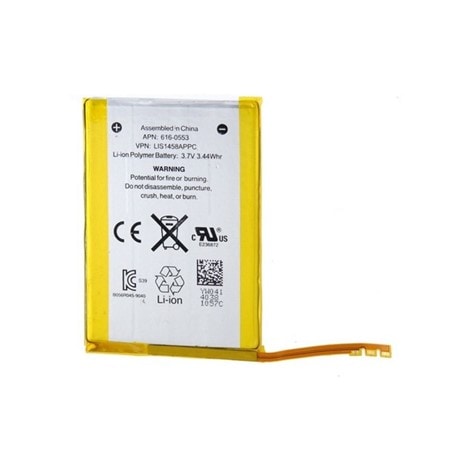
It is a serious possibility if you last used your iPod long ago. You should expect the power pack to be at 0%, preventing your iPod from charging or turning on. If the old one is no longer functional, purchase a new battery from Apple. If your battery fails to capture despite your best attempts, it may be too old and drained to function.
You can mail in your iPod and receive a replacement battery or iPod for a small cost using Apple's iPod Out-of-Warranty Battery Replacement Program (see Resources).
- Charging accessories issues
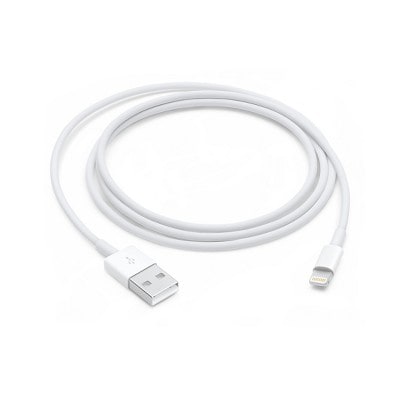
Your iPod may not charge properly due to hardware issues. A problem with the cable adaptor may prevent your iPod from charging correctly. Inspecting the cable for cuts, frays, and damaged connectors can aid in determining the issue.
In addition, to rule out a problem with a specific USB port, connect your iPod to a separate connection on your computer. If the problem persists, it could be a problem with your iPod's connection port.
Part 2: Preliminary Checks If iPod Not Charging
1.Check if the charging accessories are damaged
Why iPod won't charge? It can be answered using an old, worn-out cable or a USB converter. To begin, ensure that the charging tools used are new and undamaged. Check that the cable or adapter is not burned or broken.
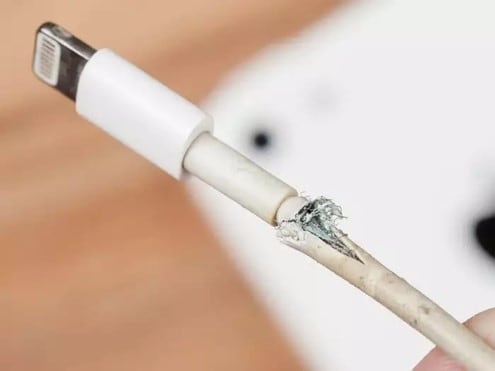
The best way to check for damage on a charging cable or USB adapter is to use it on another iOS device. It can help you determine the root source of the problem. You can proceed to the following stage if the tools successfully charge the other iOS device. Otherwise, go to the nearest Apple store and obtain a new charging cable and USB adaptor.
2.Clean the dirt on your iPod charging port
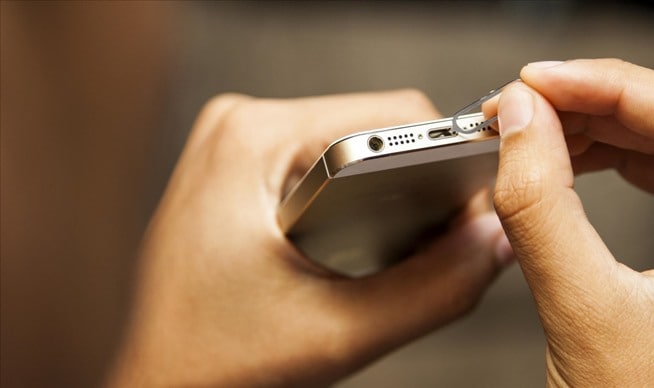
Charging ports are little more than dust collectors. You never know how much dust, sand, or debris clogs up those openings. This dust can sometimes be irritating and is a common cause of your iPod 6th generation not turning on or charging. Here's how to effortlessly remove all of this unwanted dust from your ports:
- Get a little tool that fits easily into the iPod's charging connector. A toothpick, paperclip, or pushpin may be the finest tools.
- After you've finished the tool, carefully place it into the port and dig around it. Try not to use excessive force on the port's inside.
- Stick the pin to the port's bottom and go around the oval shape a few times.
- Pull the pin out, and the dust will come with it.
3.Try a wall power outlet
Third, try using a direct wall power outlet instead of an extension. Sometimes the issue is with the power outlet rather than the gadget itself. Wall outlets are far more efficient and secure than other power outlets. So it is likely that this will solve your iPod won't charge problem.
4.Charge your iPod for more than 1 hour
After that, try plugging it in and leaving it for a time. Perhaps your iPod needs a jump start to start up. Give it only that! Half an hour is ideal for an iPod to switch on without difficulty. During this period, do not keep pressing the power button. Leave it alone for the time being, and you can retrieve your iPod with minimal effort.
Part 3: 4 Helpful Solutions to Fix iPod Not Charging
1.Force restart your iPod
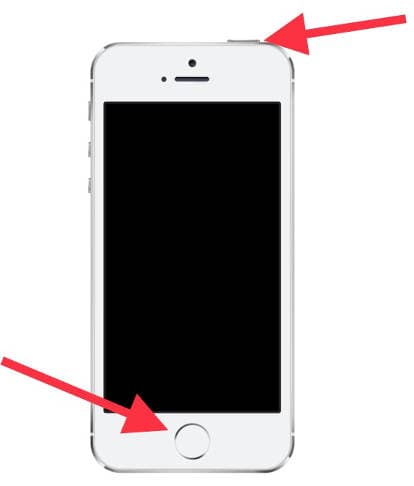
It is another DIY method for iPod not charging. If your iPod 6 won't turn on or charge, one of the first things you should attempt is a forced restart. A force restart allows you to power up your device without too much load on the battery, as an average start-up would.
All minor system flaws can be resolved with a forced restart. If there is enough battery life left, your iPod should be able to power on during a forced start. To force restart your iPod, follow these procedures.
- Hold down the power and home button on your iPod.
- After 15 seconds, you should see the Apple logo on your screen.
- If the Apple logo does not appear within 15 seconds, hold them for up to one minute.
- Wait for the iPod to switch on after that.
2.Update your iPod to the latest iOS version
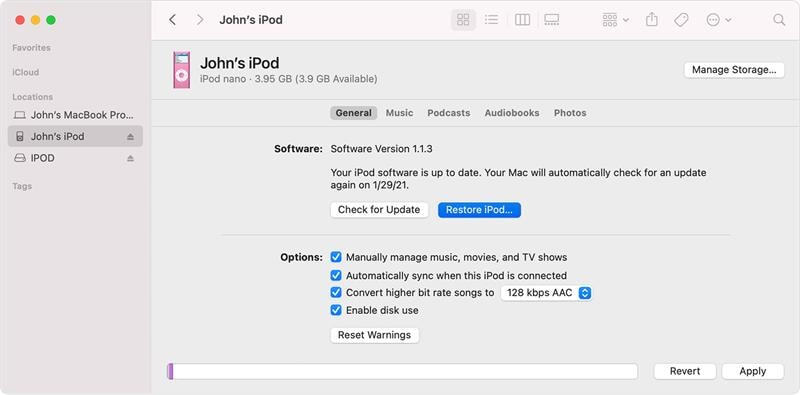
Is your operating system up to date? It can also cause a variety of problems like iPod classic not charging at times. So check your iPod for the most recent upgrades. The steps are as follows:
- Connect your iPod to your PC with the USB cable, launch iTunes, and select the "iPod" tab in the left column. Then, select the "Update" option to locate and install the most recent iPod software.
- Apple recommends that you keep your software up to date to keep your battery life properly optimum.
3.Dr.Fone-System Repair
Still, need help fixing iPod not charging? Don't give up just yet! There is one more trick that will undoubtedly help you retrieve your iPod. The system may cause the problem, and you cannot resolve it directly. In that situation, you'll need to use a third-party app, such as Wondershare Dr.Fone-System Repair - the best iOS system repair software.
Wondershare Dr.Fone-System Repair is a simple piece of software that can repair all system issues on all iOS devices, including the iPod Touch. Follow these steps to quickly and easily get your iPod up and running!
Steps:
Step 1: Start Dr.Fone on your PC once the installation has been completed. On the homepage, click the drop-down menu and choose "System Repair."

Step 2: Following that, you must identify the kind of smartphone you are fixing. Since iPhones are involved, select "iOS".

Step 3: When you reach a new screen, select "iOS Repair" to fix the system issues with the iPhone.

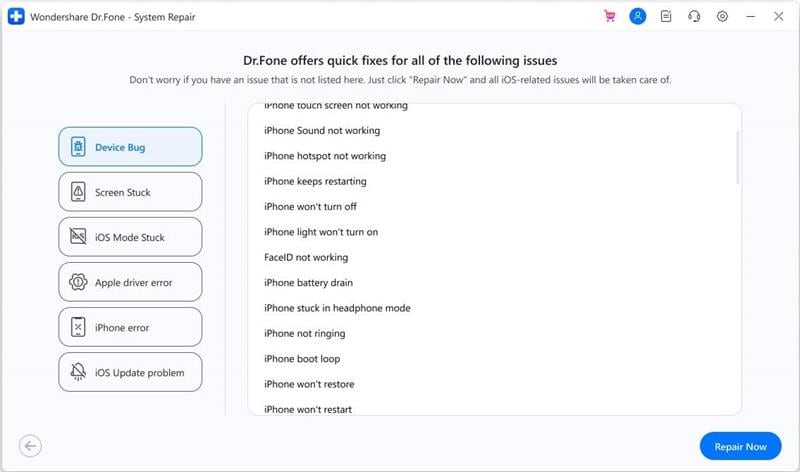
Step 4: You can still choose "Repair Now" to begin the recovery procedure even if your device's iOS system issue is not listed.
Step 5: From the two options, select "Standard Repair" to start the iOS repair. This mode will make an attempt to repair your iOS device while safeguarding all of your data.

Step 6: Recovery Mode must be launched on your iOS device. Prior to starting this process, you must have confidence in the computer. As a result:
- Connect the device to the computer with a USB cord, then enter the lock screen password.
- Select "Trust" from the pop-up menu that opens.
- Click "Enter Recovery Mode" to continue after successful coverage. Choose "Guide to Recovery Mode" if your device is acting strangely or is not responding.

Step 7: To boot your device into recovery mode, go to the on-screen instructions for your specific model.
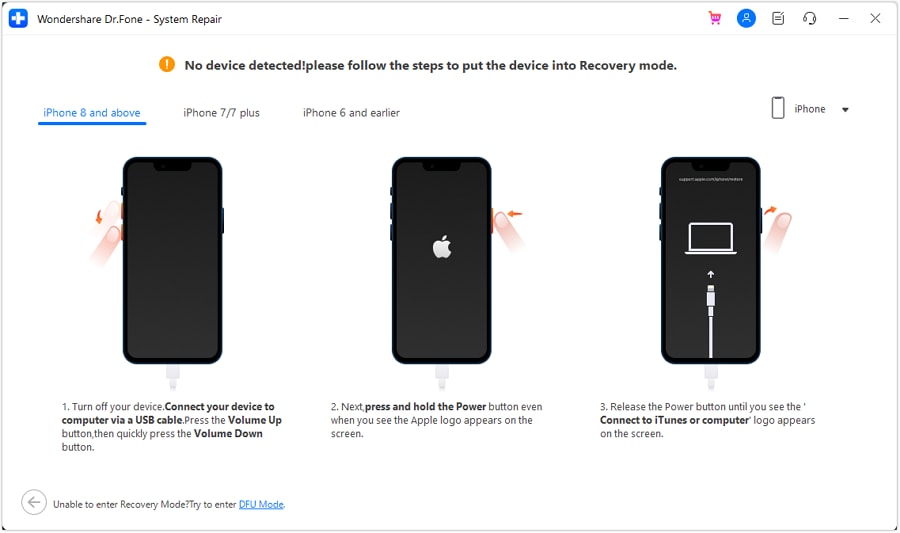
Step 8: The device is immediately recognized by the platform after it enters recovery mode.
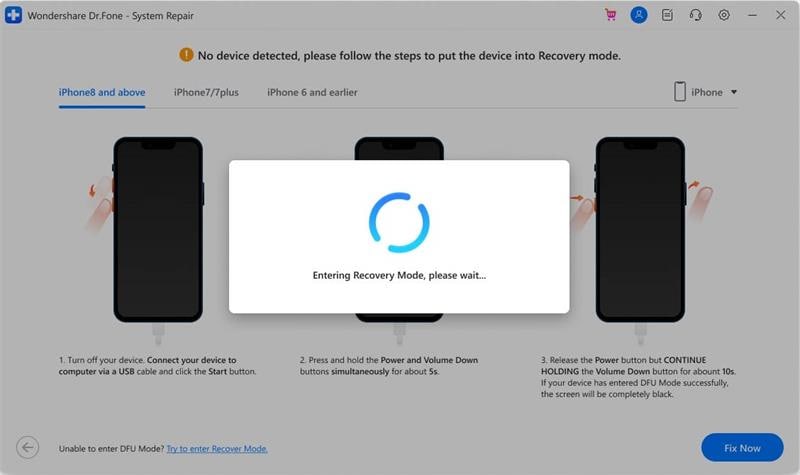
Step 9: An assortment of iOS firmware options is shown in the window below for installation on an iOS device. For any of them, click "Download" to launch the installation procedure.

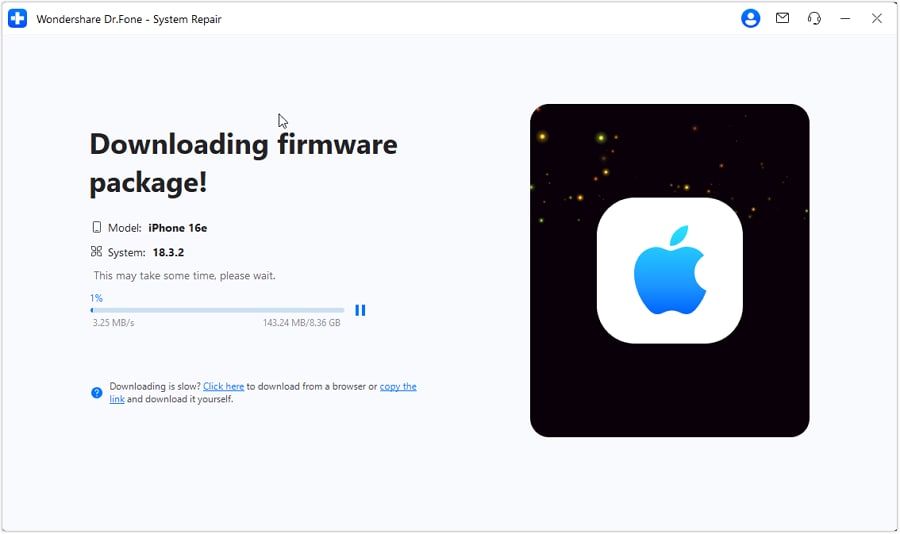
Step 10: The progress bar across the PC shows that the iOS firmware is downloading.
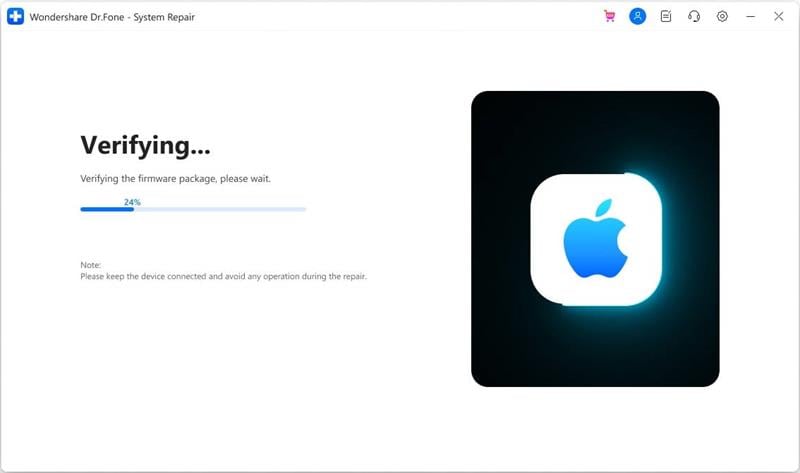
Step 11: Before installing the firmware on iOS, the platform verifies it after downloading it to prevent issues.
Step 12: Select "Repair Now" to launch the iOS system recovery procedure after verifying the iOS firmware. On the screen that follows, a progress bar shows the repair process.
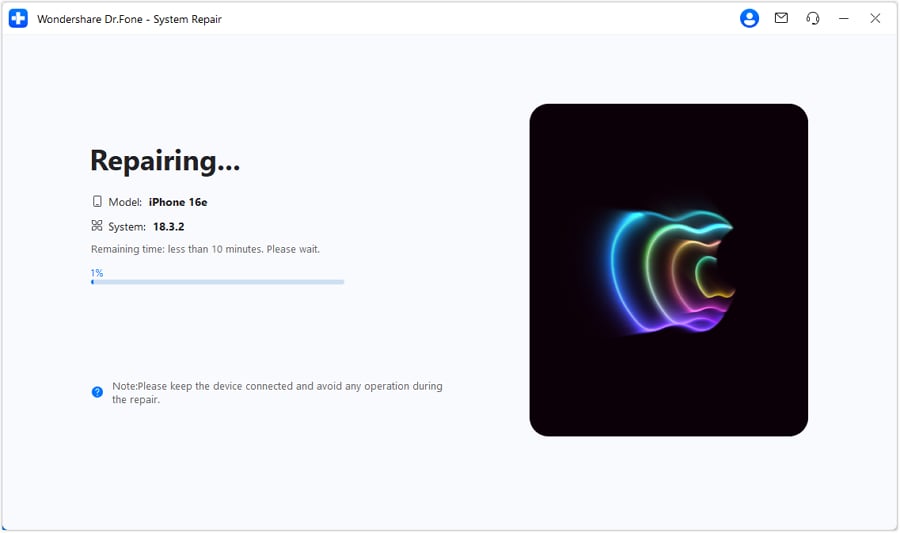
Step 13: The prompt window shows the process' successful completion after you're done. Simply click "Done" to complete the execution.

4.Contact Apple Support
If the problem persists, contact Apple support, take your device to an Apple Authorized Service Provider, or visit an Apple Retail store.
Conclusion
It is pretty simple to resolve iPod not charging. You can set your iPod again with minimum effort. Wondershare Dr.Fone-System Repair is the safest and most straightforward solution to repair any problems or faults in your iOS. If a system flaw causes your charging problem, Wondershare Dr.Fone-System Repair will promptly resolve it.
iPod Tips
- iPod Erase
- 1. Clear Data from iPod-Full Guide
- 2. Add Music to iPod Classic
- 3. Delete Duplicate Songs on iPod
- 4. Delete Songs from iPod Nano
- 5. Reset iPod Touch
- iPod Recover
- iPod Transfer
- 1. Transfer Photos to iPod Touch
- 2. Transfer Music to Hard Drive
- 3. Put music on iPod shuffle
- 4. Transfer MP3 to iPod
- 5. Transfer Music to iTunes
- 6. Get Free Music for iPod Touch
- 7. Transfer Music from iMac to iPod
- 8. Add Videos to iPod nano
- 9. Transfer Music from iPhone to iPod
- iPod Unlock
- 1. Recover Data before Unlocking iPod
- 2. iPod is Disabled Connect to iTunes
- 3. Unlock iPod Touch without iTunes
- iPod Manage
- 1. Screen Record on iPod
- 2. Download Music to iPod
- 3. Download WhatsApp on iPod
- 4. Delete Songs from iPod Classic
- 5. Edit Playlist on iPod
- 6. Get Music Off iPod with iTunes
- 7. Put Podcast on iPod
- 8. Factory Reset iPod without iTunes
- 9. Extract Music from iPod to iTunes
- iPod Problems
- 1. Backup iPod in DFU Mode
- 2. Restore iPod from DFU mode
- 3. Fix Stuck in Disk Mode Error
- 4. Using DFU Mode on iPod Touch
- 5. Fix iPod is Frozen
- 6. Fix iPod Touch won't Charge
- 7. Fix iPod Stuck on the Apple Logo
- 8. Fixes for iPod Won't Turn on
- 9. Resolve iPod Not Showing Up
- 10. Fix iPod Stuck in Recovery Mode
- 10. Fix iPod Not Syncing Files


James Davis
staff Editor
Generally rated4.5(105participated)