Is iTunes Stuck on Verifying iPhone Restore? Quick Fix!

May 22, 2026 • Filed to: Data Recovery Solutions • Proven solutions
 TL;DR:
Resolve the "iTunes stuck on verifying iPhone restore" error by updating your software and checking your USB connection, then proceed to a DFU Mode restore or use a system repair tool if standard troubleshooting fails.
● Before attempting software fixes, plug an authorized USB cable directly into your computer's port rather than a hub, and ensure you use Finder for macOS Catalina and later, or iTunes for Windows and macOS Mojave or earlier.
● You can bypass the verification freeze by putting your device into DFU Mode via specific button combinations, but this method will completely erase all data on your iPhone.
● To repair the connection without data loss, use Dr.Fone - System Repair (iOS), or contact Apple Support for physical repair if the process still fails across multiple computers, indicating a hardware problem.
Ask AI for a summary
 ChatGPT
 Perplexity
 Gemini
 Claude
 Grok
Grok
Have you encountered iTunes suddenly getting stuck when doing routine backups or restorations? While doing both actions sometimes takes a long time, there are cases when the progress bar gets stuck. If it hasn't moved for 15 minutes, it's a sign that iTunes got stuck on verifying iPhone restore. If this happens to you, don't get nervous, as we have the solution for verifying iPhone restore issues on iTunes.
In this article, we'll discuss everything related to iTunes stuck at verifying iPhone restore. If the methods outlined below don't work, we have an alternative to help you along the way. Simply read the guide below to learn more.

- Part 1. About "iTunes Stuck on Verifying iPhone Restore" Error
- Part 2. What to DO if iTunes is Stuck on Verifying iPhone Restore with Apple?
- Part 3. Things to Consider Before Starting
- Part 4. Common Methods to Fix iTunes Stuck on Verifying iPhone Restore
- Part 5. Quick Way to Fix iTunes Stuck on Verifying iPhone Restore [Without Data Loss]
- Part 6. Last Fix if Your iPhone is Still Stuck on Verifying Updates [Hardware Problem]
Part 1. About "iTunes Stuck on Verifying iPhone Restore" Error
This part will discuss the "iTunes stuck on verifying iPhone restore" error. We'll also answer how long verifying takes on iTunes and why iTunes is stuck on verifying iPhone restore.

Here are some questions about iTunes getting stuck on verifying iPhone restore:
- How long does it take to verify iPhone restore?
This step can be completed between 2-10 minutes, depending on the iTunes update file size.
- Why is iTunes stuck on verifying iPhone restore?
The issue may even be caused by iTunes. Always update to the latest version of iTunes to prevent this problem.
- Why is my iPhone stuck restoring?
Outdated iTunes can cause verifying iPhone with Apple stuck. As mentioned above, always use the latest version of iTunes to prevent getting stuck at verifying iPhone restore section.
Part 2. What to DO if iTunes is Stuck on Verifying iPhone Restore with Apple?
There are at least six troubleshooting methods you can do if the iTunes verifying iPhone restore with Apple gets stuck. They're all easy fixes, and beginners can do it if they follow the guide below. However, if doing all these methods didn't fix your problems verifying iPhone restore with Apple, we have an alternative.
Before that, here are some things to consider before starting.
Part 3. Things to Consider Before Starting
Before fixing iTunes on your computer, do these first on your iPhone.
- Check the iPhone Battery Health and Usage
You should check your iPhone's battery health and usage by tapping Settings > Battery > Battery Health & Charging. By doing this, you'll know your battery's performance, capacity, and whether it needs to be checked by an authorized representative.

- Check the Network Connection on Your iPhone
Ensure the Wi-Fi is on, and you can see your network after inspecting your iPhone's battery. You will not get a signal if you're too far from the router, so ensure you're within range of your Wi-Fi.
- Check the Storage on Your iPhone
Once your battery and Wi-Fi connectivity is inspected, you should check the storage on your iPhone as well. Simply go to Settings > General > iPhone Storage. Make sure to have enough storage space when restoring your iPhone with iTunes to prevent any issues.

- Make Sure that the USB Cable is in Good Condition
Now that we have all that out of the way, only use an original or authorized USB cable when connecting. Plug your iPhone directly into your computer's USB port, not an attached keyboard or USB hub. The operation prevents unwanted issues, especially when verifying iPhone restore with Apple iTunes software.
- Locate Backups of Your iPhone
If iTunes gets stuck on verifying iPhone software even after doing all the safety measures, you should use an alternative. You can create backups of your iPhone with reliable third-party software by using Dr.Fone.
Here's a table comparing how backups work on iCloud, iTunes, and Dr.Fone.
| iCloud Backup | iTunes Backup | Dr.Fone Backup | |
| What is the Mode of Backup? | Via internet to access Cloud services | Via connection to the computer with a USB cable | Via connection to the computer with a USB cable |
| Is there a Data Backup Customization? | Features options to allow you to customize your backup via Cloud service | No selections are available. | Features comprehensive options when backing up data |
| What are the Restore Options? | Login of Apple ID or during initial setup | During initial setup or after creating a backup | During initial setup or after creating a backup |
| How much data can be backed up? | Free 5GB cloud storage, which you can increase to 2TB by subscribing to plans | Computer storage space dependent | Computer storage space dependent |
| How is it processed? | Via iPhone settings | Through iTunes and accessing Backup | Through Dr.Fone accessing Backup. |
Part 4. Common Methods to Fix iTunes Stuck on Verifying iPhone Restore
In this part, we'll discuss the common and easy methods to fix iTunes stuck on verifying iPhone restore.

Method 1. Update Your Mac or PC
While iTunes is very easy to install, your Mac or PC should still meet its minimum system requirements. Otherwise, iTunes will not work.
Here are the system requirements for both Windows and Mac:
| Windows | Mac | |
| Hardware | A PC with a 1GHz Intel or AMD processor 512MB of RAM 400MB of available disk space Broadband Internet connection to use the iTunes Store, Apple Music, or iTunes Extras |
Mac computer with an Intel Core processor 400MB of available disk space Broadband Internet connection to use the iTunes Store, Apple Music, and iTunes Extras |
| Software | Windows 7 or later 64-bit editions of Windows 7 or Windows 8 require the iTunes 64-bit installer |
Windows 7 or later 64-bit editions of Windows 7 or Windows 8 require the iTunes 64-bit installer |
Method 2. Update iTunes to the latest version
Once your computer meets the minimum system requirements, you should download the latest version of iTunes.
If you have iTunes installed on your computer, click Help > Check for Updates to see if there's a new version.
Note: Macs running macOS Catalina and later will use Finder. PCs and Macs running macOS Mojave or earlier should stick to iTunes.
Method 3. Restart Your Computer and Your iPhone
If iTunes got stuck in the verifying phase, it's safe to restart your computer and your iPhone. This clears your RAM and refreshes both devices.
Method 4. Turn Off the Computer's Security & Anti-virus Software
If the methods above do not solve the problem, you should try to turn off your computer's security. Anti-virus software sometimes thinks the connection to your iTunes is suspicious, making it stuck when connecting to Apple's servers.
Method 5. Try Another Computer
Once you've tried all methods to no avail, you should try it once more on another computer. Launch iTunes on another device and repeat the restore process.
Method 6. Use DFU Mode to Restore [Data Loss]
Using Recovery Mode via iTunes almost always solves any problem on your iOS device. However, if iTunes is stuck on verifying iPhone restore, using DFU Mode is necessary under specific circumstances.

Here are some instances when you have to use DFU mode:
- Reboot an iPhone that won't move past the Apple logo during start-up.
- Jailbreak/Un-jailbreak an iOS device.
- iTunes is stuck on verifying iPhone restore.
- Downgrading to a previous iOS version.
Follow the steps below to access DFU Mode on your iPhone.
Step 1: Download and install the latest version of iTunes and connect your iPhone to your computer with a USB cable.
Step 2A (for iPhones with a Home Button): Hold the Home button and the Lock button simultaneously. Release the Lock button after 8 seconds while still holding the Home button.

Step 2B (for iPhones without a Home Button): Press and release Volume Up and Volume Down in succession. Next, Press and hold the Side button. Wait for your iPhone screen to go black. Keep holding the Side button and start holding Volume Down now. After 5-8 seconds, release the Side button. Keep on holding Volume Down until iTunes recognizes your iPhone.

Step 3: Wait until a pop-up appears on iTunes. Click Ok on the pop-up.

Step 4: Click your iPhone in Locations. Afterward, click Restore iPhone. Follow the on-screen prompts for iTunes to download the appropriate software and wait for the update to finish. Your iPhone will restart as a new device if restoring via DFU mode is successful. You can restore your data afterward if you have created a backup beforehand.

Note:The DFU Mode will completely erase all your data on your iPhone.
Part 5. Quick Way to Fix iTunes Stuck on Verifying iPhone Restore [Without Data Loss]
If you're stuck on verifying iPhone restore on iTunes, Dr.Fone - System Repair (iOS) can help you fix any problems. Dr.Fone is your ultimate iTunes repair solution for any errors you might encounter. It is surely a handy tool to fix the problem.

Key Features
Here's Dr.Fone - System Repair (iOS) key features you can immediately take advantage of.
- Repair up to 100+ iTunes errors, connection issues, and syncing problems.
- Fix your iTunes without data loss.
- Boost your iTunes with one click in seconds.
- Dr.Fone - System Repair (iOS) is fully compatible across all iTunes versions.
Here's how to fix your iTunes using Dr.Fone - System Repair (iOS).
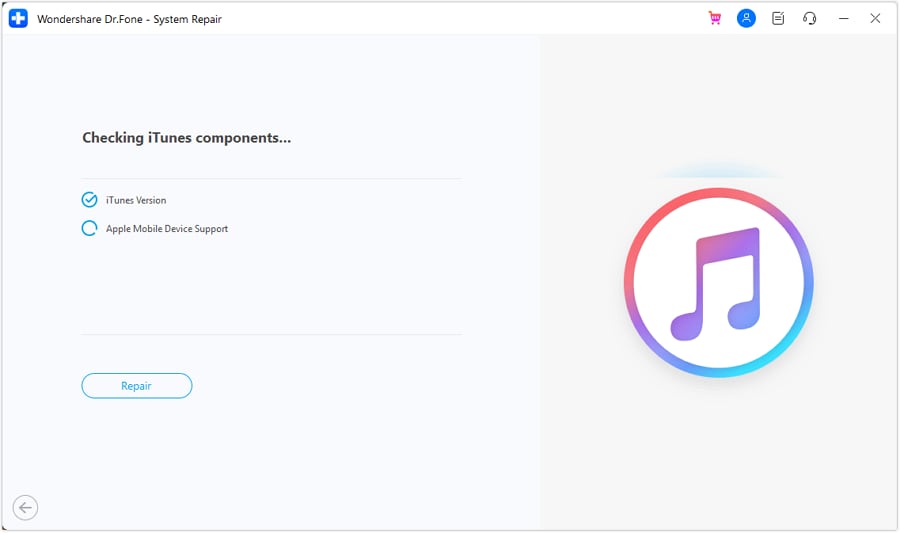
Step 1: Download and install Dr.Fone - System Repair (iOS) on your computer. Launch the program afterward and click iTunes Repair.

Step 2: Choose the repair mode depending on the error prompt appearing on iTunes
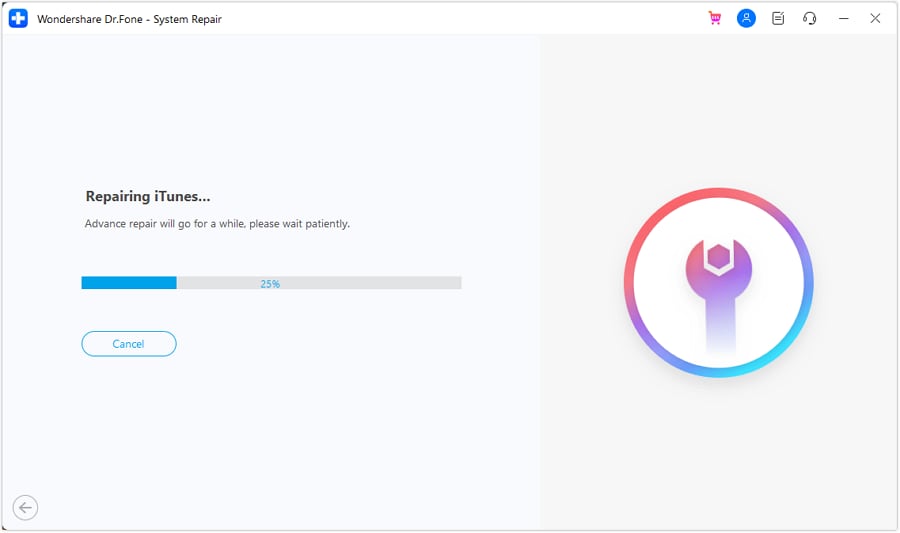
Step 3: Follow the on-screen instructions and wait for the repair process to complete.
Part 6. Last Fix if Your iPhone is Still Stuck on Verifying Updates [Hardware Problem]
If you still have issues with the methods outlined, you should contact iPhone Repair & Service from Apple Support. Your iPhone is probably experiencing a hardware issue if the steps above do not solve the problem.

Here are the services you can avail of by reaching out to Apple.
- Make an appointment at Apple Stores or an Authorized Service Provider.
- Request for onsite service. Apple will send an authorized service provider will visit your home or office.
- Send your iPhone in for repair. This is usually done by mail or courier service.
- Speak to an authorized Apple representative.
Conclusion
Do not panic if your iTunes gets stuck on verifying iPhone restore options. There are methods you can do to troubleshoot it without resorting to paying for expensive repairs. If your iTunes is stuck on verifying iPhone software, then you can use Dr.Fone as an alternative. Dr.Fone - System Repair (iOS) fixes your iPhone without data loss which is great if you have important files.
However, if all else fails, it's best to contact Apple directly to see if they can assist you further. Apple has great aftersales service, which you should always take advantage of.


iPhone Backup
- iPhone Data Backup
- 1. Back up iPhone in Recovery Mode
- 2. Back Up iPhone With/Without iTunes
- 3. Back up iPhone to Mac
- 4. Back up iPhone/iPad to Computer
- 5. Back up iPhone to Mac Catalina
- 6. Back up Jailbreak Apps And Restore
- 7. iPhone Backup Software
- 8. Back up iPhone/iPad Easily
- 9. Back up iPhone/iPad in DFU Mode
- 10. Back up iPhone Apps and App Data
- 11. Back up Notes on iPhone and iPad
- 12. Back up iOS to External Hard Drive
- 13. Export Notes from iPhone to PC/Mac
- 14.Back up iPhone Photos to Google Photos
- 15. Back Up Your iPhone Voicemails
- 16. Back Up to External Drive
- 17.How to Back Up to NAS
- 18.Back Up iPhone With Broken Screen
- 19.Back Up iPhone to Google Drive
- 20.Buy Used iPhones
- 21.Sell Used Phone for Cash
- 22.Sell Used iPhone for Dollar
- 23.How Much is My iPhone Worth
- iPhone Data Recovery
- 1. Recover iPhone Data Without Backup
- 2. Restore Calendar on iPhone
- 3. Recover Call History on iPhone
- 4. Recover iPhone Lost Data
- 5. Restore iPhone in Recovery Mode
- 6. Undelete iPhone Backup Files
- 7. Recover Deleted iPhone Messages
- iPhone Data Restore
- 1. Restore iPhone from iTunes Backup
- 2. Restore iPhone after Downgrade
- 3. Restore iPhone from Backup
- 4. Restore iPhone from iPad Backup
- 5. Restore iPhone from DFU Mode
- 6. Restore iPhone Deleted Text Message
- iPhone Backup Problems
- 1. Find iPhone Backup Location on Mac
- 2. iPhone Backup Password Never Set
- 3. iPhone Backup Password Forget
- 4. iCloud Backup Taking Forever
- 5. iPhone Won't Backup to iCloud
- 6. iTunes Won't Backup iPhone
- iPhone Restore Problems
- 1. iTunes Stuck on Verifying iPhone
- 2. Not Space to Restore iPhone Backup
- 3. iTunes Backup Not Restoring
- 4. iPhone Won't Restore
- WhatsApp Backup & Restore
- 1. WhatsApp from Google Drive to iOS
- 2. Restore Old WhatsApp Backup
- 3. Restore WhatsApp Chat on iPhone
- 4. Retrieve WhatsApp Chat History
- 5. See Deleted Messages on WhatsApp
- 6. Restore WhatsApp Stuck on iPhone
- 7. iPhone WhatsApp to Google Drive
- 8. Back Up WhatsApp on iPhone
- 9. Backup WhatsApp Data before Changing Number
- iPhone Backup Tips
- 1. Extract Data From iPhone
- 2. Encrypt iPhone Backup
- 3. Reset iPhone Backup Password
- 4. Extract iPhone Backup in Win 10
- 5. How Long take iPhone to Backup
- 6. Find iPhone Backup Location
- 7. iPhone Backup Password
- 8. View iPhone Backup on Computer
- 9. iPhone Backup with iTunes/iCloud
- 10.Check Last Backup on iPhone
- 11. How To Backup Foldable iPhone
- 12. Best Backup Chargers for iPhone
- 13. Speed Up Your iPhone Backups
- 14. Save Data When iPhone Disabled
- ● Manage/transfer/recover data
- ● Unlock screen/activate/FRP lock
- ● Fix most iOS and Android issues
- Free Download Free Download Free Download


James Davis
staff Editor
Generally rated4.5(105participated)