100% Security Verified | No Subscription Required | No Malware
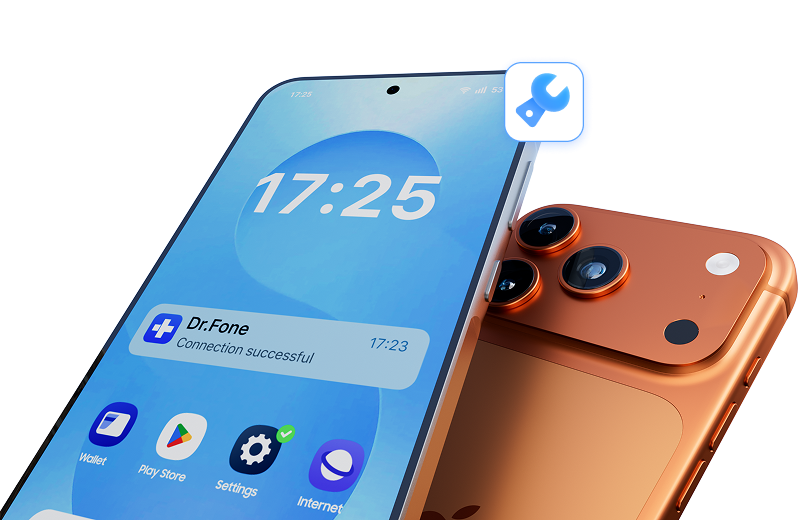

 :
: 
 ChatGPT
 Perplexity
 Gemini
 Claude
 Grok
Grok
Is your Android device stuck in a boot loop, running unusually slow, or experiencing persistent software glitches? Before rushing to a repair shop, you might be able to solve these issues yourself using Android Recovery Mode. This powerful, built-in feature provides a set of tools to troubleshoot and repair your device's operating system when it won't boot normally.
However, navigating Recovery Mode can seem daunting for beginners, and certain actions can lead to data loss if not performed carefully. This comprehensive guide will explain what Android Recovery Mode is, what it can do for your device, and how to use it safely and effectively to fix common problems.
In this article
Part 1. What Exactly Is Android Recovery Mode?
Think of Android Recovery Mode as an emergency room for your phone's software. It's a special, bootable partition on your device that runs independently of the main Android operating system. This separation allows you to access it even if the primary OS is corrupted or fails to load.
This recovery console contains essential tools designed to help repair system installations, install official operating system (OS) updates, and perform maintenance tasks. Because the Android platform is open-source, the recovery code is accessible, which has also enabled developers to create custom ROMs with enhanced recovery features.

Part 2. What Can You Do in Android Recovery Mode?
The growth of smartphone technology has introduced complex functions, which can sometimes lead to software conflicts and errors. Recovery Mode is your first line of defense against issues like failed OS updates, persistent app crashes, or a completely unresponsive device. Here are the most common options you'll find and what they do:
- Reboot system now: This is the simplest option. It exits Recovery Mode and attempts to restart your device into the normal Android operating system. It's often the last step after performing another action.
- Apply update from ADB/SD Card: This function allows you to manually install official OS updates or other system packages that are stored on your phone's SD card or transferred from a computer via Android Debug Bridge (ADB).
- Wipe data/factory reset: This is a powerful but destructive option. It erases all user data on your device—including apps, photos, contacts, and settings—and restores it to its original factory state. This is often used as a last resort to fix severe software problems.
- Wipe cache partition: This option deletes temporary system files (the cache) stored by the OS. It can resolve issues related to system slowdowns or glitches without deleting your personal data. It's a safe and often effective troubleshooting step.
Part 3. Critical Step: Back Up Your Data Before Proceeding
Before you even think about entering Recovery Mode, backing up your data is non-negotiable. Since options like a factory reset will permanently erase all your information, having a recent backup ensures you can restore your precious photos, contacts, and files if something goes wrong. For a simple and reliable backup process, a tool like Wondershare Dr.Fone is highly recommended.
 Effortlessly manage data through preview, delete, export, etc.
- Transfer all data between devices.
- Robust backup solutions for reliable data protection.
- Mirror screens to PC for meetings, teaching, and control.

After downloading and installing the Dr.Fone Toolkit on your computer, follow these simple steps to back up your Android device.
-
Step 1 Launch Dr.Fone and Select Backup
Open the Dr.Fone application on your computer. From the main dashboard, navigate to the "My Device" section and choose the "Backup Device" option to begin.

-
Step 2 Connect Your Android Device
Connect your Android phone or tablet to the computer using a USB cable. Ensure that USB Debugging is enabled on your device. Once the program detects your device, it will display the data types available for backup.

-
Step 3 Start the Backup Process
Select the types of data you wish to back up (e.g., contacts, messages, photos) and click the "Back Up Now" button. The program will start transferring the selected files to your computer. Wait for the process to complete, and you'll receive a confirmation message.

Part 4. How to Enter Recovery Mode on Various Android Devices
The method for entering Recovery Mode varies slightly between different manufacturers and even models. It almost always involves pressing a specific combination of physical buttons. Below are the instructions for some of the most popular brands.
1. Samsung Galaxy Devices
-
Step 1 Power Off and Press Buttons
First, completely turn off your Samsung device. Then, press and hold the Volume Up, Power, and Home buttons simultaneously (for older devices with a physical Home button). For newer devices without a Home button, press and hold Volume Up and the Side/Power button.
-
Step 2 Navigate the Recovery Menu
Release the buttons once you see the Samsung logo appear. You will soon boot into the Android Recovery menu. Use the Volume Up and Volume Down buttons to navigate through the options and the Power button to make a selection.
2. Google Nexus/Pixel Devices
-
Step 1 Enter Fastboot Mode
Turn off your Google device. Press and hold the Volume Down and Power buttons together until the device turns on and you see the Fastboot menu (an image of an Android with the word "Start").
-
Step 2 Select Recovery Mode
Use the Volume buttons to cycle through the menu options until you see "Recovery mode." Press the Power button to select it. You will see the Google logo, followed by an Android robot on its back. Now, press and hold the Power button, and while holding it, press the Volume Up button once to enter the full recovery menu.
3. LG Devices
-
Step 1 Initial Button Combination
Power off your LG phone. Press and hold the Power and Volume Down buttons at the same time.
-
Step 2 Confirm Factory Reset
When the LG logo appears on the screen, release only the Power button for a moment, then immediately press and hold it again (while still holding Volume Down). Continue holding until the factory data reset menu appears. This will take you to the recovery options.

Part 5. A Simpler Alternative to Fix Android System Issues
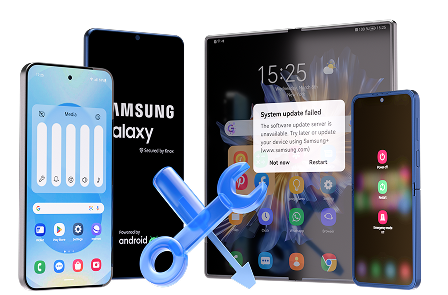
While Recovery Mode is a powerful tool, it can be intimidating, and navigating its text-based menu isn't always user-friendly. For those who want to fix system issues like the black screen of death, boot loops, or app crashes without the manual hassle, a dedicated tool is a much safer bet.
Dr.Fone - System Repair (Android) is designed to resolve various Android system errors with a high success rate. It automates the repair process, eliminating the risk of choosing the wrong recovery option and making the process accessible to everyone, regardless of technical skill.
- Fix Android instantly – no skills needed.
- Solve boot loop, black screen, won’t turn on, etc.
- High success rate for all system issues.
- User-friendly interface with easy-to-follow steps.
Conclusion
Android Recovery Mode is an invaluable utility for troubleshooting and fixing a wide range of software-related issues. By understanding its functions and how to access it, you can take control of your device's health. Always remember the golden rule: back up your data before you begin. For those seeking a more straightforward and automated solution, tools like Dr.Fone - System Repair provide a safe and effective way to get your Android device back to normal without navigating complex menus.
FAQ
-
1. What is the main purpose of Android Recovery Mode?
Android Recovery Mode is a troubleshooting environment designed to help you fix system-level problems. Its primary purposes include performing a factory reset, clearing the system cache, and manually applying software updates when the main operating system is inaccessible. -
2. Will using Recovery Mode always delete my data?
No, not all options in Recovery Mode delete your data. Actions like "Wipe cache partition" and "Reboot system now" are safe and will not affect your personal files. However, selecting "Wipe data/factory reset" will completely erase everything on your device, which is why a backup is crucial. -
3. What should I do if my phone is stuck in Recovery Mode?
If your phone continuously boots into Recovery Mode, first try selecting the "Reboot system now" option. If that doesn't work, the issue might be related to a stuck volume button or a corrupted OS. You can try wiping the cache partition. If the problem persists, you may need to perform a factory reset (which will erase data) or use a system repair tool. -
4. Is it safe for a beginner to use Android Recovery Mode?
It can be, with caution. Simple actions like rebooting or wiping the cache are generally safe. However, incorrect use of options like applying updates or factory resetting can cause further issues or permanent data loss. If you are not confident, it is safer to use a guided software solution like Dr.Fone - System Repair to avoid mistakes.
 Add Wondershare Dr.Fone as a preferred source on Google