100% Security Verified | No Subscription Required | No Malware
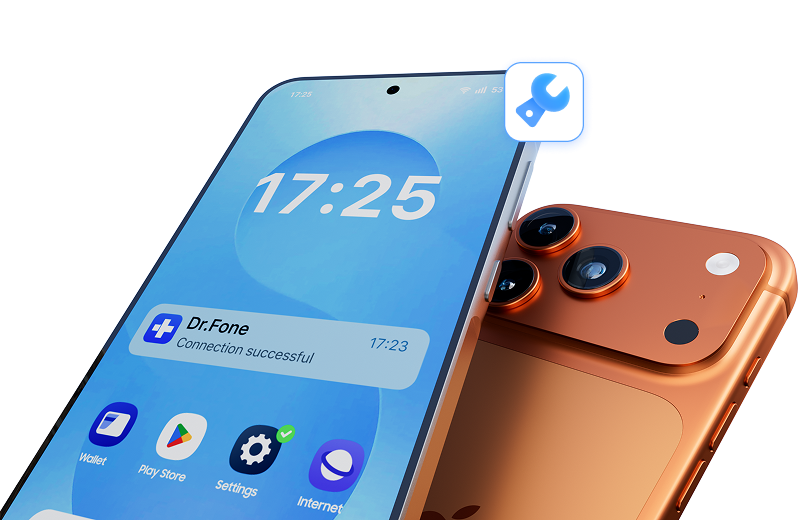

 :
: 
 ChatGPT
 Perplexity
 Gemini
 Claude
 Grok
Grok

My Galaxy S7 won't turn on! It's completely unresponsive with a black screen. Is there any way to fix this without losing my data?
A Concerned Samsung User
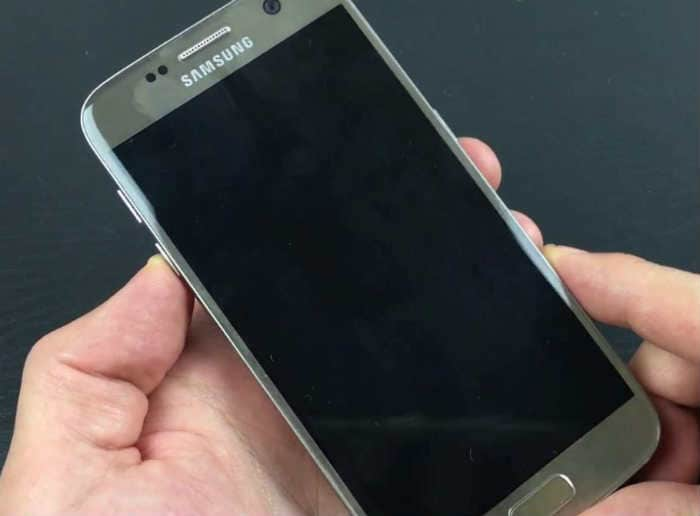
It can be incredibly frustrating when your phone suddenly becomes unresponsive. If your Samsung Galaxy S7 won't turn on, you're not alone. This is a common issue that many users encounter, and it doesn't necessarily mean your device is permanently broken. The problem often stems from a temporary software glitch, a completely drained battery, or a problematic third-party application interfering with the boot process.
In some cases, a crashed app or an interrupted software update can prevent the phone from starting up correctly. Other potential causes include a damaged power button or more severe firmware corruption. Fortunately, there are several troubleshooting steps you can take to diagnose and resolve the issue. This guide will walk you through six distinct solutions, starting with the simplest and safest methods.
In this article
- Part 1. One-Click Solution to Fix a Galaxy S7 That Won’t Turn On
- Part 2. Force Restart Your Samsung Galaxy S7
- Part 3. Charge Your Device to Address Power Issues
- Part 4. Boot into Safe Mode to Check for Faulty Apps
- Part 5. Wipe the Cache Partition to Clear Corrupted Data
- Part 6. Perform a Factory Reset as a Last Resort
Part 1. One-Click Solution to Fix a Galaxy S7 That Won’t Turn On
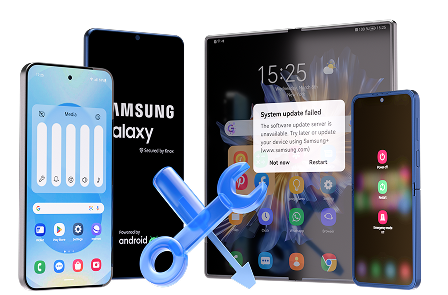
When basic troubleshooting fails, the problem often lies with the Android operating system itself. Firmware corruption, whether from a failed update or a software bug, can prevent your Galaxy S7 from booting up. In such cases, a professional system repair tool is the most reliable solution. We highly recommend Dr.Fone - System Repair (Android), a powerful software designed to fix a wide range of Android system issues with a high success rate.
This tool can resolve problems like the black screen of death, boot loops, and devices that are stuck on the Samsung logo, all without requiring any technical expertise. It automates the process of downloading and installing the correct, stable firmware for your specific device.
 Fix Android instantly – no skills needed.
- Solve boot loop, black screen, won’t turn on, etc.
- High success rate for all system issues.
- User-friendly interface with easy-to-follow steps.

-
Step 1 Launch Dr.Fone and Select System Repair
Download and install Dr.Fone on your computer. Launch the program and select "System Repair" from the main menu.

-
Step 2 Connect Your Phone and Input Device Information
Connect your Galaxy S7 to the computer using a USB cable. Click on the "Android Repair" option. The software will then prompt you to enter your device's brand, name, model, and carrier information. This is essential for downloading the correct firmware. Double-check the details and proceed.


-
Step 3 Enter Download Mode
Follow the clear on-screen instructions to put your Samsung S7 into Download Mode. This process varies slightly depending on whether your device has a physical home button, but the software provides visuals for both scenarios.

-
Step 4 Download Firmware and Repair Your Device
Once your phone is in Download Mode, Dr.Fone will automatically begin downloading the appropriate firmware. After the download is complete, it will start the repair process. Keep your phone connected throughout. You will be notified when the repair is finished and your Galaxy S7 can be restarted.

Part 2. Force Restart Your Samsung Galaxy S7
Before attempting more complex solutions, a force restart is often the quickest fix. This action simulates a battery pull, which can resolve minor software freezes that prevent your device from turning on. It doesn't erase any data, making it a safe first step.
To force restart your Galaxy S7, press and hold the Power button and the Volume Down button simultaneously. Continue holding them for about 10-15 seconds. The phone should vibrate and the Samsung logo will appear, indicating it is rebooting.
If the phone turns on successfully, the issue was likely a temporary software crash. If this doesn't work, proceed to the next solution.
Part 3. Charge Your Device to Address Power Issues
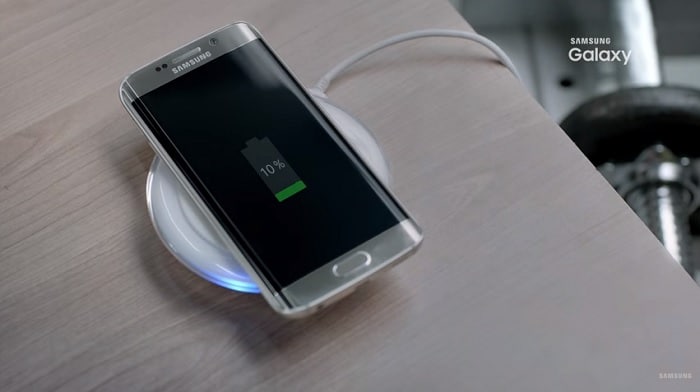
It might sound obvious, but a completely depleted battery can be the reason your Samsung Galaxy s7 won't turn on. When the battery is fully drained, the device may not respond immediately when you plug it in. It needs to accumulate a minimal charge before it can show any signs of life.
Use the original Samsung charger and cable that came with your S7. Plug your phone into a reliable wall outlet, not a computer's USB port, as wall sockets provide more consistent power. Let it charge for at least 30 minutes. Afterward, try turning it on or performing a force restart while it's still connected to the charger. If you see a charging icon, you've found the culprit.
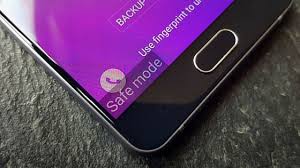
Part 4. Boot into Safe Mode to Check for Faulty Apps
If your phone turns on but gets stuck during the boot sequence, a third-party app could be to blame. Booting into Safe Mode starts your device with only the essential system apps, disabling all downloaded applications. If your S7 boots successfully in Safe Mode, it strongly indicates that a recently installed app is causing the conflict.
Here’s how to enter Safe Mode:
- Press and hold the Power button until the Samsung logo appears.
- Release the Power button, then immediately press and hold the Volume Down button.
- Continue holding the Volume Down button until the phone finishes restarting.
- You should see "Safe Mode" displayed in the bottom-left corner of the screen.
Once in Safe Mode, you can start uninstalling recently added apps, beginning with those you installed just before the problem started. After uninstalling an app, restart your phone normally to see if the issue is resolved.
Part 5. Wipe the Cache Partition to Clear Corrupted Data
Over time, your phone accumulates temporary system files in a dedicated area called the cache partition. While these files help apps load faster, they can sometimes become corrupted and cause system instability, including boot-up problems. Wiping the cache partition is a safe and effective troubleshooting step because it only removes temporary files, leaving your personal data untouched.
Follow these steps to wipe the cache partition:
- Turn off your phone. If it's unresponsive, perform a force restart and immediately proceed with the next step.
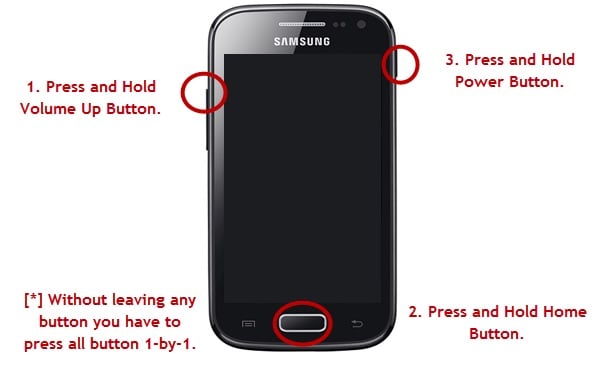
- Press and hold the Home, Power, and Volume Up buttons all at once.
- When the Samsung logo appears, release the Power button but keep holding the other two.
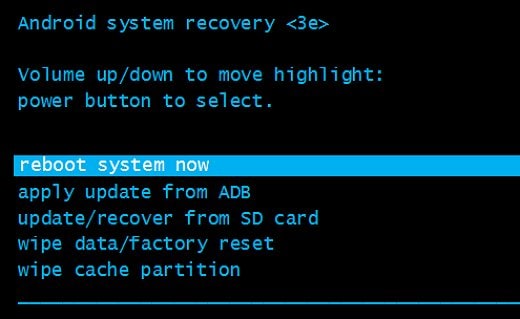
- Once you see the Android Recovery screen, release all buttons.
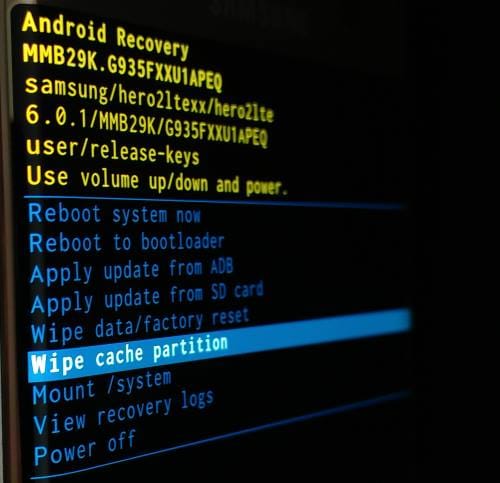
- Use the Volume Down button to navigate to "Wipe cache partition" and press the Power button to select it.
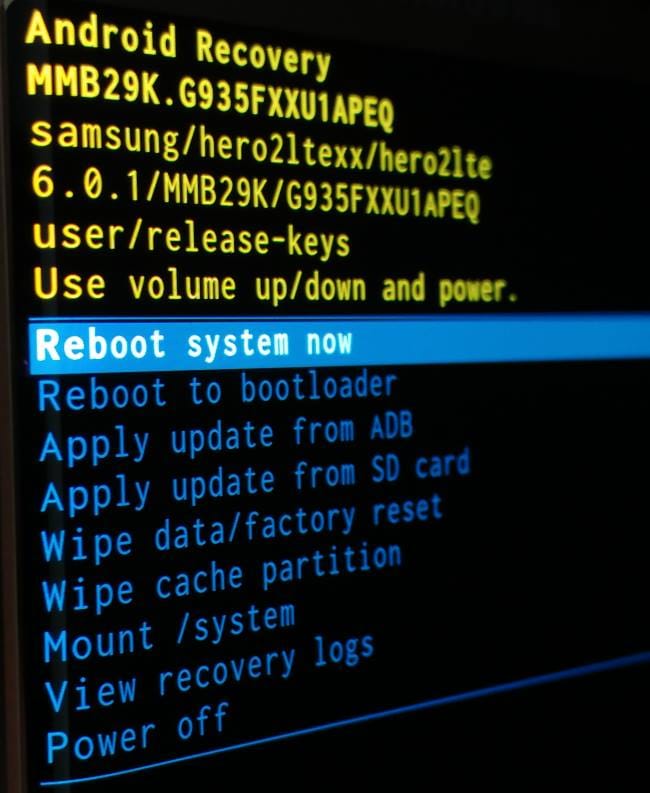
- After the process is complete, select "Reboot system now" using the Power button.
Part 6. Perform a Factory Reset as a Last Resort
If all other methods have failed, a factory reset is the final software-based solution. This process, also known as a hard reset, will erase all data on your device—including apps, photos, settings, and files—and restore it to its original factory state. This can resolve deep-seated software issues that other methods can't fix.
To perform a factory reset:
- Enter the Android Recovery screen using the same steps described in Part 5 (holding Home, Power, and Volume Up buttons).
- Use the Volume Down button to highlight "Wipe data/factory reset".
- Press the Power button to confirm your selection.
- You will be asked to confirm. Use the Volume Down button to select "Yes" and press the Power button.
- Once the reset is complete, the phone will reboot, and you will need to set it up as if it were a new device.

Conclusion
When your Galaxy S7 won't turn on, it can be alarming, but it's usually a fixable problem. By following the troubleshooting steps outlined in this guide, you can systematically diagnose and resolve the issue. Always start with the simplest solutions like a force restart and charging before moving to more advanced methods like wiping the cache or performing a factory reset. For complex firmware issues, a dedicated tool like Dr.Fone - System Repair offers a reliable and user-friendly solution. With these methods, you have a strong chance of bringing your device back to life.


FAQ
-
1. Why won't my Samsung S7 turn on but the blue light is on?
A solid or blinking blue LED light on a black screen usually indicates a problem during the boot-up process or a notification that can't be displayed. It often points to a software crash. Try force restarting the device first. If that fails, booting into Recovery Mode to wipe the cache partition is the next best step. -
2. Will a force restart delete any of my data?
No, a force restart is completely safe and will not delete any of your personal data, apps, or settings. It is simply a way to force the phone to shut down and reboot when it becomes unresponsive, much like restarting a frozen computer. -
3. How long should I charge my Galaxy S7 if the battery is completely dead?
If the battery is fully drained, it can take some time before the phone shows any sign of charging. We recommend charging it with an original Samsung charger connected to a wall outlet for at least 30 minutes to an hour before attempting to turn it on again. -
4. What's the main difference between wiping the cache partition and a factory reset?
Wiping the cache partition deletes only temporary system files, which are non-essential and will be regenerated by the system. It does not affect your personal data like photos, contacts, or apps. A factory reset, however, is a complete wipe of the device's internal storage, deleting all user data and settings and returning the phone to its original state.
 Add Wondershare Dr.Fone as a preferred source on Google