A Beginner's Guide on How to Set Up Voicemail on Motorola

Jun 11, 2026 • Filed to: Device Data Management • Proven solutions
 TL;DR:
Motorola phones handle voicemail directly through the native Phone dialer or carrier-specific applications, allowing you to set up the service by navigating to the dialer's settings or simply long-pressing the number 1 key.
● Basic voicemail setup is accessed via the Phone dialer's Advanced Settings, while tap-to-play Visual Voicemail requires carrier support and is activated through the same menu or via dedicated carrier apps from AT&T, Verizon, or T-Mobile.
● You can record a new voicemail greeting using the microphone icon within the dialer's Voicemail settings, but changing your PIN requires calling the voicemail menu and entering your existing PIN under the administrative options.
● Wondershare Dr.Fone can back up and manage your voicemail messages on a computer, provided you first manually export the voicemail audio as an MP3 file on your Motorola device.
Ask AI for a summary
 ChatGPT
 Perplexity
 Gemini
 Claude
 Grok
Grok
Dr.Fone Basic:
Better Control for Your Phone
Manage, transfer, back up, restore, and mirror your device
Setting up voicemail on a Motorola is straightforward, but the settings can feel unclear if you have never used them before.
Just like the other Android devices, you can set up voicemail using your native phone’s dialer. As simple as it gets.
But this doesn’t stop here, as I have the complete solution to this problem in 4 easy methods. In case you have blocked your voicemail, the only viable option is to unlock the voicemail.
This article guides you through each method so you can activate voicemail, adjust it to your needs, and fix any issues.
- Part 1. Do Motorola Phones Have Voicemail?
- Part 2. Where Is the Voicemail App on the Moto G?
- Part 3. How to Set Up Voicemail on a Motorola
- Method 1: Set Up Voicemail Using Phone Dialer
- Method 2: Set Up Visual Voicemail on Motorola
- Method 3: Set Up Voicemail Through Carrier App
- Method 4: Set Up Voicemail Using Settings Menu
- Part 4. How to Change Voicemail on Motorola?

- Part 5. How to Manage a Motorola Phone Using Dr.Fone?
Part 1. Do Motorola Phones Have Voicemail?
Motorola phones come with voicemail ready to use. Your carrier provides the service, and Motorola’s Phone app supports it. Models like the Moto G 5G, Moto G Stylus 5G, and Razr have voicemail preconfigured. You just call your voicemail for the first time and set your PIN and greeting.
Eliminating the need for a separate Motorola voicemail app because your carrier and the built-in Phone app handle everything.
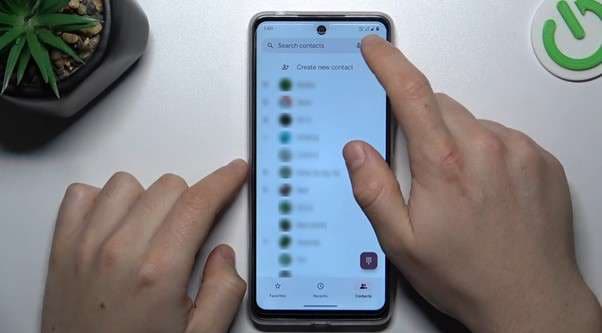
Part 2. Where Is the Voicemail App on the Moto G?
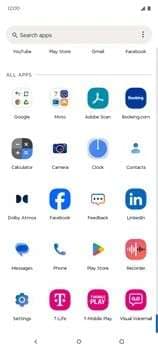
The Motorola G phones handle voicemails via the standard “Phone” application, which can be identified as an app with the telephone icon.

There is also a chance that the device might use a Visual Voicemail application that is provided by your carrier. Such apps can be located by searching for the keyword “voicemail” in the app drawer.
Part 3. How to Set Up Voicemail on a Motorola
Here are the methods to set up a voice on a Motorola:
Method 1: Set Up Voicemail Using Phone Dialer
Here is how you can use the phone's standard phone dialer to set up voicemail on a Motorola:
Steps to Activate Voicemail
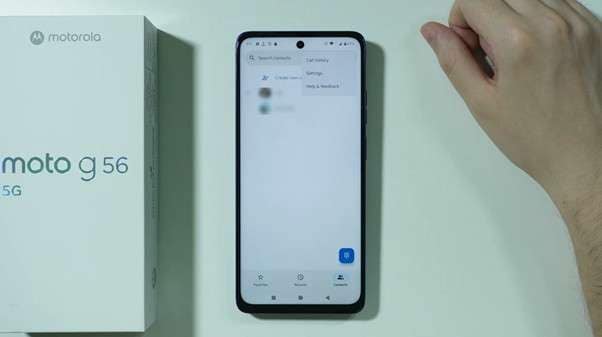
Step 1: Launch the “Phone” Dialer app, and click on the “settings” button in the top right-hand corner.
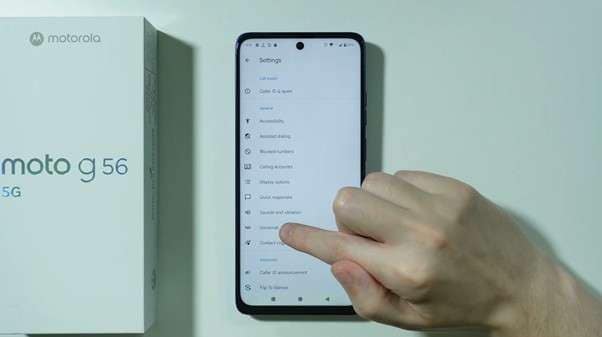
Step 2: Under the “General” settings option, select "Voicemail".

Step 3: Next, select your SIM card.

Step 4: Next, open the “Advanced Settings."

Step 5: Tap on setup.

Step 7: Check that the voicemail number is correct. If it is not, tap it and update it.

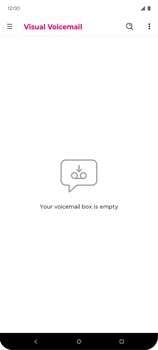
Method 2: Set Up Visual Voicemail on Motorola
Enable Visual Voicemail is just like Method 1. It shows up in the voicemail settings if your carrier supports it, from where you either enable or disable it.

Method 3: Set Up Voicemail Through Carrier App
Voicemail on your Motorola can be set up in different ways depending on your carrier.
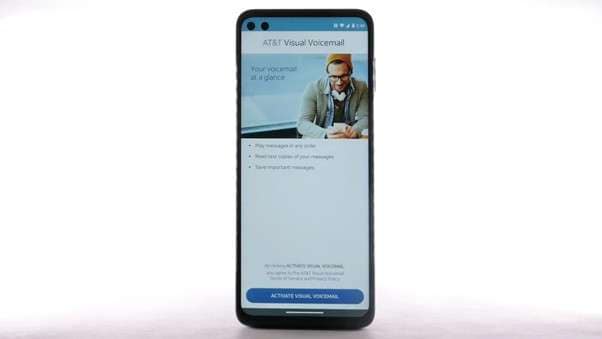
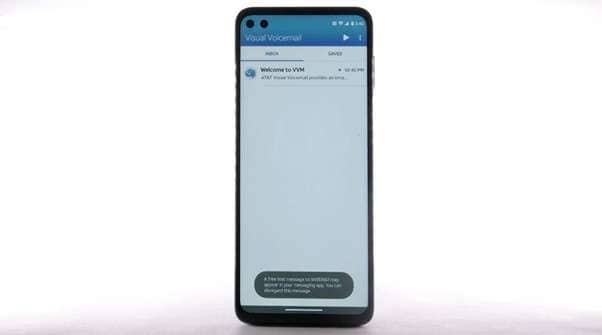
AT&T Voicemail Setup on Motorola
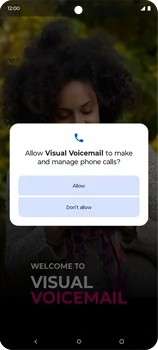
Step 1: Install the Visual Voicemail application from the app drawer, and hit “Next”.

Step 2: Then choose “Activate Visual Voicemail”.
Step 3: If you have not established an account already for voicemail, make one and then proceed.
Verizon Voicemail Setup on Motorola
Step 1: Access the Visual Voicemail application.
Step 2: Upon reaching the welcome interface, select the Continue option.
Step 3: Go through the terms and conditions, and tap “Accept”.
Step 4: From the 'Enhance your experience with Premium Visual Voicemail' screen, tap 'Subscribe to Premium' or 'No, Thanks'.
T Mobile Voicemail Setup on Motorola
Step 1: Open the Visual Voice Mail app from the T Mobile folder.
Step 2: Tap GET STARTED.

Step 3: Grant permissions if requested.
Step 4: Confirm your PIN and greeting.
Method 4: Set Up Voicemail Using Settings Menu
Phone dialer can be used to customize voicemail. Here is how it's done:
Accessing Voicemail Settings
Step 1: Open your Phone Dialer
Step 2: Click on the “Menu” button, and tap settings.
Step 3: Select “Voicemail” from dialer settings.
It will open the voicemail window
Customizing Voicemail Options
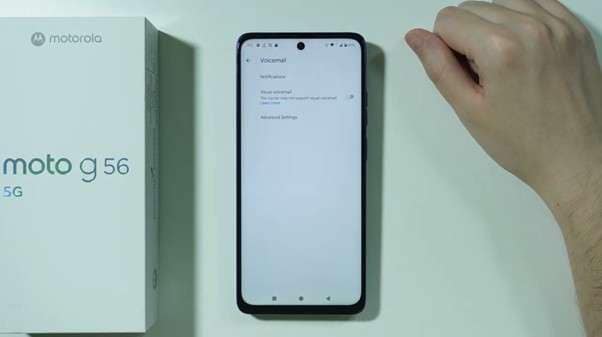
Once you get into the Voicemail settings, you can do the following
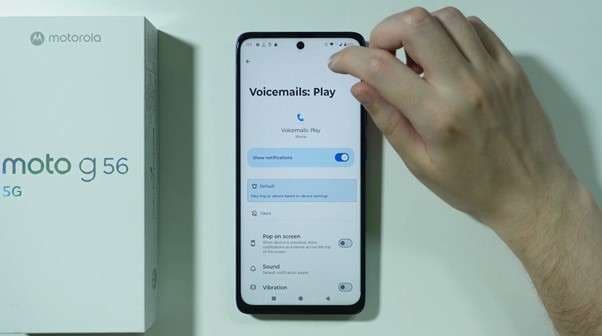
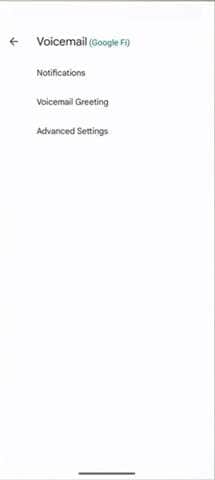
Step 1: Tap on the “Notifications” options to customize your notification settings.
Step 2: Tap on the “Advanced Settings”, where you can configure your setup and service.
|
Method |
Best For |
Requires Carrier App |
| Phone Dialer | Basic voicemail setup | No |
| Visual Voicemail | Tap-to-play messages | Sometimes |
| Carrier App | Extra controls + troubleshooting | Yes |
| Settings Menu | Customizing voicemail options | No |
Part 4. How to Change Voicemail on Motorola?
Now, you have set up voicemail and are looking to change it. No worries. These simple steps will guide you on how to change voicemail on a Motorola in no time:
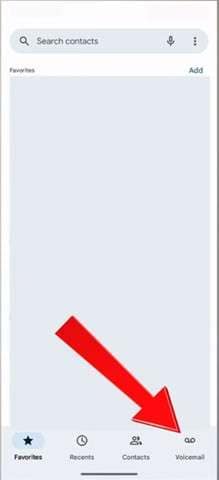
Step 1: Open the voicemail tab from your dialer.
Step 2: Open the Phone settings to access your voicemail settings.
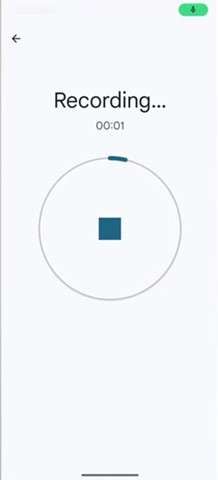
Step 3: From the “Voicemail Greeting” tap the microphone icon at the bottom right corner.
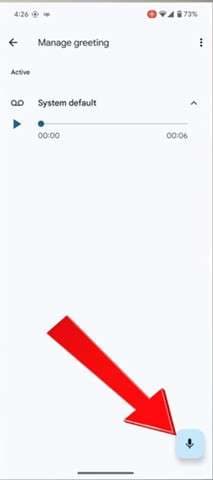
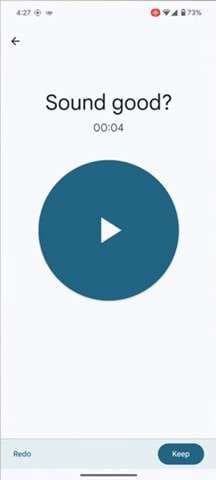
Step 4: Now press “Tap to record” and start recording your voicemail.
Step 5: Once recorded, click on the “Keep” button.
Change Voicemail Password
Here is how you can change your voicemail password using your phone dialer:
Step 1: From your phone dialer, Long-press ‘1’ to call voicemail.
Step 2: In the menu, Personal options > Administrative options > Change PIN should be selected.
Step 3: The old PIN must be entered before a new one can be set.
In case you have forgotten the old password, the only viable option is to reset the voicemail.
Part 5. How to Manage a Motorola Phone Using Dr.Fone
Once voicemail is set up, it’s smart to protect your messages and other data. That’s where Wondershare Dr.Fone comes in. It is an all-in-one desktop toolkit that lets you manage Android and iOS devices from your computer.
Android and iOS devices can be managed, backed up, transferred, repaired, and unlocked from your computer through this all-in-one desktop toolkit.
For Androids, Dr.Fone packs the following worthy features:
- You can create and restore Android backups, including voicemail audio files.
- The Android Data Manager then makes it easy to browse and manage your media files.
- Phone manager/transfer: Move data between Motorola and PC/Mac in one click.
- Screen mirroring & control: Mirror and control your Motorola screen from your computer.
- Extra tools: Data recovery, screen unlock, system repair, WhatsApp transfer, and more (handy if your phone breaks or bootloops).
Wondershare Dr.Fone
One-Stop Solution to Manage and Transfer Data on Android Phone
- Transfer files between Android and computer, including contacts, photos, music, SMS, and more.
- Manage, export/import your music, photos, videos, contacts, SMS, Apps, etc.
- Transfer iTunes to Android (vice versa).
- Manage your Android device on the computer.
- Fully compatible with the newest Android OS.


Steps to Back Up Voicemail Messages with Dr.Fone
Step 1: Dr.Fone should be installed on your computer, and the voicemail should be exported as an MP3 file on your Motorola for management.
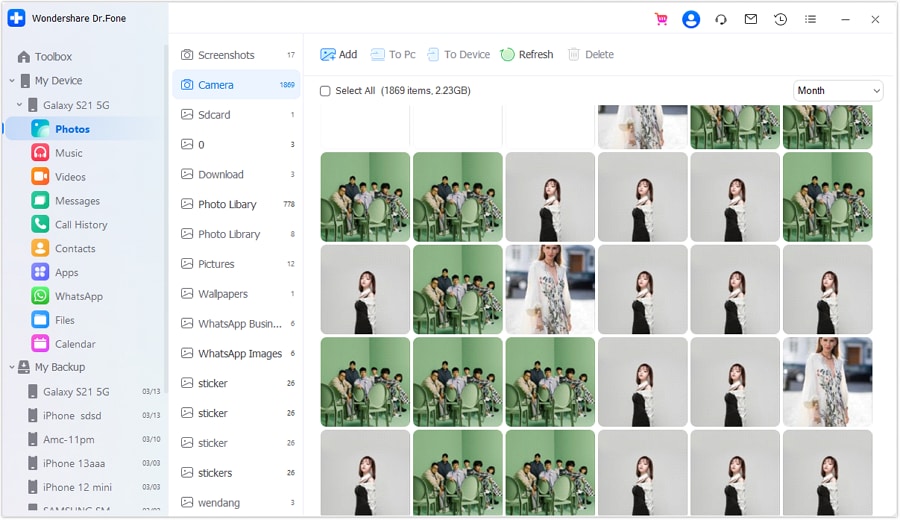
Step 2: After Dr.Fone is launched, your device should be connected to the computer and opened from the sidebar.

Step 3: In the Android device section, you can access your files, and from the top bar, you can transfer them to your computer or delete them if needed.
The same is also implied for all of the other media files, including:
- Photos Manage
- Video Manage
- Messages Manage
- Call History Manage
- Files Manage
- Calendar Manage
Conclusion
You’ve seen how to set up voicemail on Motorola phones using different approaches, from basic dialing to carrier apps and visual voicemail. All of these methods work across today’s Motorola models, ensuring your voicemail activates fast and stays reliable. If you want to protect your saved voicemails, Dr.Fone provides a simple way to back up and manage your files.
4,624,541 people have downloaded it
Frequently Asked Questions About Voicemail on Motorola
Dr.Fone Basic:
Better Control for Your Phone
Manage, transfer, back up, restore, and mirror your device


Motorola Manage
- Motorola Transfer
- 1. Download Pictures to PC
- 2. Transfer Motorola to Mac
- 3. Transfer Whatsapp from Moto to iOS
- 4. Transfer Music from Mac to Moto
- 5. Transfer WhatsApp from iOS to Moto
- Motorola Unlock
- 1. Unlock Motorola Without Factory Reset
- 2. Network Unlock Motorola One 5G Ace
- 3. Sim Unlock Moto G Phone
- 4. Unlock Moto Without Factory Reset
- 5. Unlock Motorola Bootloader
- 6. Bypass FRP Lock on Motorola
- 7. Reset Motorola Phone When Locked
- Motorola Repair
- 1. Motorola Won't Power On
- 2. Android App Not Installed Error
- 3. Black Screen of Death Error
- 4. Unbrick Android Phone
- 5. Encryption Unsuccessful Error
- 6. Stuck at Android System Recovery
- 7. Android Won't Turn On
- 8. Android Stuck on Boot Screen
- Motorola Tips
- 1. Turn Off a Motorola Phone
- 2. Mirror Motorola Screen to PC
- 3. Back up Motorola to PC
- 4. Control Motorola from PC
- 5. Format Motorola Phone in 2026
- 6. Reboot Any Motorola Phone
- 7. How to Screenshot on Motorola
- 8. Restart Any Motorola Phone
- 9. Motorola Phone Restore Guide
- 10. Set Up Voicemail on Motorola
- ● Manage/transfer/recover data
- ● Unlock screen/activate/FRP lock
- ● Fix most iOS and Android issues
- Free Download Free Download Free Download


Daisy Raines
staff Editor