
How to Format Motorola Phone in 2026 (Step-by-Step Tutorial)

Jun 30, 2026 • Filed to: Data Wipe Solutions • Proven solutions
 TL;DR:
You can format a Motorola phone using the System settings for an accessible device, hardware buttons via Recovery Mode for an unresponsive screen, or Google Find My Device for remote deletion.
● Accessing Recovery Mode requires holding Volume Down and Power to enter FastBoot Mode, navigating to Recovery, and bypassing the "No command" screen by pressing Volume Up and Power simultaneously before selecting "Wipe Data/ Factory Reset".
● Before initiating any reset, you must manually remove your Google account to prevent a Factory Reset Protection (FRP) lock during setup and physically remove the SD card to avoid accidental file deletion.
● Standard Android resets typically take 5 minutes to 2 hours and only clear system access to your files, meaning permanent, unrecoverable data destruction requires overwriting storage sectors using third-party software like Dr.Fone - Data Eraser.
Ask AI for a summary
 ChatGPT
 Perplexity
 Gemini
 Claude
 Grok
Grok
How to format your Motorola phone? The answer is quite simple.
You can format your phone in several ways. Use Settings to reset the phone, with hardware buttons if it’s frozen, through Recovery Mode when it won’t boot, or remotely using Google’s Find My Device.
And in case you have forgotten your Motorola’s password, you can reset it using Dr. Fone in no time. Nevertheless, this guide breaks down each method in simple and clear steps. Keep reading to learn about 5 methods on how to format a Motorola phone.
- Part 1. Does Formatting a Motorola Work the Same as Resetting a Phone?
- Part 2. How to Format a Motorola Phone?
- Method 1: Format Motorola Through Settings
- Method 2: Format Motorola Using Recovery Mode
- Method 3: Format Motorola Remotely Using Find My Device
- Method 4: Format Specific Motorola Models

- Part 3. How to Wipe Your Android Completely Using Dr.Fone Data Eraser Android
Part 1. Does Formatting a Motorola Work the Same as Resetting a Phone?
Essentially, formatting a phone works the same as resetting it. You get to delete temporary files, caches, or even your memory. This makes your phone just like a brand new one. Yet there are some minor differences too, especially for the older Android phones.
A fun fact is that you can even reset a Motorola phone that is locked. However, this may result in the loss of the data. This is basically the same as resetting your phone.
Key Differences Between Format and Reset
Factory reset is Android's friendly tool that uses a format of the data partition plus extra cleanup, while formatting is the more direct, low-level action on the storage itself.
|
Aspect |
Factory Reset |
Formatting (Data Partition) |
| What it is | Android’s built-in wipe | Low-level storage wipe |
| What it wipes | Apps, data, accounts, settings | Entire data partition file system |
| System version | Stays the same | Stays the same unless used with flashing |
| Extra actions | Signs out accounts and resets settings | No account or settings cleanup |
| Technical depth | Higher-level, user-friendly | Lower-level, more technical |
| Typical use | Clean phone, fix issues, prepare for sale | Fix storage errors, prepare for custom ROMs |
Part 2. How to Format a Motorola Phone?
You can format a Motorola phone through Settings, Recovery Mode, and Find My Phone. Here is the explanation for these different methods to format a Motorola phone:
Method 1: Format Motorola Through Settings
Here is how you can format your Motorola using settings:
Steps to Factory Reset via Settings
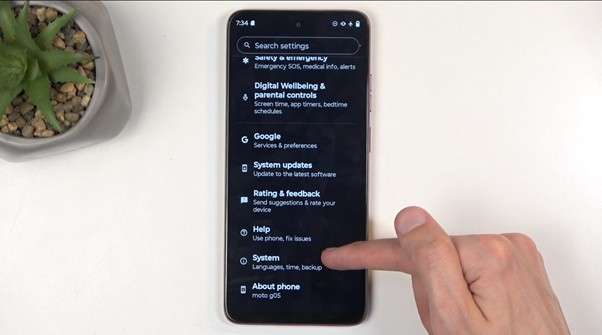
Step 1. Open settings, either from the control center or the main desktop
Step 2. Scroll down to the “System” settings option.
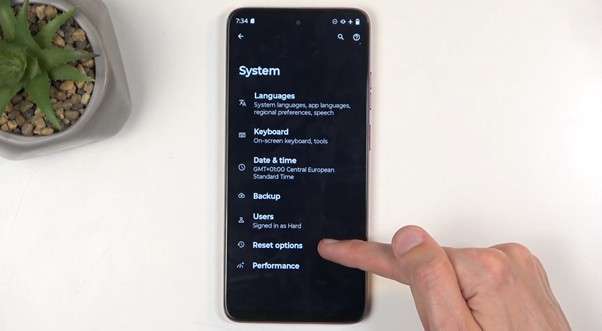
Step 3. Tap on “Reset Options”.
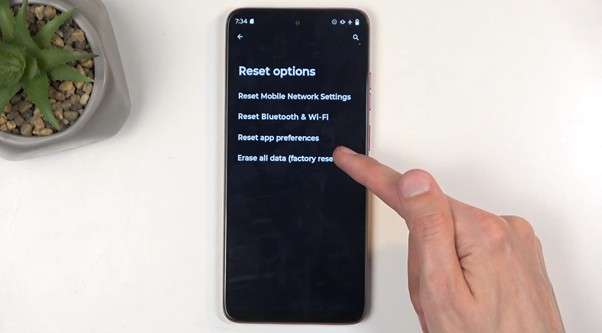
Step 4. Within the Reset Options, opt for “Erase all data (factory reset)”.
Step 5. A screen will pop up detailing all the items that will be permanently cleared. If everything looks correct, go ahead and press “Erase all data.”
Step 6. The device will prompt for your approval one last time, stating that you can’t “You can’t undo this action”, tap on “Erase all data” again.
This will initiate the factory restoration procedure, which will require a few minutes to complete.
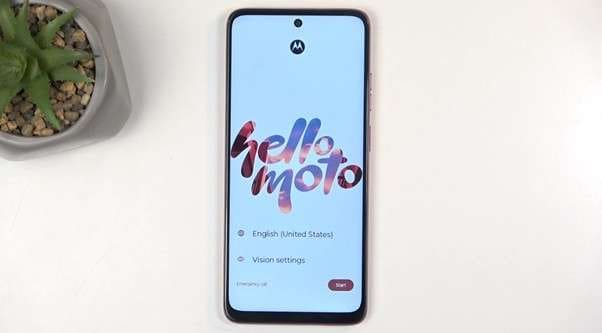
After a couple of minutes, the device will be restored, and now you can set it up as a brand new device.
What Gets Erased During Format
Here are the contents that are wiped after performing a factory reset from settings:
- Previously logged in Google Account
- The System and app data
- Settings
- Downloaded Apps
- All of the Media Files
- Other User Data
Method 2: Format Motorola Using Recovery Mode
Here is how you can format a Motorola using the recovery mode:
Steps to Access Recovery Mode
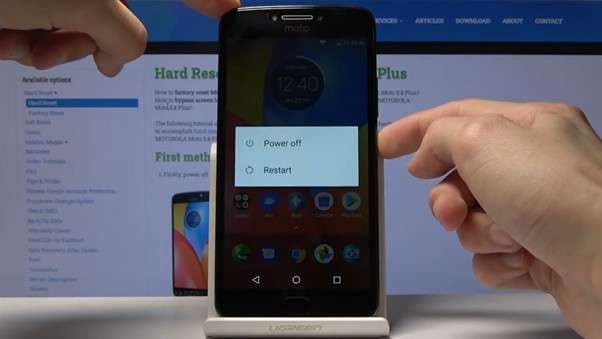
Step 1. Press and hold the power and volume up keys until the power menu appears:
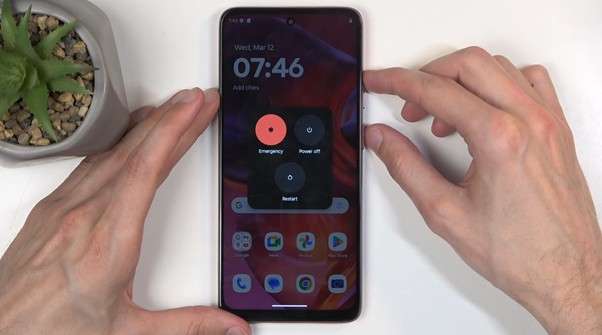
Step 2. From the power menu, select the “Power off” option to shut down the device.
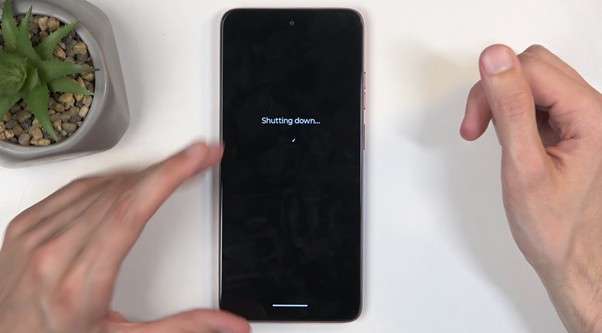
Step 3. Once the screen is completely blank, hold the volume down and power keys until the device vibrates.
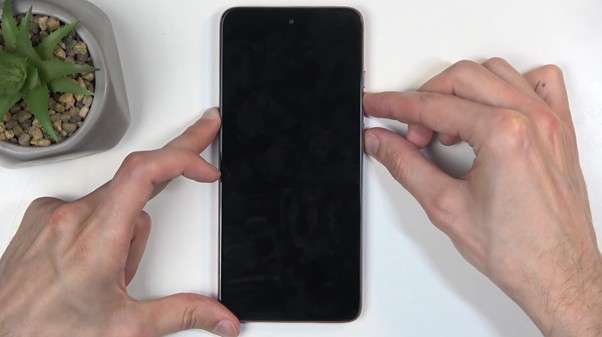
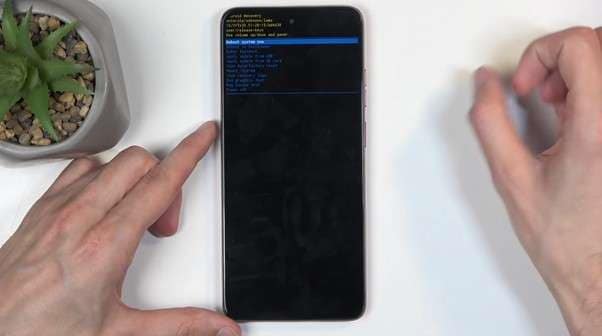
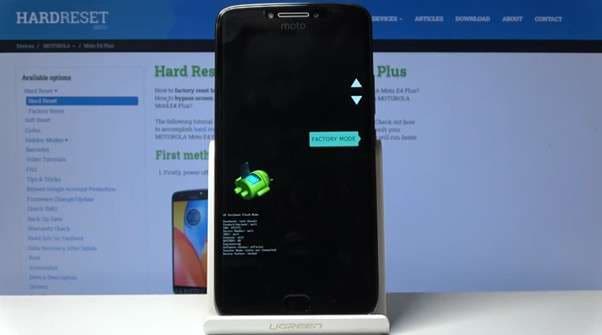
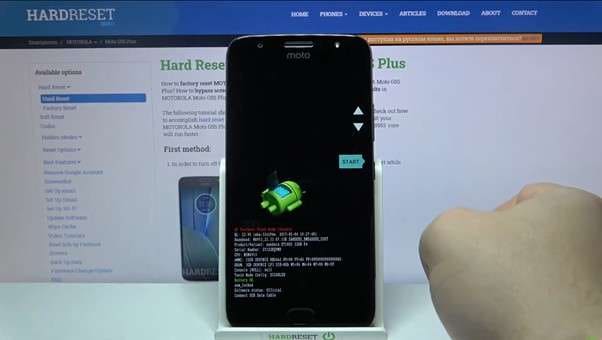
Step 4. The device will into FastBoot Mode, here you can navigate using the volume keys, and the power button for selecting.
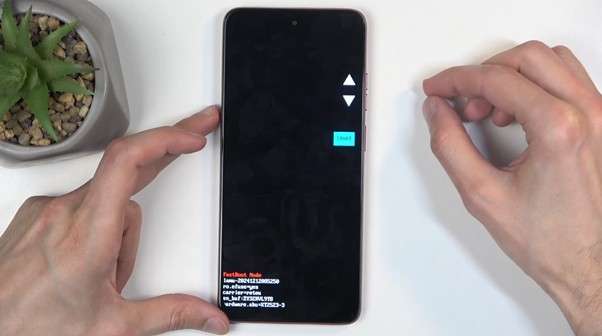
Step 5. Navigate to the “Recovery Mode”, using the volume buttons and then press the power button.

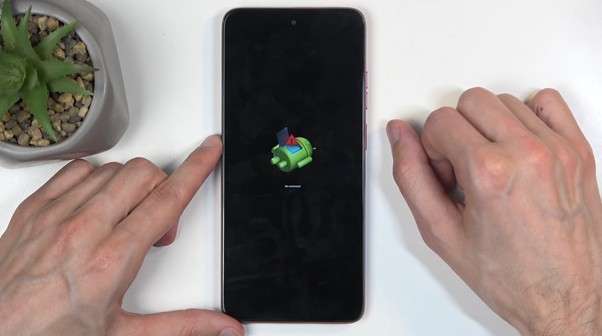
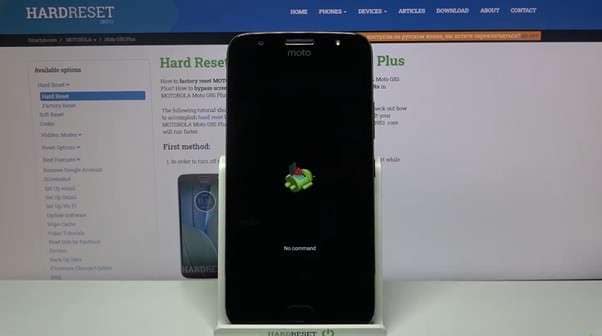
Step 6. The device will reboot and will display a “No command” screen. Press the volume up and power keys, which will direct it to Recovery Mode.
How to Wipe Data from Recovery Mode
Once you are in the Recovery Mode, this is how you can format your device:
Step 1. Just like in FastBoot mode, you can also navigate using volume and power keys.
Step 3. Navigate to “Wipe Data/ Factory Reset” and press the power button.

Step 4. Then opt for “Factory Data Reset”.
Step 5. Wait until the bottom of the screen says “Data Wipe Complete”, scroll to “Reboot System now” and press the power key.
After a couple of minutes, the device will be factory restored, allowing you to set it up just like a new device.

Method 3: Format Motorola Remotely Using Find My Device
Google Find My Device can also wipe your phone remotely, even though its main purpose is to help you locate a lost device.
Requirements for Remote Format
You need to have the following things to format remotely using Google Find My:
- Login credentials for the Google account are logged in on your phone.
- A laptop or another device with a browser, or you can also download the Find My app on another phone.
- Internet Access
Steps to Erase Motorola Remotely
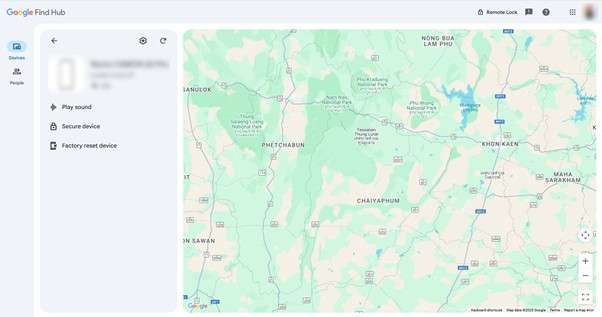
Step 1. Open your browser, go to Find my Device, and sign in with your Google account. If your account is linked to multiple devices, you’ll see them listed. Select your Motorola from the list.

Step 2. Next, from the sidebar on the left side, choose the “Factory reset device” option.
Step 3. A new window will appear; click on next.
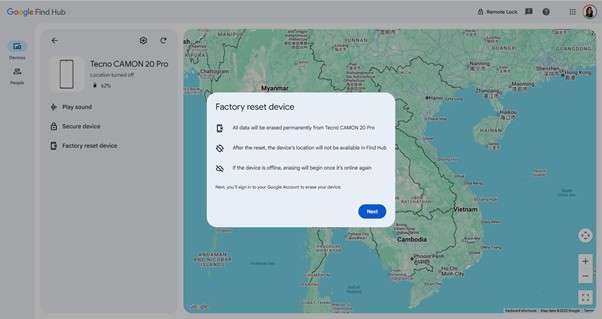
Step 3. For confirmation, it will ask you to log in for one last time.
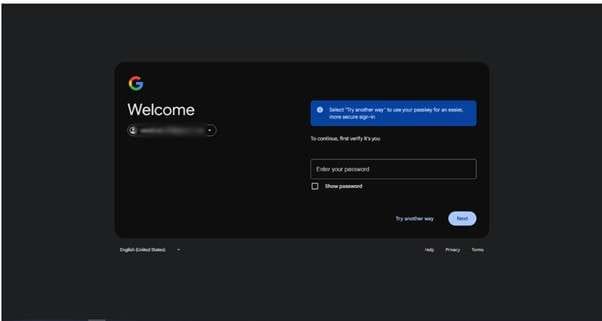
Step 4. Enter the credentials, and follow the remaining instructions to factory restore your Motorola.
Method 4: Format Specific Motorola Models
The following are the steps required to format a specific Motorola model:
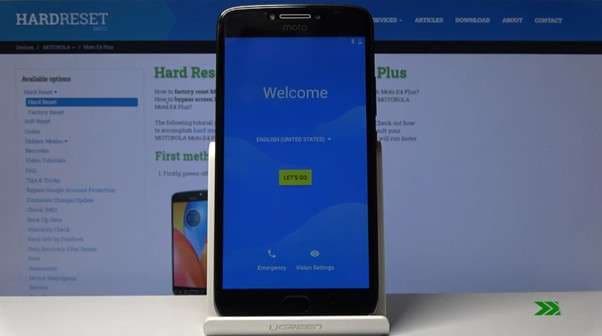
How to Format Moto E4 Plus
Step 1. Keep the power button pressed until the power menu appears, then hit “Power off”.
Step 2. Boot into the FastBoot mode, and using the volume keys, navigate to the “Factory Mode.”
Step 3. Using the volume keys, navigate to the third last option and select it using the power button.
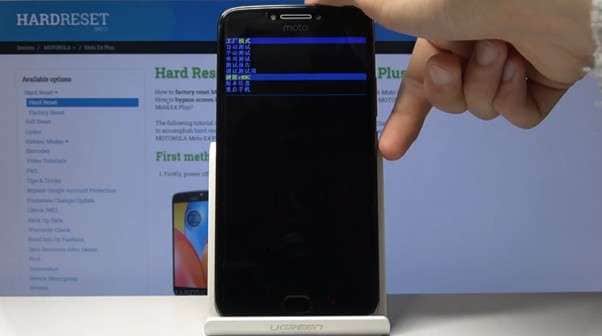
After a few moments, your device will be formatted.
How to Format Moto G5S Plus
Step 1. Power off the device using the power menu by pressing the power button, and launch the Fastboot mode.
Step 2. Use the volume keys to get to the Recovery Mode and press the power button.
Step 3. On the no command screen, press the volume Up and Power key, then in the recovery mode head to the “Wipe data/ factory reset”.
Step 4. Next, select the “User data + personalized content”, and then wait for a few moments, as the bottom of the screen displays “Data Wipe Complete”, press the power button at the “Reboot now” option.
Some reset methods can lead to your phone being FRP locked. If you face that situation, Dr.Fone FRP Bypass can quickly clear the lock and restore your access.
Part 3. How to Wipe Your Android Completely Using Dr.Fone Data Eraser Android
A normal reset only clears the system’s access to your data, not the data itself, which means recovery tools can still bring much of it back.
If you just want to erase all of your data, then you can use Dr.Fone - Data Eraser. It overwrites your old data so it cannot be restored, even with professional recovery software.
Dr.Fone - Data Eraser
Fully Erase Everything on Android and Protect Your Privacy
- Simple, click-through process.
- Wipe your Android completely and permanently.
- Erase photos, contacts, messages, call logs, and all private data.
- Supports all Android devices available in the market.


Steps to Erase Android Data with Dr.Fone
This is how you can erase all the files on your Motorola using Dr. Fone:
Step 1. Download Dr.Fone on your computer, and then go to the “Toolbox > Data Eraser” section from the left sidebar.

Step 2. Connect your Android, and wait for it to connect.
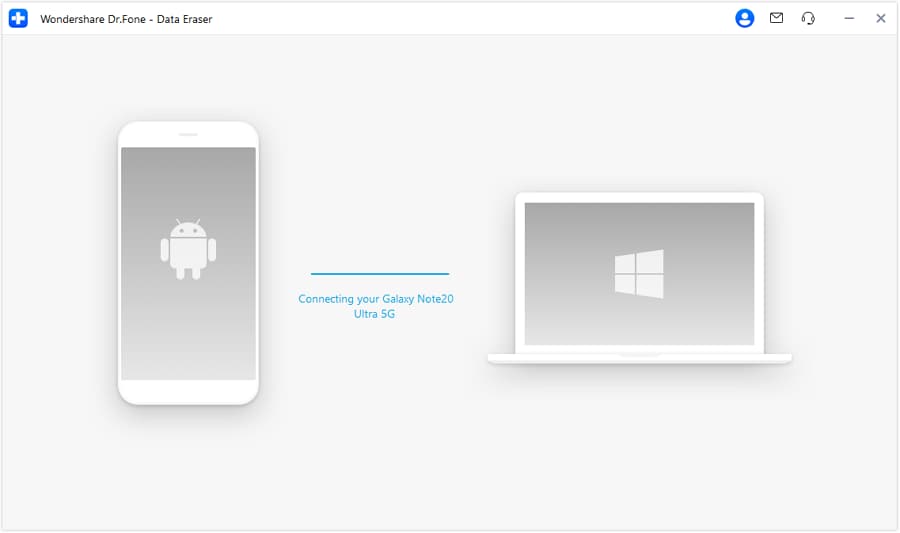
As the device is connected, another window will appear, click “start”.
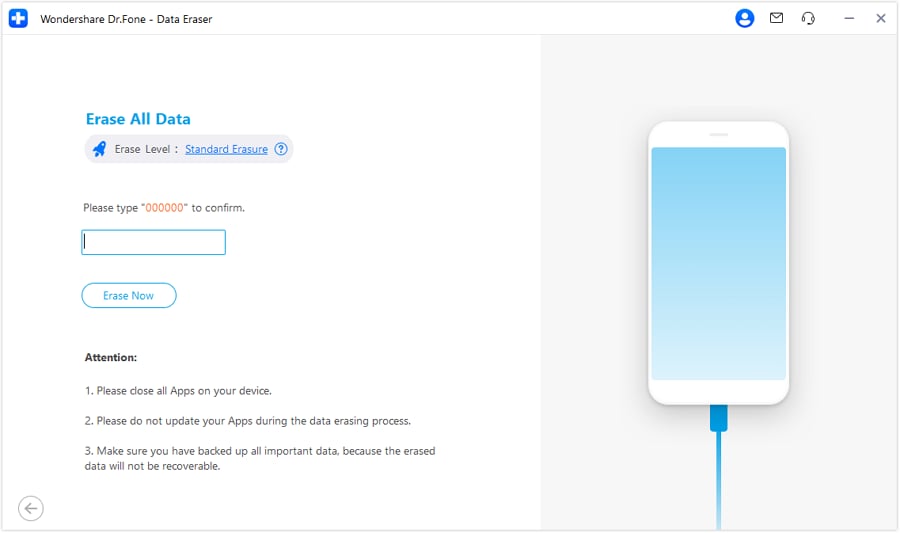
Step 3. Next, select the level of erase you require, and press “ok”.

Step 4. In the text field, type the displayed code, and click “erase now”.
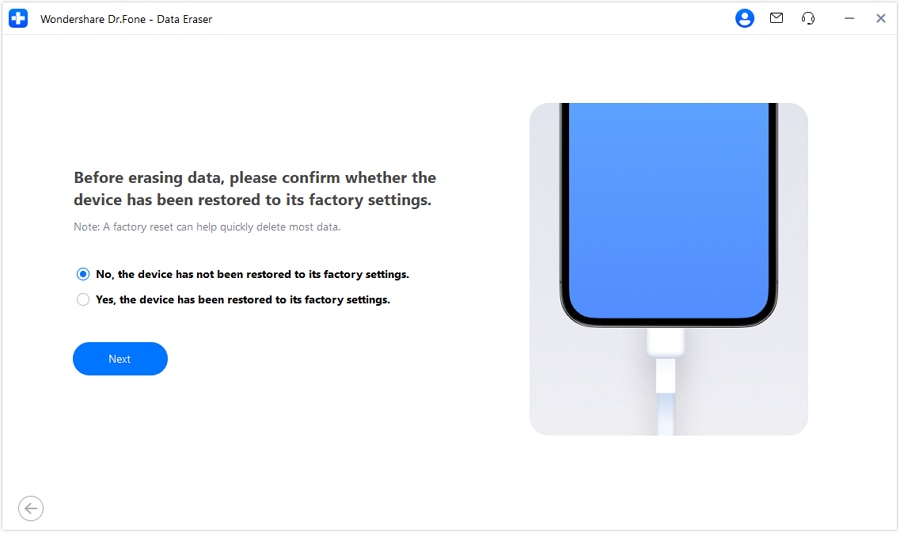
Step 5. Next, according to your situation, select the right option and click Next. Keep in mind, if you have not restored your device, then restore it first, then click on Next.
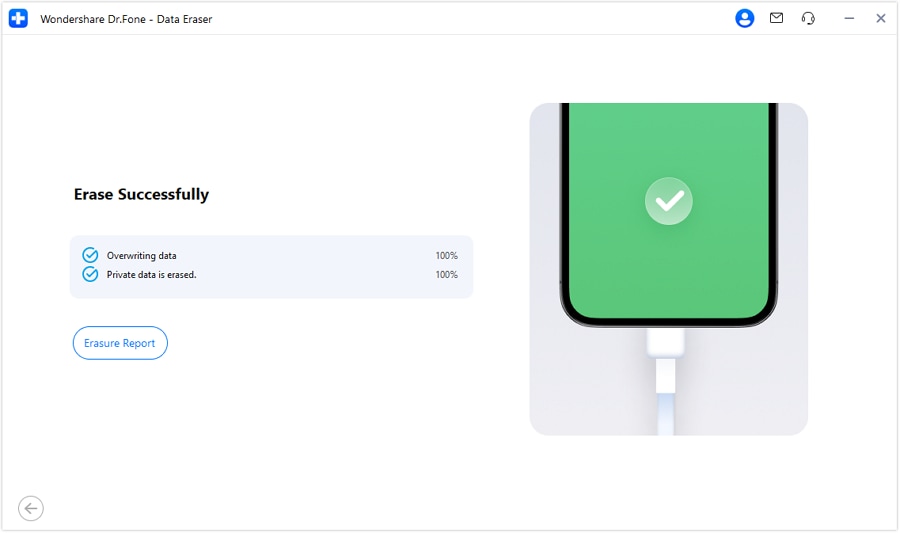
Once the data is erased, it will be displayed as “erased successfully”, and then you can also look at the erasure report.
How Dr.Fone Ensures Permanent Data Deletion
This is how Dr.Fone is different from the factory restoration:
- It uses random information to overwrite data sectors.
- It decomposes the structure of old files.
- It also erases all kinds of recovery traces on the device.
- Also delivers a report for everything it has erased
Conclusion
Formatting a Motorola phone becomes simple once you know which method fits your situation, whether you’re using Settings, Recovery Mode, hardware buttons, or Find My Device. Each option helps you fix issues, clear storage, or prepare your phone for a fresh start. If you want a deeper wipe that can’t be reversed, Dr.Fone’s Data Eraser gives you the safest way to protect your privacy.
4,624,541 people have downloaded it
FAQs


Motorola Manage
- Motorola Transfer
- 1. Download Pictures to PC
- 2. Transfer Motorola to Mac
- 3. Transfer Whatsapp from Moto to iOS
- 4. Transfer Music from Mac to Moto
- 5. Transfer WhatsApp from iOS to Moto
- Motorola Unlock
- 1. Unlock Motorola Without Factory Reset
- 2. Network Unlock Motorola One 5G Ace
- 3. Sim Unlock Moto G Phone
- 4. Unlock Moto Without Factory Reset
- 5. Unlock Motorola Bootloader
- 6. Bypass FRP Lock on Motorola
- 7. Reset Motorola Phone When Locked
- Motorola Repair
- 1. Motorola Won't Power On
- 2. Android App Not Installed Error
- 3. Black Screen of Death Error
- 4. Unbrick Android Phone
- 5. Encryption Unsuccessful Error
- 6. Stuck at Android System Recovery
- 7. Android Won't Turn On
- 8. Android Stuck on Boot Screen
- Motorola Tips
- 1. Turn Off a Motorola Phone
- 2. Mirror Motorola Screen to PC
- 3. Back up Motorola to PC
- 4. Control Motorola from PC
- 5. Format Motorola Phone in 2026
- 6. Reboot Any Motorola Phone
- 7. How to Screenshot on Motorola
- 8. Restart Any Motorola Phone
- 9. Motorola Phone Restore Guide
- 10. Set Up Voicemail on Motorola
- ● Manage/transfer/recover data
- ● Unlock screen/activate/FRP lock
- ● Fix most iOS and Android issues
- Free Download Free Download Free Download


Daisy Raines
staff Editor