100% Security Verified | No Subscription Required | No Malware
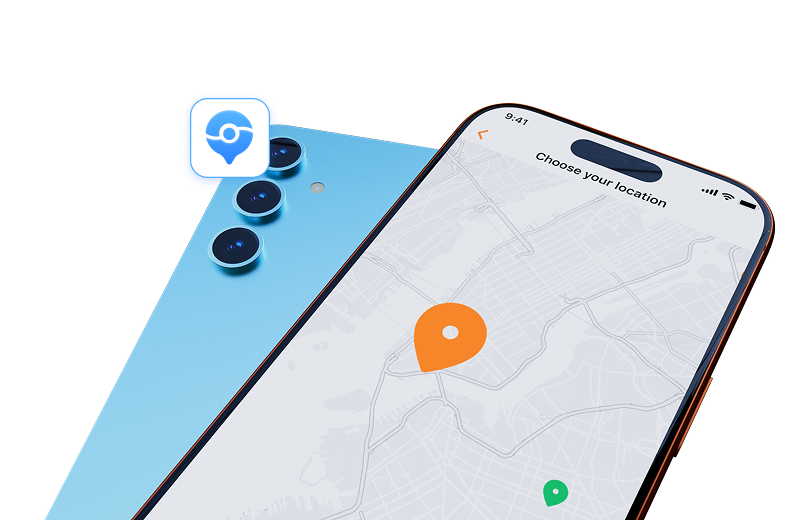

 :
: 
 ChatGPT
 Perplexity
 Gemini
 Claude
 Grok
Grok
For many Pokémon Go enthusiasts, the desire to play on a larger screen with the convenience of a keyboard and mouse is strong. This often leads players to explore Android emulators like BlueStacks. While it's technically possible to get Pokémon Go running on a PC this way, the process is far from straightforward and comes with significant risks.
This comprehensive guide will walk you through the intricate steps required to set up BlueStacks for Pokémon Go in 2026. We'll also explore the inherent challenges and risks of this method and introduce a much safer, simpler alternative for enjoying the game from your computer. Get ready to understand all your options for taking your Pokémon adventure to the desktop.
In this article
Part 1. How Does the BlueStacks Method Work for Pokémon Go?
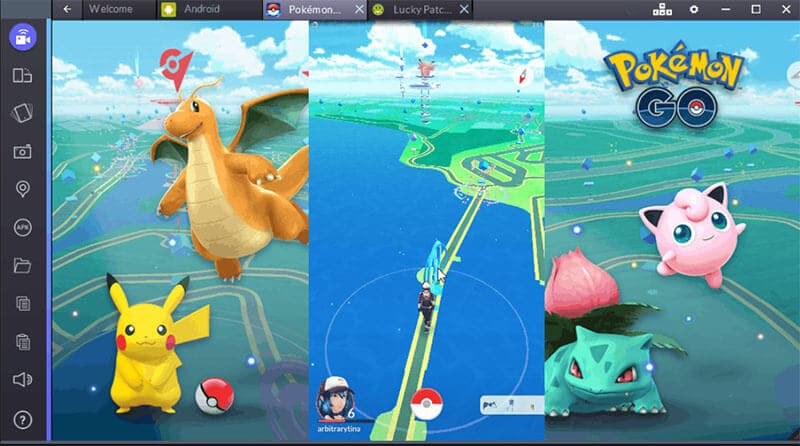
BlueStacks App Player is a powerful Android emulator that creates a virtual Android device on your computer. This allows you to run mobile apps and games, like Pokémon Go, on your Windows PC or Mac. However, Pokémon Go is designed around real-world movement, which a stationary PC cannot replicate.
To make it work, the BlueStacks method requires several modifications. You must not only install the game but also gain administrative (root) access to the virtual Android environment. This allows you to install a location spoofing app, which tricks the game into believing you are moving around outside. Essentially, you're building a complex system to simulate both the Android OS and your physical location, which is why the setup is so involved.
Part 2. Complete Guide to Setting Up Pokémon Go on BlueStacks
Getting Pokémon Go to run on BlueStacks requires a specific sequence of installations and configurations. This process is highly technical and can take over an hour. Before you begin, understand that this method may violate the game's terms of service and could put your account at risk.

Preparations and Required Tools
Before starting the installation, you need to gather several essential tools and ensure your system meets the minimum requirements. This setup can be delicate, so follow the steps precisely.
- BlueStacks Emulator: The core application for running Android on your PC.
- KingRoot: A tool to gain root access within the BlueStacks virtual environment. This is necessary to modify system settings.
- Lucky Patcher: An application that allows you to modify app permissions and install other apps as system applications.
- Fake GPS Pro: A location spoofing application. You'll need to install this as a system app to effectively fake your GPS location without being detected.
- Pokémon GO APK: The game installation file itself.
-
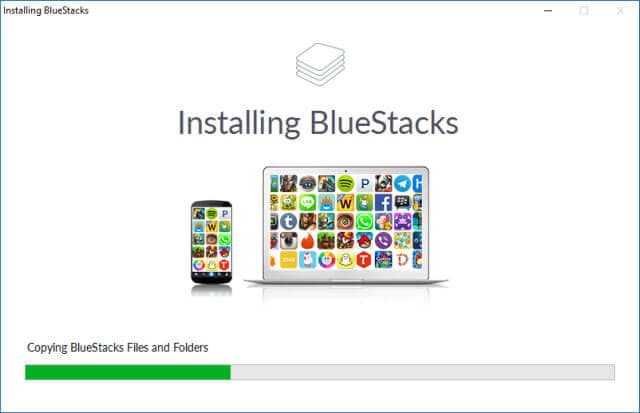
Step 1 Install BlueStacks and Sign In
First, download the latest version of BlueStacks from its official website and install it on your computer. Once the installation is complete, launch BlueStacks and sign in with your Google account. This will give you access to the Play Store and sync your game data.
-
Step 2 Install and Run KingRoot
Download the KingRoot APK file. In BlueStacks, locate the "Install APK" button on the side toolbar. Click it and select the KingRoot APK file you downloaded. Once installed, open KingRoot, click "Try it," then "Fix now," and finally "Optimize now." After it finishes, you can close the app.

-
Step 3 Restart the Android Plugin
To apply the root access changes, you must restart the BlueStacks Android engine. Click the settings (cogwheel) icon in the side toolbar and select "Restart Android Plugin" from the dropdown menu. Wait for BlueStacks to fully restart.

-
Step 4 Install Lucky Patcher and Fake GPS
Using the "Install APK" method again, install Lucky Patcher and Fake GPS Pro. Do not open Fake GPS yet. Launch Lucky Patcher and grant it all necessary permissions. Inside Lucky Patcher, find the "Rebuild & install" option. Navigate to
sdcard>Windows>BstSharedFolder. Select the Fake GPS APK and choose "Install as a System App." Confirm by clicking "Yes." Once done, restart the Android Plugin again (refer to Step 3).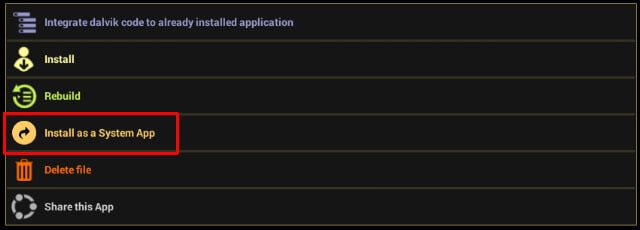
-
Step 5 Install Pokémon Go
Now, install the Pokémon Go APK using the same method. It is crucial that you do not launch the game yet, as the location and system settings are not fully configured.
-
Step 6 Configure Location Settings
In the BlueStacks settings, go to "Location" and set the mode to "High Accuracy." Next, you must disable all location services on your Windows or macOS computer to prevent interference. On Windows, go to Settings > Privacy > Location and turn it off.

-
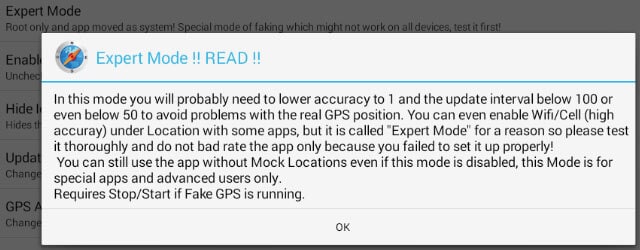
Step 7 Set Up Fake GPS in Expert Mode
Open Lucky Patcher again and launch the FakeGPS app from within it. A "How to operate" guide may pop up; read it and close it. Tap the three-dot menu in the top-right corner, go to Settings, and enable "Expert Mode." Accept the warning that appears. Now, go back to the map, choose your desired starting location, save it to your favorites, and press the Play button to activate the fake location.
-
Step 8 Launch and Play Pokémon Go
You are finally ready to play! Launch Pokémon Go. The initial loading might take a while. Log in with your account. You should now appear at the location you set in Fake GPS. To move, you'll need to switch back to the FakeGPS app, select a new spot, and activate it. If the camera doesn't work during a Pokémon encounter, disable the AR mode when prompted.
Part 3. Challenges and Risks of Using BlueStacks for Pokémon Go
While playing Pokémon Go on a PC is appealing, the BlueStacks method is fraught with difficulties and potential consequences. It's important to weigh the pros and cons before attempting this complex setup.
- Play on a large monitor.
- Use a keyboard and mouse for control.
- Avoid mobile data usage and battery drain.
- Extremely complex and time-consuming setup.
- High risk of errors and system instability.
- Requires multiple third-party tools, posing potential security risks.
- High chance of detection by Niantic, leading to account suspension or a permanent ban.
Part 4. A Safer & Easier Alternative to Play Pokémon Go on PC
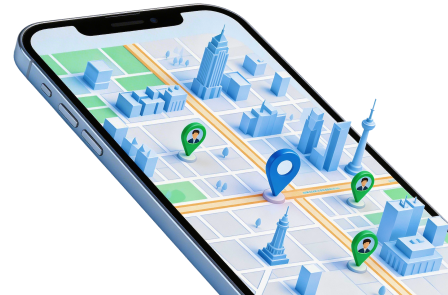
Given the complexity and risks associated with BlueStacks, a dedicated location spoofing tool is a far better choice for most players. Dr.Fone - Virtual Location offers a secure, user-friendly solution to play Pokémon Go from your PC without the need for emulators, rooting, or complicated setups.
This software works by connecting your iOS or Android phone to your computer and directly modifying its GPS coordinates. You can instantly teleport anywhere in the world or simulate movement along a specified route with a virtual joystick, all from an intuitive interface on your PC. This significantly reduces the risk of detection compared to the heavily modified environment of BlueStacks.
 Set your map route to simulate GPS movement.
- Set your wanted movement speed.
- HD and large map view to check location.
- Fake GPS location to anywhere.
Conclusion
While playing Pokémon Go on BlueStacks is technically possible, it is a challenging and risky endeavor best suited for highly technical users who understand the potential consequences. The lengthy setup and high failure rate make it an impractical solution for the average player. For those looking to enjoy Pokémon Go from their PC safely and easily, using a dedicated tool like Dr.Fone - Virtual Location is the recommended approach. It provides a stable, user-friendly experience without the complexities of emulators and rooting, allowing you to explore the world of Pokémon from the comfort of your home. If you have other problems, welcome to explorer in Dr.Fone. You could always find a solution in Dr. Fone.
FAQ
-
1. Can you still play Pokémon Go on BlueStacks in 2026?
Yes, it is still technically possible, but it has become increasingly difficult. Niantic regularly updates its security measures to detect and block emulators. The method described requires a specific combination of older software versions and may break with any new game update, making it an unreliable solution. -
2. Is it safe to use BlueStacks for Pokémon Go?
It is not considered safe for your game account. Using an emulator, rooting a virtual device, and spoofing your location are all violations of Niantic's Terms of Service. This can lead to a 'soft ban' (where you can't interact with the game) or even a permanent account suspension. There are also security risks associated with downloading and installing multiple third-party tools. -
3. Why does Pokémon Go say "device not compatible" on BlueStacks?
This error usually appears because the game has detected that it is running in an emulated or rooted environment. Pokémon Go's security checks for signs that the device is not a standard, physical smartphone. The complex setup with Lucky Patcher and KingRoot is designed to hide this, but it is not always successful. -
4. What is the best way to spoof location in Pokémon Go without getting banned?
There is no 100% ban-proof method, but the safest approach is to use a tool that simulates realistic movement and doesn't require modifying the game app itself. Tools like Dr.Fone - Virtual Location are generally safer because they alter the device's GPS data at the system level, rather than within an easily detectable emulator. Key safety tips include respecting cooldown timers between teleports and using the joystick feature to simulate natural walking speeds.
 Add Wondershare Dr.Fone as a preferred source on Google