[iOS 14/13.7 update] How to Resolve iTunes Backup Not Restoring
iPhone Backup
- iPhone Data Backup
- 1. Back up iPhone in Recovery Mode
- 2. Back Up iPhone With/Without iTunes
- 3. Back up iPhone to Mac
- 4. Back up iPhone/iPad to Computer
- 5. Back up iPhone to Mac Catalina
- 6. Back up Jailbreak Apps And Restore
- 7. iPhone Backup Software
- 8. Back up iPhone/iPad Easily
- 9. Back up iPhone/iPad in DFU Mode
- 10. Back up iPhone Apps and App Data
- 11. Back up Notes on iPhone and iPad
- 12. Back up iOS to External Hard Drive
- 13. Export Notes from iPhone to PC/Mac
- 14.Back up iPhone Photos to Google Photos
- 15. Back Up Your iPhone Voicemails
- 16. Back Up to External Drive
- 17.How to Back Up to NAS
- 18.Back Up iPhone With Broken Screen
- 19.Back Up iPhone to Google Drive
- 20.Buy Used iPhones
- 21.Sell Used Phone for Cash
- 22.Sell Used iPhone for Dollar
- 23.How Much is My iPhone Worth
- iPhone Data Recovery
- 1. Recover iPhone Data Without Backup
- 2. Restore Calendar on iPhone
- 3. Recover Call History on iPhone
- 4. Recover iPhone Lost Data
- 5. Restore iPhone in Recovery Mode
- 6. Undelete iPhone Backup Files
- 7. Recover Deleted iPhone Messages
- iPhone Data Restore
- 1. Restore iPhone from iTunes Backup
- 2. Restore iPhone after Downgrade
- 3. Restore iPhone from Backup
- 4. Restore iPhone from iPad Backup
- 5. Restore iPhone from DFU Mode
- 6. Restore iPhone Deleted Text Message
- iPhone Backup Problems
- 1. Find iPhone Backup Location on Mac
- 2. iPhone Backup Password Never Set
- 3. iPhone Backup Password Forget
- 4. iCloud Backup Taking Forever
- 5. iPhone Won't Backup to iCloud
- 6. iTunes Won't Backup iPhone
- iPhone Restore Problems
- 1. iTunes Stuck on Verifying iPhone
- 2. Not Space to Restore iPhone Backup
- 3. iTunes Backup Not Restoring
- 4. iPhone Won't Restore
- WhatsApp Backup & Restore
- 1. WhatsApp from Google Drive to iOS
- 2. Restore Old WhatsApp Backup
- 3. Restore WhatsApp Chat on iPhone
- 4. Retrieve WhatsApp Chat History
- 5. See Deleted Messages on WhatsApp
- 6. Restore WhatsApp Stuck on iPhone
- 7. iPhone WhatsApp to Google Drive
- 8. Back Up WhatsApp on iPhone
- 9. Backup WhatsApp Data before Changing Number
- iPhone Backup Tips
- 1. Extract Data From iPhone
- 2. Encrypt iPhone Backup
- 3. Reset iPhone Backup Password
- 4. Extract iPhone Backup in Win 10
- 5. How Long take iPhone to Backup
- 6. Find iPhone Backup Location
- 7. iPhone Backup Password
- 8. View iPhone Backup on Computer
- 9. iPhone Backup with iTunes/iCloud
- 10. iPhone Backup Unlockers
- 11.How To Encrypt iPhone Backup
- 12. Best Backup Chargers for iPhone
- 13. Speed Up Your iPhone Backups
- 14. Save Data When iPhone Disabled
- 15.Check Last Backup on iPhone
- ● Manage/transfer/recover data
- ● Unlock screen/activate/FRP lock
- ● Fix most iOS and Android issues
- Back up Now Back up Now Back up Now

Jul 12, 2024 • Filed to: Data Recovery Solutions • Proven solutions
Whenever a new thing or operating system is rolled out, we wish to get on with it. We have this urge of experiencing it. That’s where the Apple users got enticed with the latest iOS 14/13.7 update. Although, it did unleash some powerful features and specs, what impacted was iTunes, its backup, restore which is perhaps not duly compatible with the iOS 14/13.7. Many of the users are fretted out with the problem of restoring the iPhone without iTunes on iOS 14/13.7. However, there are solutions to get pull you out easily!
Part 1: Top reasons why iTunes backup won’t restore
Not enough disk
We can’t just blandly blame on the iOS 14/13.7 when you get “iTunes could not restore the iPhone because an error has occurred” notification. It can be due to insufficient disk space on your iPhone. Whether you are trying to backup or restore from Mac or Windows PC, running out of space might pose to be a problem. So, it is advisable to brush away the unnecessary file(s) or app(s) off from your device and it is one of the reasons why this issue occurs.
iTunes backup corrupted
Again, standing iOS 14/13.7 blameworthy while restoring the iPhone with iTunes is not enough. There are times when iTunes backup gets corrupted for some reason. The case of iTunes backup getting corrupted is hard to ascertain but can surely be a root cause for the failure of iTunes backup restore.
iTunes or iOS errors occurred
Off lately, many users have faced several issues after getting on to iOS 14/13.7. These problems have caused many doubts among users. One of them may be that iTunes backup restore is not compatible with iOS 14/13.7. Hence, the next reason for iTunes could not restore the iPhone could be iTunes errors.
iTunes no longer supported by Apple for updates after WWDC 2019
As per the WWDC 2019, it has recently observed that iTunes might be replaced with the music app. This can be the reason why the iTunes backup cannot restore and does not work properly on iOS 14/13.7. Primarily, iTunes has been a classic music player with a multitude of features it offered. This year, Apple might be gearing up to launch the trio of new apps for Mac-Music, TV, and podcasts by replacing iTunes. That can be the prime reason why iTunes backup restores not available on your iOS 14/13.7.
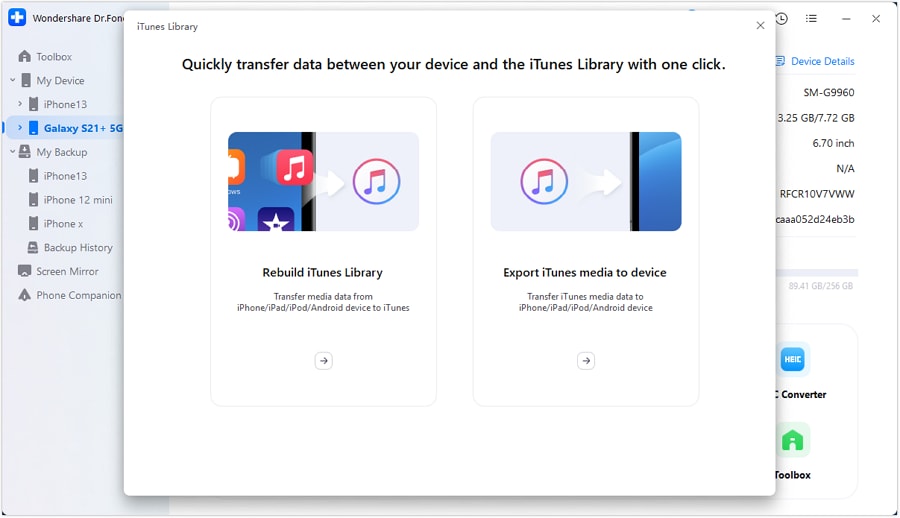
Part 2: Read iTunes backup with a 3rd party tool to restore
While you find your iTunes backup restore is not available in iOS 14/13.7, there is a serious need for help. You need a professional tool that can read your iTunes backup hassle-free. And thankfully, Dr.Fone - Phone Backup (iOS) can do the trick. It is a perfect solution for gaining previewing and restoring any type of content from your iOS device. Here is the complete guide to get into the contents of your iTunes backup.
Step 1: Download program on PC
To start with the process, download and install Dr.Fone - Phone Backup (iOS) on your PC. Carefully load the software and click on the “Phone Backup” tab.

Step 2: Connect iPhone with PC
Draw connection of iPhone/iPad with a computer via a genuine lightning cable. Now, tap on the “Restore” button on the program.

Step 3: Analyze iTunes backup file
From the left column, do make it a point of selecting “Restore from iTunes Backup”. The program will enlist the entire iTunes backup file from the default iTunes backup location. Just, opt for the iTunes backup file that you need and tap on the ‘View’ or ‘Next’ button.
Step 4: Gain insights from the Preview
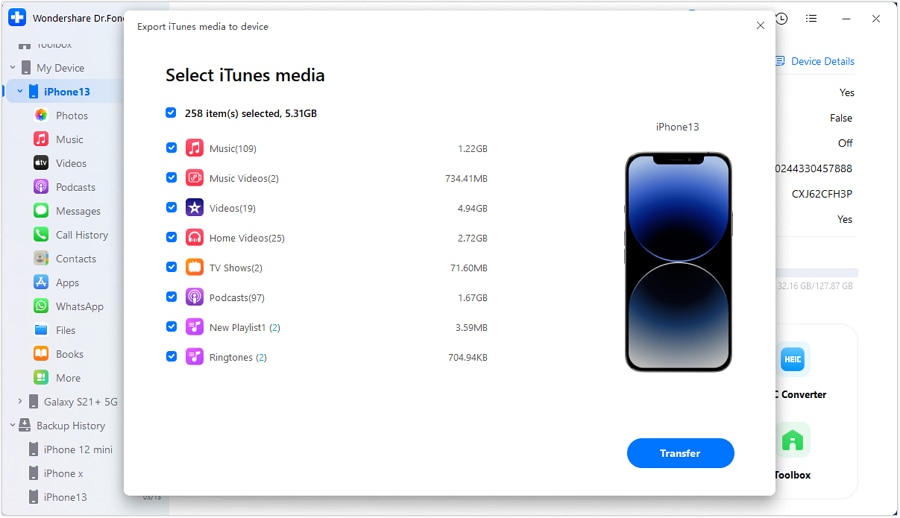
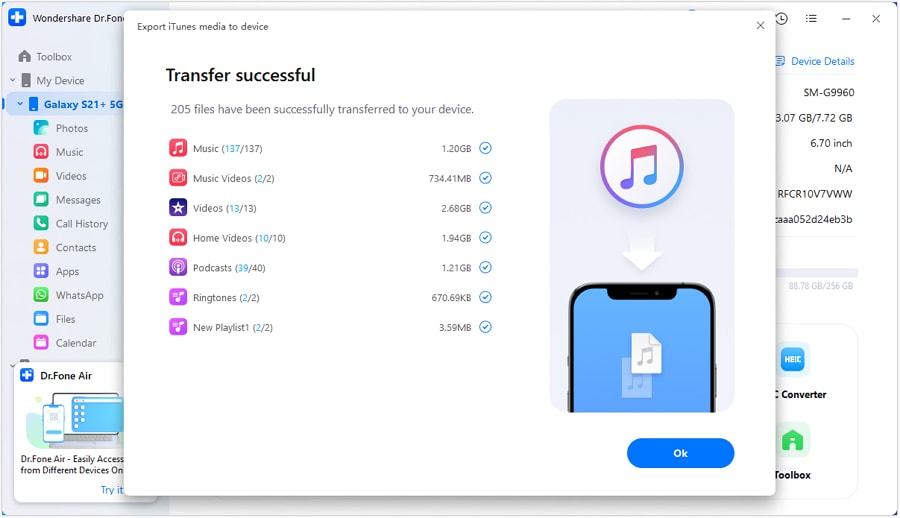
All the contents available in the iTunes backup file will be fetched and showcased over several data types.
Step 5: Restore to device
Now, preview the data types and opt for the desired files. Then, tap on “Restore to Device” for restoring the backup file easily.
Part 3: Fix iTunes errors and retry
Many times, some errors are enough to ruin the operations in iTunes. So, if iTunes backup and restore does not work in iOS 14/13.7 and the culprit is an error code, placing trust on Dr.Fone - iTunes Repair can only come to your rescue. It ensures to completely resolve any kind of iTunes errors or issues in just a single click. Curious to know how? Here is the step by step guide to fix iTunes backup issue.
How to Fix iTunes backup restore not working in iOS 14/13.7
Step 1: Launch Dr.Fone on PC
Begin with downloading the software package on your respected PC/system. Run it and then tap on “System Repair” amongst several available options.

Step 2: Opt for the ‘Repair iTunes Errors’ option
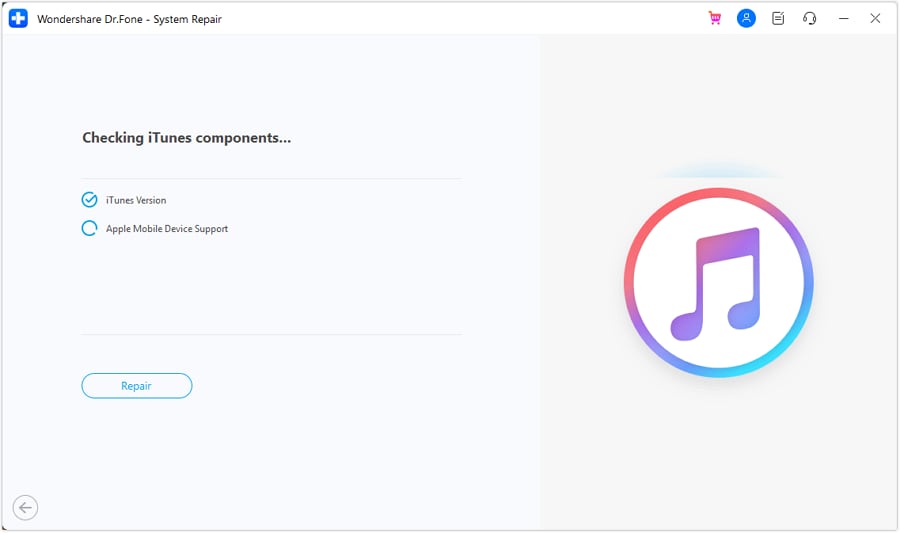
In the popup window, you would notice three repair options, just tap on the “Repair iTunes Errors” option. After this, iTunes will commence in checking out your iTunes components.
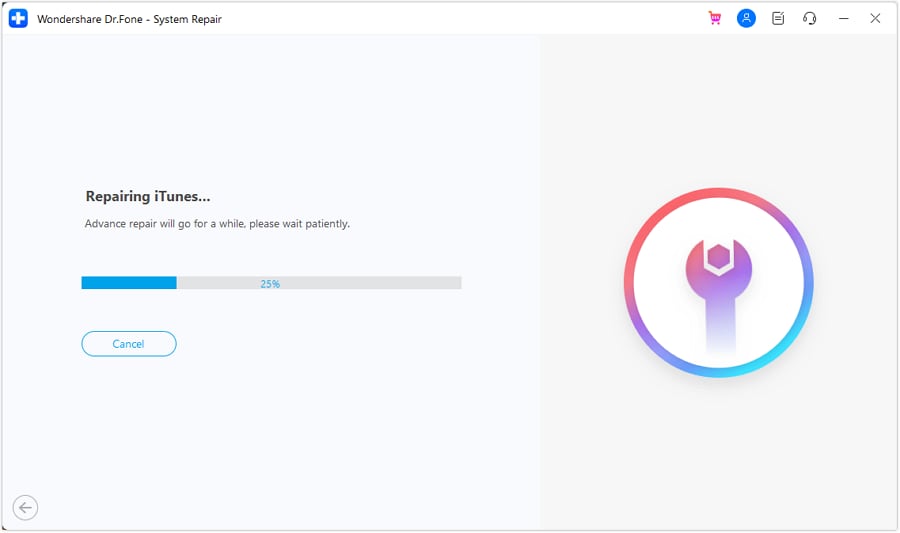
Then the tool starts to check iTunes components.
Step 3: Try out advanced repair
Once the iTunes components get loaded, click on “OK”. In case your iTunes continues to showcase error messages, click on “Advanced Repair”. Wait for the process to get completed.
Part 4: Backup iPhone with an alternative and restore
Backing up iPhone with iTunes might be one staple way of getting all your device. But you must know the alternative means of backing up your iTunes backup especially when your heart wishes to restore iPhone without iTunes. And for that, Dr.Fone - Phone Backup (iOS) will help you. You can glance onto the contents with the preview feature and restore it at your convenience. Just follow the below steps to know how you can create a backup with it when iTunes backup restore does not work.
Step 1: Install the software package on your system
The first step is to download Dr.Fone - Phone Backup (iOS). Launch the program and opt for “Phone Backup” amongst the given options.
Step 2: Connect Device
Use a genuine cable to connect iPhone/iPad to PC and then click on “Phone Backup”. Most of the data types including contacts, photos can be backed up using this program.
Step 3: Choose File Types
Your file types will be displayed on the screen. All you need is to choose the ones that you wish to save. After selecting and de-selecting the items, click on “Backup”.
Step 4: View the Backup if you Desire
When you see your backup getting completed, you can hit on “View Backup History” to get a glimpse of the backup history. Now, click “View” to check the items that are in your backup file.
Now, you can easily restore your iPhone without iTunes using the program. If you want to learn the steps, here are those.
Step 1: Launch Tool
As usual, the first step is to run the tool over the PC. Choose “Backup & Restore” tab followed by “Restore” from the next screen.
Step 2: View the Backup File
You will be able to notice the backup files. Click on the needed one and hit on “View” beside the file. Click “Next” right after that.

Step 3: Restore the Backup
The backup file will be examined by the program. Within no minutes, you will see the data getting displayed on the screen in a categorized way. Simply select the wanted files and choose between “Export to PC” and “Restore to Device” as per your preferences.


James Davis
staff Editor