100% Security Verified | No Subscription Required | No Malware

 :
: 
 ChatGPT
 Perplexity
 Gemini
 Claude
 Grok
Grok
Help! My iPad screen suddenly has vertical lines running down the middle. I didn't drop it, but the display is flickering. What should I do to fix these streaks on my iPad screen?
Modern Tablet User

Observing lines on the iPad screen is often a sign of underlying hardware malfunctions or software instabilities. Whether you see a single black line in the iPad screen or multiple blue lines on the iPad screen, these artifacts can disrupt your workflow and indicate that the display driver or the LCD panel is struggling. If ignored, these minor visual glitches can evolve into total display failure or touch unresponsiveness.
Fortunately, restoring a clear display is often possible without an expensive trip to the repair shop. By systematically troubleshooting everything from iPadOS system errors to loose internal connectors, you can resolve most issues involving horizontal lines on the iPad screen. This 2026 guide provides 9 tested solutions to clear streaks on the iPad screen and ensure your device remains in peak condition.
In this article
Part 1. Why Are There Lines on My iPad Screen?
Understanding why your iPad display lines appear is the first step toward a permanent fix. These visual disruptions usually originate from one of several key areas:
- Physical Stress: Accidental drops or heavy pressure on the chassis can damage the delicate layers of the LCD or OLED panel, leading to vertical lines on the iPad Pro screen.
- Component Wear: The internal flex cable connecting the display to the logic board may become loose or corroded over time, causing ipad screen flickering lines.
- Liquid Ingress: Even minor moisture exposure can short-circuit the display's pixels, creating permanent white lines on the iPad screen.
- Software Corruption: If the iPadOS fails to render the UI correctly due to a bug, you might see temporary lines across the iPad screen.
Part 2. Common Causes and Types of iPad Display Lines
Not all display issues are identical. A dropped iPad screen has lines that look different from those caused by a software glitch. Refer to the table below to identify your specific issue:
| Line Type | Probable Cause | Common Symptom |
|---|---|---|
| Vertical Lines | Hardware damage/Impact | Thin streaks from top to bottom. |
| Flickering Lines | Software bug or Loose Cable | Lines that jump or change intensity. |
| Horizontal Lines | Logic Board or GPU issue | Static lines running side-to-side. |
| Multi-Colored Bands | LCD/OLED Panel Failure | Thick stripes of green, blue, or red. |

Part 3. How to Fix Lines on iPad Screen [9 Tested Solutions]
If your iPad has lines on screen, follow these steps sequentially, starting from the simplest software fixes to more advanced hardware diagnostics.
Solution 1. Force Restart the iPad
A force restart is the most effective way to clear volatile memory and reset display drivers. This can often resolve ipad screen flickering lines caused by background process conflicts. Unlike a regular shutdown, this forces the hardware to power cycle completely.
Step 1For iPads without a Home Button
Quickly press and release the Volume Up button. Quickly press and release the Volume Down button. Then, hold the Top (Power) button until the Apple logo appears.
Step 2For iPads with a Home Button
Simultaneously press and hold the Home and Power buttons. Keep holding them until you see the Apple logo on the display.

Solution 2. Check for Physical or Liquid Damage
Examine the edges of your iPad for any hairline cracks or dents. If you recently dropped the device, the ipad display lines are likely caused by a fractured digitizer or LCD. Additionally, check the charging port for signs of corrosion or moisture, which can cause internal short circuits affecting the screen.
Solution 3. Let the Battery Drain and Recharge
Sometimes, erratic voltage from a depleted or malfunctioning battery can cause the screen to display artifacts. Allow your iPad to die completely (0% battery) and leave it off for an hour. Then, plug it into an official Apple charger and let it reach 100% without interruption. This re-calibrates the power management system.
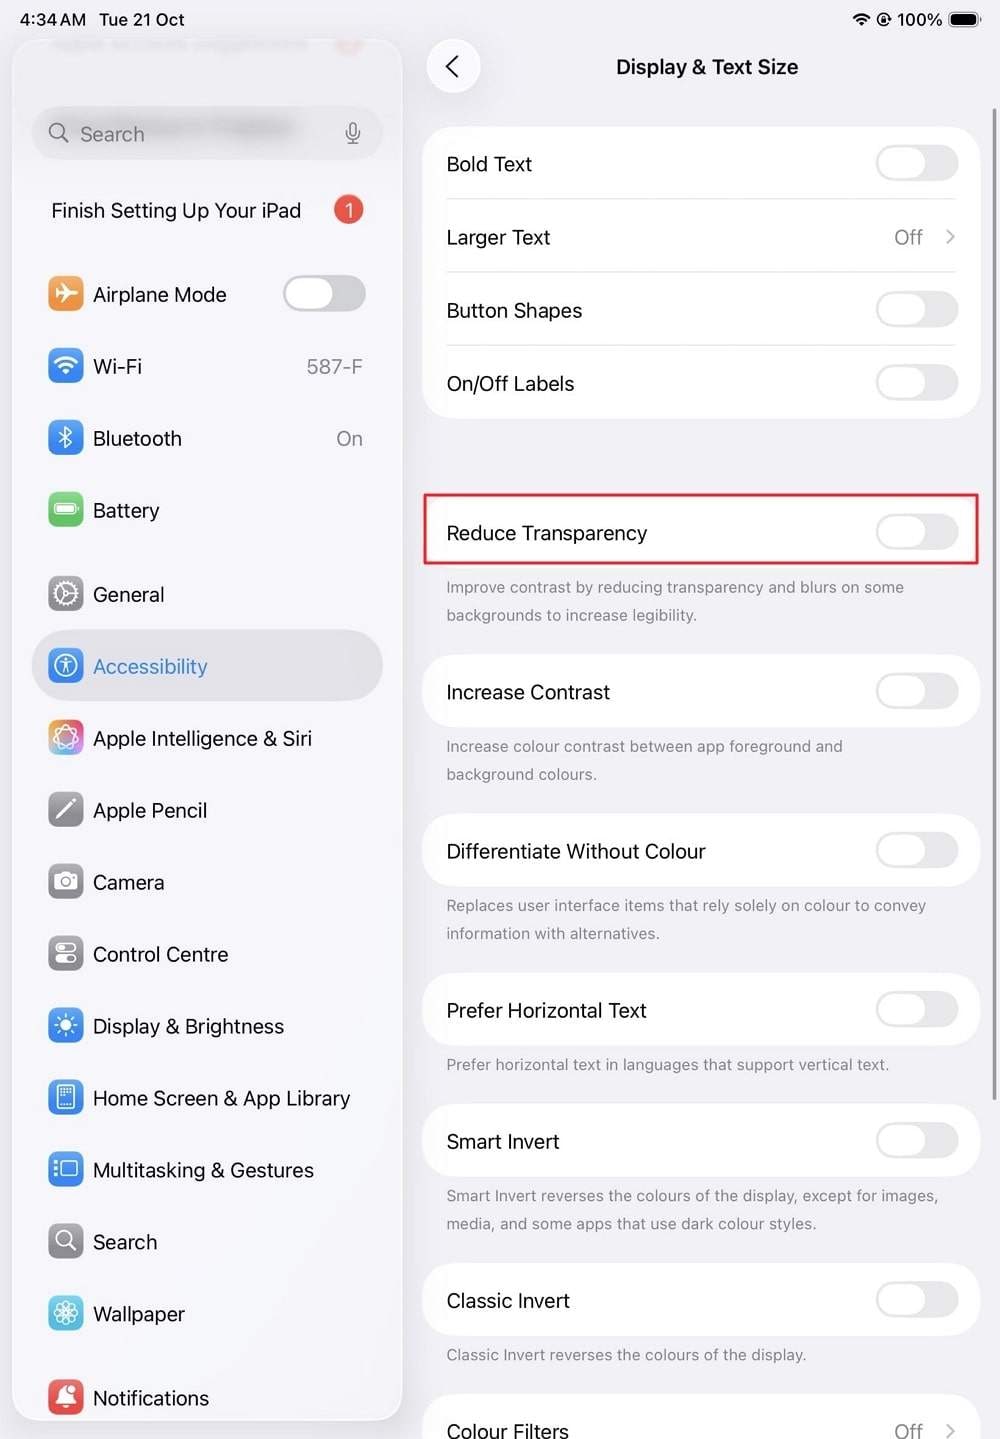
Solution 4. Adjust Brightness and Display Settings
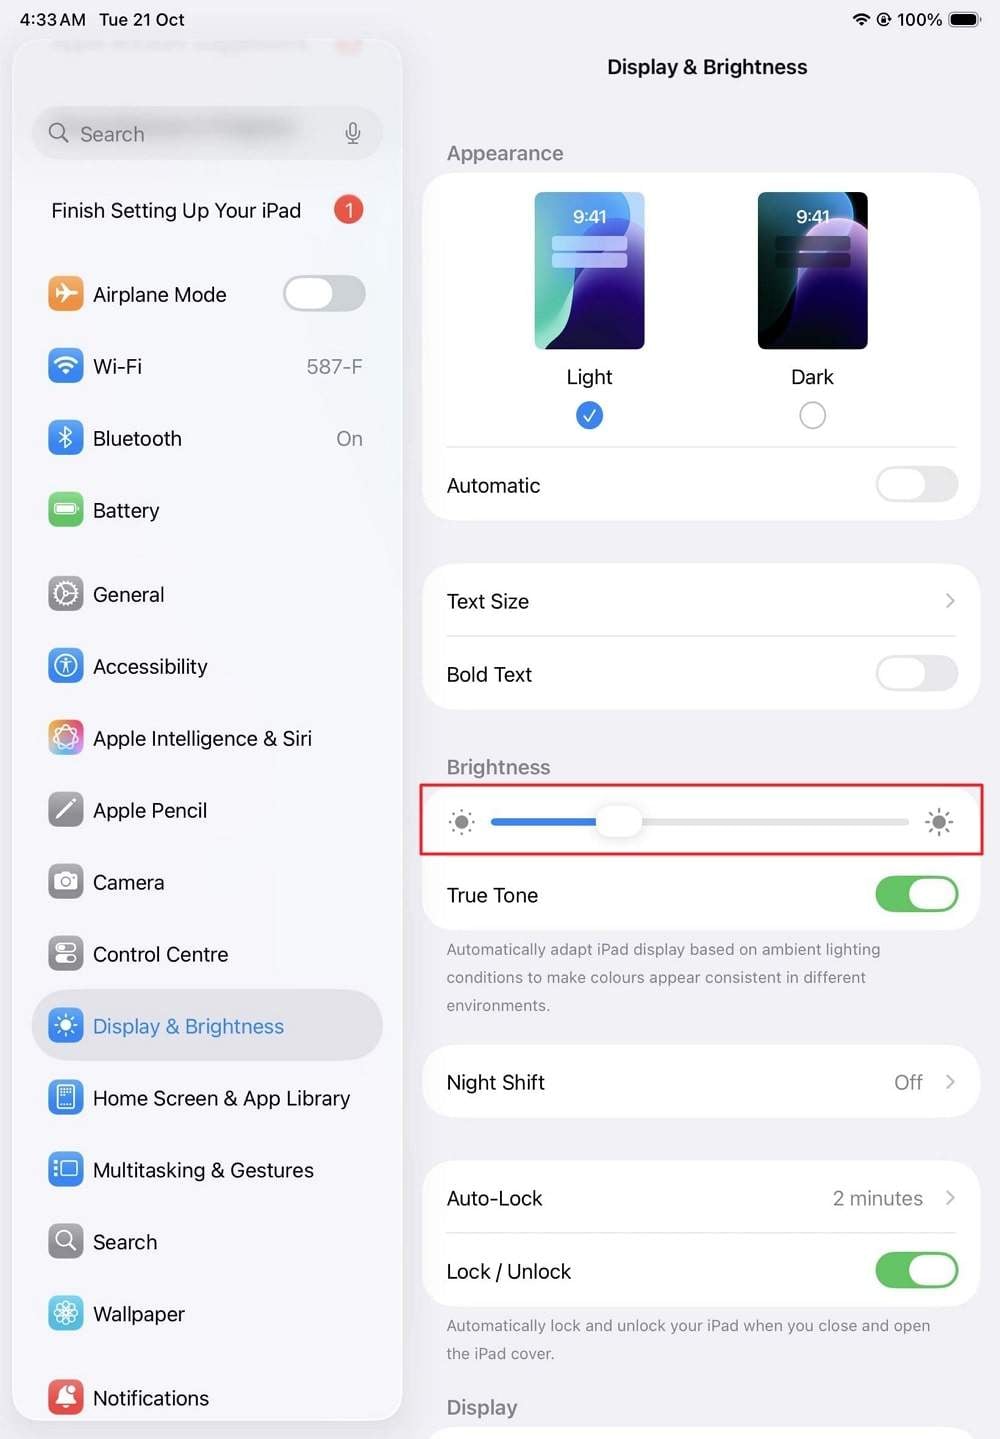
If you notice streaks on the iPad screen, it might be due to an issue with the backlight or the Auto-Brightness sensor. Manually adjusting these can sometimes "nudge" the pixels back into correct alignment.
Step-by-Step Display Calibration:
- Brightness: Open Settings > Display & Brightness and move the slider to maximum, then minimum.
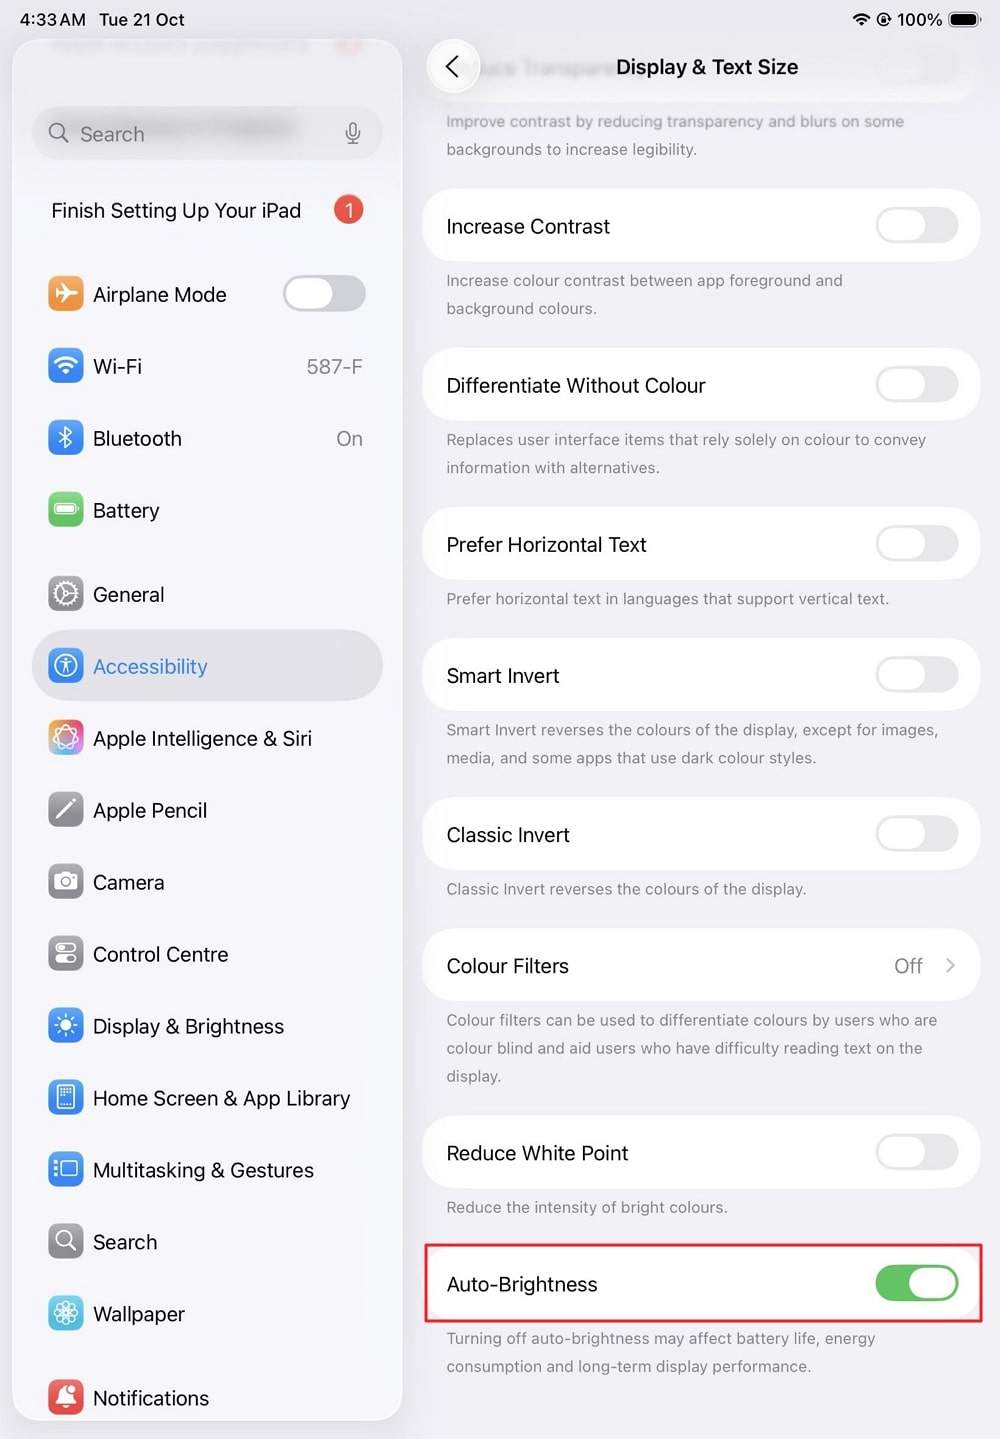
- Transparency: Go to Settings > Accessibility > Display & Text Size. Toggle on "Reduce Transparency" and "Increase Contrast."
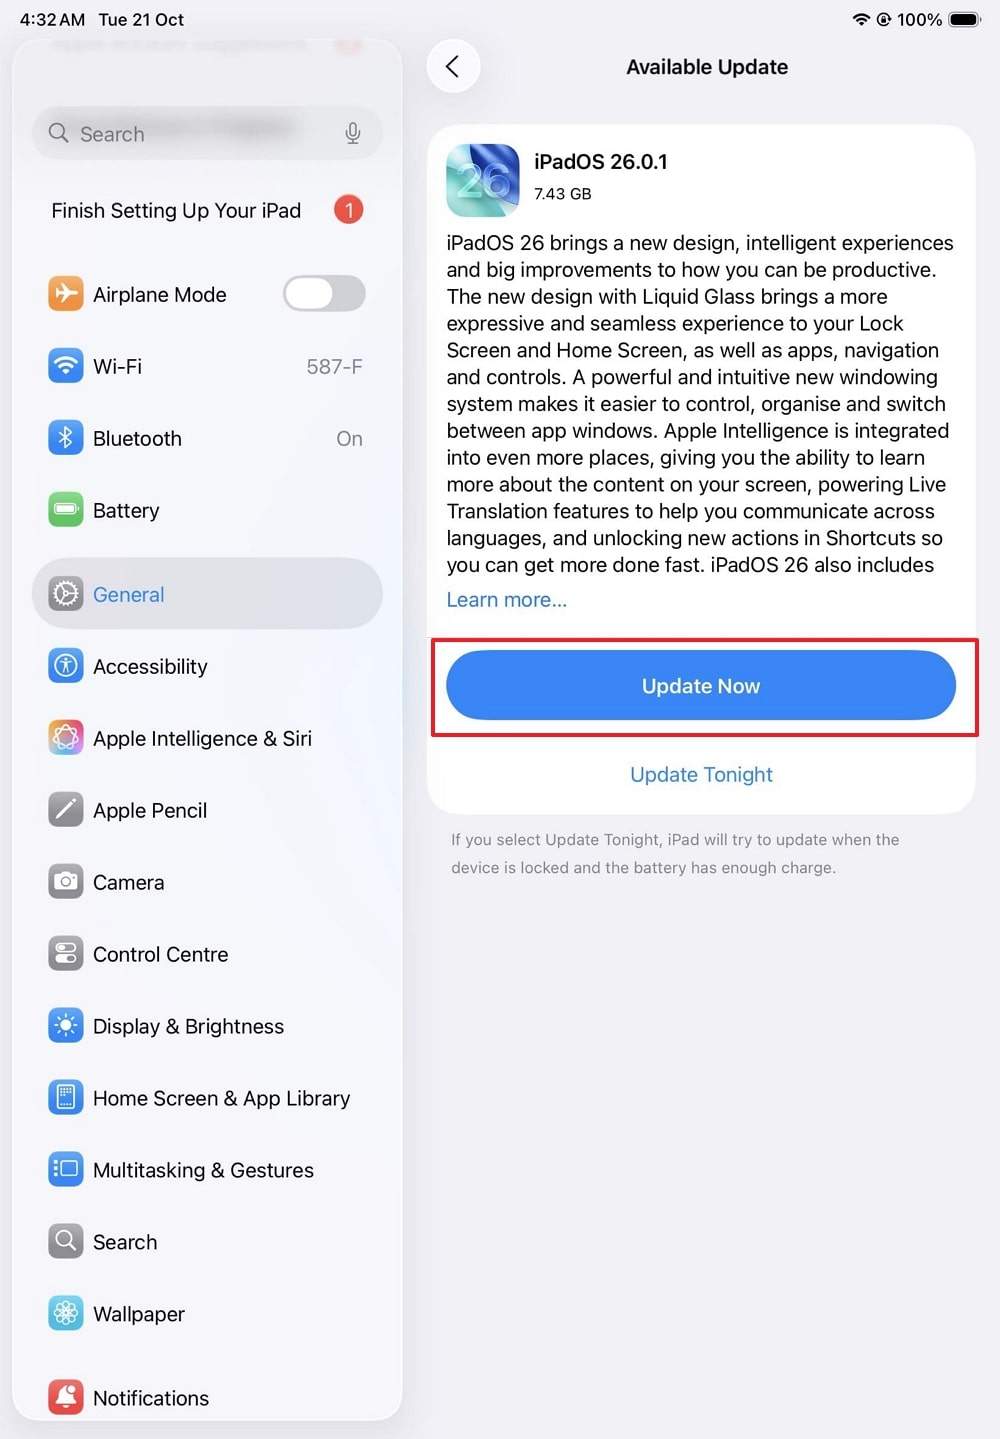
Solution 5. Update iPadOS to the Latest Version
Apple frequently releases patches for display-related bugs. If you are seeing blue lines on the iPad screen after an old update, installing the latest iPadOS 26 firmware can refresh the system drivers and resolve the conflict.
Step 1Check for Updates
Navigate to Settings > General > Software Update.
Step 2Install Firmware
If an update is available, tap "Update Now." Ensure your device is connected to Wi-Fi and has at least 50% battery.

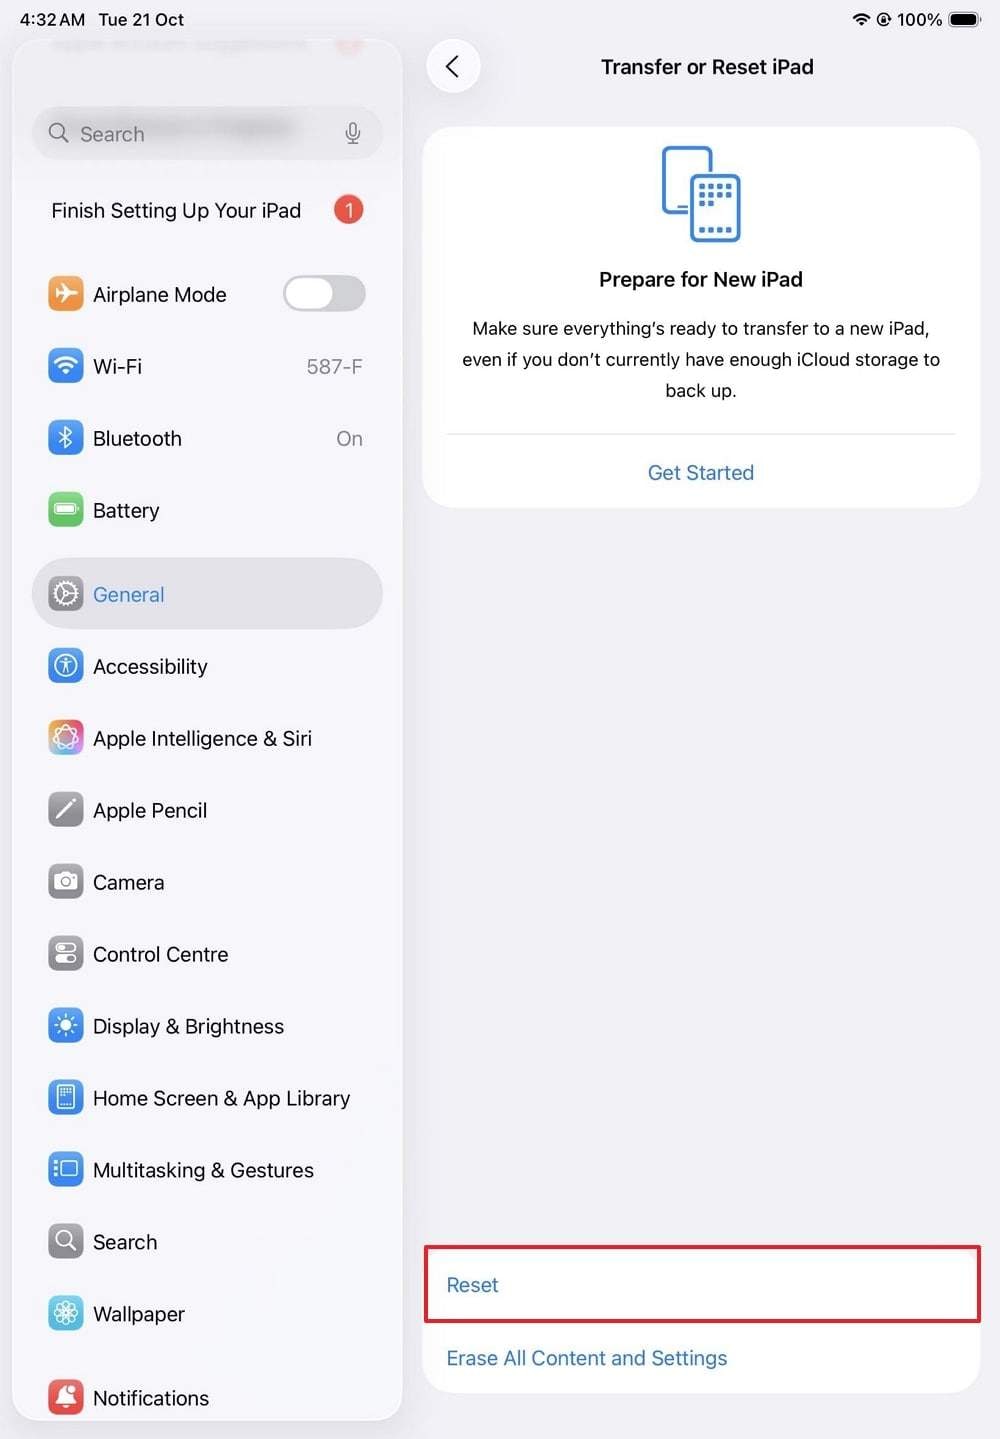
Solution 6. Reset All Settings
Corrupted system configurations can lead to horizontal lines on the iPad screen. Resetting all settings will revert display, network, and privacy preferences to factory defaults without deleting your personal data (photos, apps, etc.).
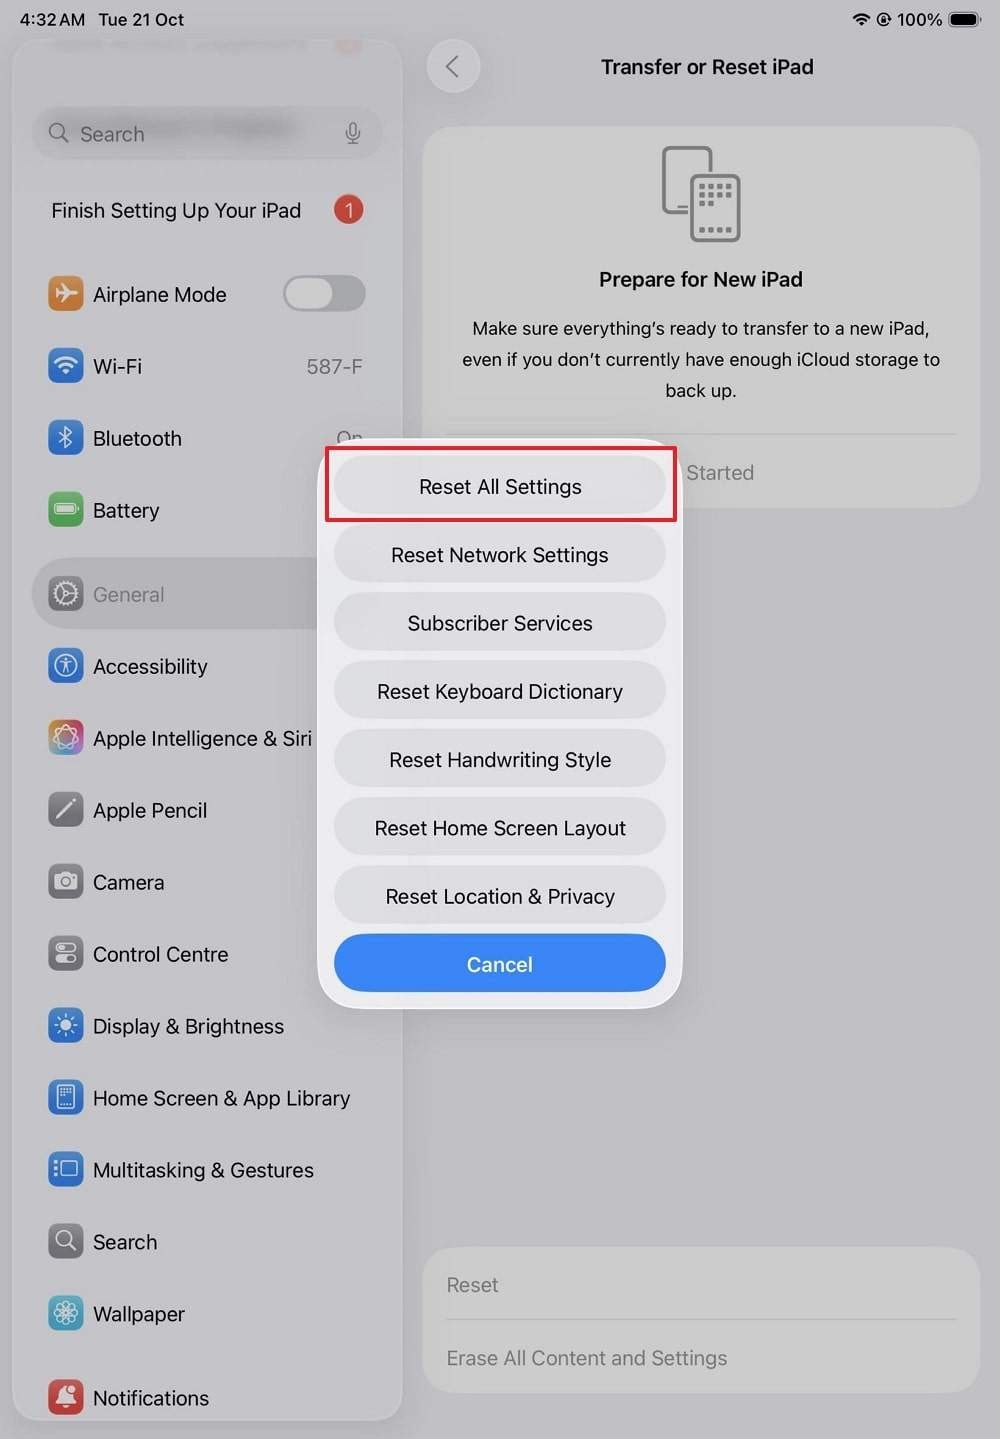
- Step 1: Go to Settings > General > Transfer or Reset iPad.
- Step 2: Tap Reset > Reset All Settings. Enter your passcode and confirm.
Solution 7. Use iPadOS Repair Software to Fix System Errors
When manual fixes fail to remove the lines on the iPad screen, the issue likely resides deep within the iPadOS firmware. Dr.Fone - System Repair (iOS) is a professional-grade tool designed to fix over 150+ iOS/iPadOS issues, including screen flickering, white Apple logo, and display artifacts, without any data loss.
It works by downloading a fresh, verified version of the iPadOS firmware and installing it cleanly onto your device, bypassing the bugs that cause vertical lines on the iPad pro screen. It is fully compatible with iPadOS 26 and all the latest iPad models.
 Fix iOS issues, no data loss.
- One-click repair for all iOS problems.
- Solve recovery mode, Apple logo, black screen, etc.
- Upgrade or downgrade iOS without iTunes

Steps to Resolve iPad Lines using Dr.Fone:
Step 1Launch System Repair
Open Dr.Fone on your computer, select "System Repair" > "iOS," and choose "Standard Mode" to preserve your data.
Step 2Download Firmware
Put your iPad into Recovery Mode following the on-screen guide. Dr.Fone will detect your model; click "Download" to get the matching firmware.
Step 3Fix the Display Issue
Once downloaded, click "Repair Now." The software will rebuild your system and eliminate lines across the ipad screen.


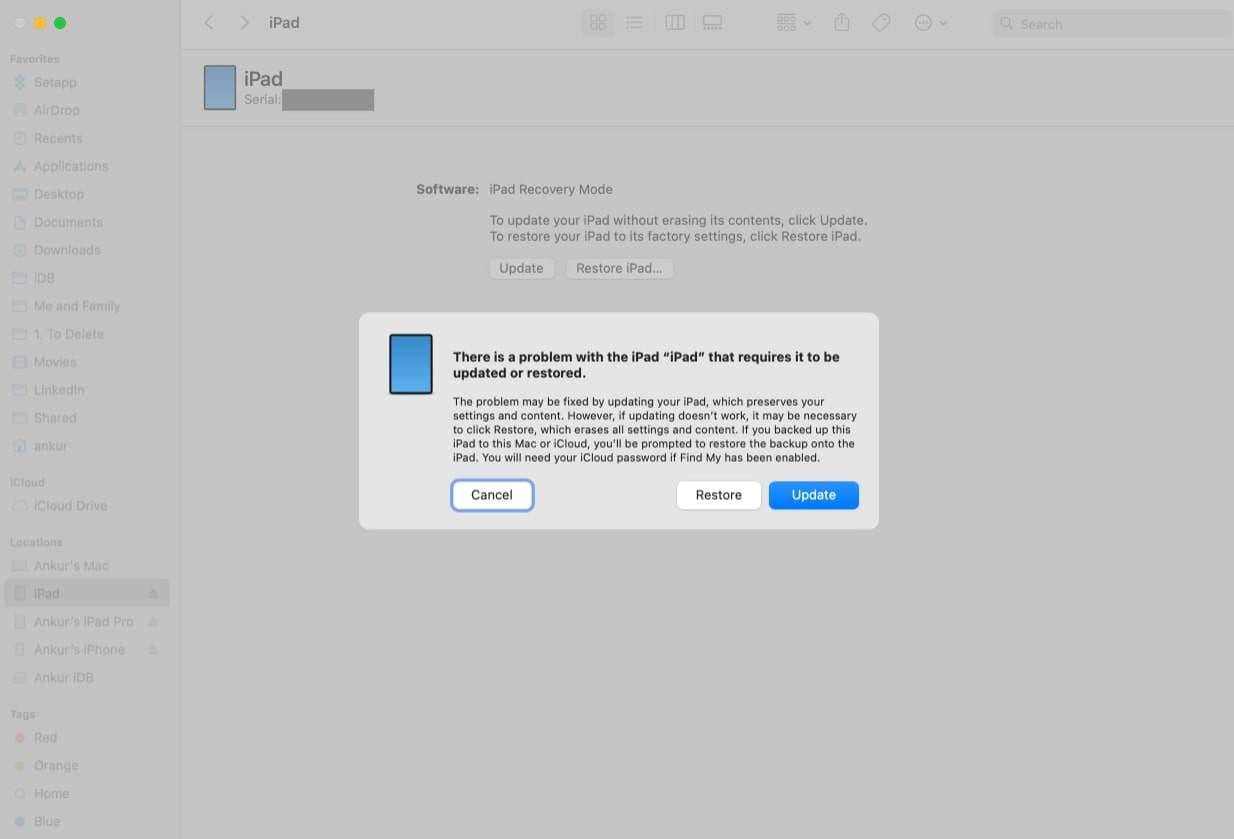
Solution 8. Restore the iPad in DFU Mode
If the software issue is related to the bootloader, a DFU (Device Firmware Update) restore might be necessary to clear a black line in the iPad screen. This is the deepest type of restore possible. Note: This will erase all data on your iPad, so ensure you have a backup.
- Step 1: Connect iPad to your PC/Mac. For iPads with Face ID, press Vol Up, then Vol Down, then hold Power until the screen goes black. Continue holding Power and add Vol Down for 5 seconds. Release Power but keep holding Vol Down.
- Step 2: When iTunes/Finder detects a device in recovery, click "Restore."
Solution 9. Professional Screen Repair or Replacement
If all software solutions fail and the lines on the iPad screen persist, the problem is likely a hardware defect in the LCD or OLED panel itself. At this stage, professional repair is required to replace the display assembly. This will resolve permanent white lines on the iPad screen and restore full touch sensitivity.
Part 4. Prevent Future "iPad Screen Has Lines" Problems
Once you've restored your display, use these proactive tips to ensure lines on the iPad screen don't return:
| Preventative Tip | Action | Key Benefit |
|---|---|---|
| Heavy Duty Case | Use a ruggedized case with a lip. | Absorbs shock from accidental drops. |
| Thermal Control | Avoid leaving iPad in hot cars. | Prevents adhesive melting and LCD ghosting. |
| Software Hygiene | Enable Automatic Updates. | Patches display driver bugs immediately. |
| Gentle Cleaning | Use Microfiber only; no liquids. | Prevents moisture damage to screen connectors. |
Conclusion
Dealing with lines on the iPad screen can be frustrating, but most issues can be solved through methodical troubleshooting. From a simple force restart to a deep system repair using Dr.Fone - System Repair (iOS), you have multiple tools to restore your clear display. If software fixes don't work, don't hesitate to seek professional hardware support to replace a damaged screen.


FAQ
1. Does AppleCare+ cover lines on my iPad screen?
Yes, if the ipad display lines are caused by a manufacturing defect, they are covered under the standard warranty. If they result from a drop (accidental damage), AppleCare+ will cover the repair for a small service fee.2. Can a software update really fix vertical lines on an iPad?
Yes, if the vertical lines on the ipad pro screen are caused by a firmware bug or a corrupted display driver, an iPadOS update or a system repair tool like Dr.Fone can often fix the issue without hardware replacement.3. Why is there a single black line in my iPad screen?
A single black line in the ipad screen usually indicates a dead row of pixels or a failed connection in the display cable. If it persists after a restart, it is likely a hardware issue.4. Will resetting all settings delete my photos?
No, using the "Reset All Settings" option will only revert system preferences (Wi-Fi, Brightness, Wallpaper) to default. Your personal data, such as photos and messages, will remain untouched.
 Add Wondershare Dr.Fone as a preferred source on Google