

 TL;DR:
You can browse privately on an iPhone or iPad by enabling Safari's Private mode or Chrome's Incognito mode to prevent local history saving, and you can secure physical access to these browser apps using Dr.Fone - App Lock.
● Built-in private browsing modes only protect local device privacy; they do not hide your internet activity from ISPs or network administrators, nor do they block third-party website trackers.
● Devices running iOS 16 and above can use Dr.Fone - App Lock to lock browser apps behind Face ID or a PIN, with additional features to automatically restrict access based on specific timeframes or geographic zones.
● To reduce device-wide data collection, manually disable the "Allow Apps to Request to Track" option in your iOS settings and route your connection through a VPN to encrypt your IP address.
Ask AI for a summary
 ChatGPT
 Perplexity
 Gemini
 Claude
 Grok
Grok
Privacy while browsing is vital. This is true, especially when using shared devices. Private browsing is a simple, effective way to keep your online activities discreet. It ensures your search history, cookies, and other data aren't saved on your device.
Fortunately, popular browsers like Safari and Chrome have private browsing modes. They make it easier to surf the web without a trace. Being aware of how to browse privately on iphone will keep your activities discreet when you shop, research, or use a shared device.
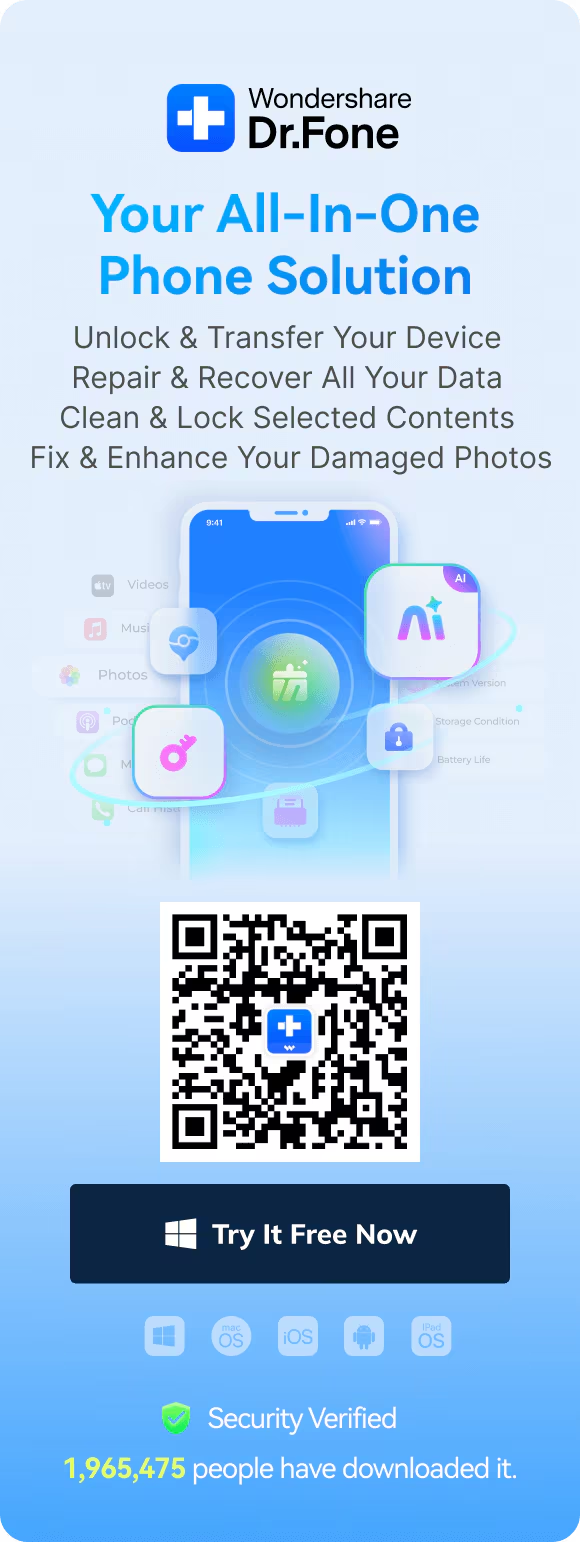
For enhanced privacy, tools like Dr.Fone - App Lock can go a step further by securing your sensitive apps and protecting personal data. This solution keeps your private info safe, even after you browse.
In this article

Part 1: What is Private Browsing and Why Use It?
Private browsing is a feature available in most modern web browsers that allows users to surf the internet without saving browsing history, cookies, or site data. When enabled, any data generated during your browsing session—such as search queries or login credentials—is not stored on your device.

Why Use Private Browsing?
Private browsing has several advantages that make it a valuable tool in today's internet-driven world:
- Avoiding Saved History and Cookies Private browsing ensures that your search history and cookies are not stored on your device, keeping your activities confidential.
- Protecting Privacy on Shared Devices If you're using a shared or public device, private browsing prevents others from seeing your online activity or accessing your saved information.
- Accessing Sites Without Personalized Recommendations or Ads Private browsing allows you to explore websites without influencing personalized content or ads based on your previous browsing history. This can be particularly useful for unbiased searches or discreet shopping.
Part 2: How To Enable Private Browsing On iPhone
Private browsing modes in Chrome and Safari allow you to surf the internet discreetly, with no saved history or cookies. Here's a step-by-step guide on how to turn on private browsing on iphone and how to turn on private browsing on ipad, along with tips on how to get out of private browsing mode on ipad.
1. How to Use Incognito Mode in Chrome
Incognito mode in Chrome helps you browse privately without leaving a trace of your activity. Follow these steps to enable it:
Steps on How to Turn On Incognito Mode in Chrome:
- Open the Chrome app on your iPhone or iPad.
- Tap the three dots in the bottom-right corner of the screen.
- Select "New Incognito Tab."
- Confirm you're in Incognito mode by noting the dark background and the hat-and-glasses icon at the top of the tab.

How Do I Get Off Incognito Mode
Exiting Incognito mode ensures you return to regular browsing. Here's how:
- Close all Incognito tabs by tapping the tabs icon and swiping them away.
- Switch back to regular browsing tabs by opening a standard tab from the menu.
2. How to Turn on Incognito Mode in Safari
Safari's private browsing feature provides a secure and private browsing experience by not saving your activity or cookies. Here's how to enable and exit it:
Steps to Enable Private Browsing
- Open the Safari app on your iPhone or iPad.
- Tap the tabs icon (two overlapping squares) located in the bottom-right corner.
- Select the "Private" option from the tabs menu.
- Tap the "+" icon to open a new private browsing tab.

How Do You Get Out Of Private Browsing
When you're ready to return to regular browsing, follow these steps:
- Close all private browsing tabs by tapping the tabs icon and swiping them away.
- Switch back to regular tabs by selecting the "Tabs" option in the same menu.
3. What Private Browsing Does Not Do (Applicable to Both Browsers)
While private browsing helps protect your local privacy, it's not a foolproof solution. It's important to know its limitations:
- It doesn't hide your browsing activity from your internet service provider (ISP) or network administrators.
- It doesn't block website trackers or third-party data collection.
Part 3. Additional Ways to Browse Privately on iPhone
Enhancing your privacy while browsing on an iPhone requires more than just switching to private browsing modes. You can adopt several strategies to protect your data and minimize tracking. Here's how to go to private browser on iphone:
Use a VPN Service
A VPN (Virtual Private Network) encrypts your internet connection and hides your IP address, making it harder for third parties to monitor your activities.
Steps to Use a VPN on Your iPhone:
- Download a trusted VPN app from the App Store, such as NordVPN, ExpressVPN, or CyberGhost.
- Open the app and create an account or log in.
- Follow the setup instructions to connect to a VPN server of your choice.
- Ensure the VPN is active (you'll see a VPN icon in the status bar).

Limit Permissions for Apps and Websites
Restricting app and website permissions prevents unnecessary access to your sensitive data, such as your location or contacts.
Steps to Manage Permissions on Your iPhone:
- Open the Settings app.
- Navigate to Privacy & Security > Location Services.
- Select apps individually to adjust their location permissions to Never, Ask Next Time, or While Using the App.
- Go to Privacy & Security > App Permissions to manage access to your camera, microphone, and contacts.
- Toggle off permissions for apps that don't require them.

Disable Ad Tracking
Ad tracking allows apps to collect data for personalized ads. Disabling this feature ensures that your activity is less traceable across platforms.
Steps to Disable Ad Tracking on Your iPhone:
- Open the Settings app.
- Go to Privacy > Tracking.
- Toggle off "Allow Apps to Request to Track."
- Optionally, review individual apps under the same menu to ensure tracking is disabled.

While these steps on how to use a private browser are crucial for protecting your privacy, an extra layer of security is often necessary to safeguard sensitive apps and data. That's where Dr.Fone - App Lock (iOS) comes in. By adding this additional layer of protection, you can feel more secure knowing that your personal apps are fully protected against unauthorized access.
Part 4. Securing Browser Apps with Dr.Fone - App Lock
Securing your browser apps, such as Chrome and Safari, is essential for maintaining privacy, especially when you use private browsing modes. Dr.Fone - App Lock adds a critical layer of security, preventing unauthorized access to your private tabs and browsing sessions. Let's explore how Dr.Fone - App Lock can help secure your browsing experience.
Key Features of Dr.Fone - App Lock (iOS)
Dr.Fone - App Lock offers a variety of features that help safeguard your browsing apps. These features ensure that your private sessions remain secure even if someone tries to access your phone.
- Lock Specific Apps: Dr.Fone - App Lock allows you to lock individual apps, such as Safari or Chrome, to prevent unauthorized access.
- Face ID and PIN Code Protection: You can set up Face ID or a PIN code to add an extra layer of security to your locked apps, making it nearly impossible for anyone else to access them.
- Organize Apps into Groups: Group your locked apps for better organization, allowing you to manage your apps securely and conveniently.
Dr.Fone App - App Lock (iOS)
Enhanced App Security: Lock/Hide Apps Based on Time and Location
- Lock apps to prevent accidental deletions or downloads.
- Hide apps from the home screen for enhanced privacy.
- Face ID/PIN code protection for secure access.
- Supports iOS 16 and above.


How to Use Dr.Fone - App Lock
Dr.Fone - App Lock is easy to use, offering straightforward steps to secure your apps and browsing sessions. Here's how you can set it up:
Step 1
Launch Dr.Fone on your iPhone or iPad. Go to the App Lock tool within the app.

Step 2
Organize your apps into groups for easier management and better access.

Step 3
Add the apps you wish to lock, such as Safari, Chrome, or any other app you want to secure. Choose between Locked Mode and Private Mode.

Step 4
Set up Face ID or a PIN code to secure your locked apps and prevent unauthorized access.

Bonus Tip: Restrict Time and Zone
Dr.Fone - App Lock offers additional features for locking apps based on your location or the time of day, further enhancing your privacy.
- Restrict Zone: You can set geographic zones where apps are locked or hidden automatically. For instance, restrict your browsing apps in certain public places or when you're at work.
- Restrict Time: Define specific time frames when apps are locked. For example, you can lock your browsing apps during work hours or when you're at home to ensure privacy.
Example: You can set Dr.Fone - App Lock to automatically hide browsing apps during office hours or when you're in certain locations, helping keep your private browsing activities secure.
By using Dr.Fone - App Lock, you can take control of your privacy, adding an essential layer of protection for your browser apps and ensuring your sensitive data stays safe.
Conclusion
It's now more important than ever to maintain privacy while browsing on your iPhone or iPad. Private browsing modes in Safari and Chrome are helpful. But, securing your apps and sensitive data with Dr.Fone - App Lock adds protection. With features like Face ID, PIN code security, and app grouping, Dr.Fone ensures that only you can access your private tabs and apps.
For those who want even more security, Dr.Fone - App Lock also allows you to restrict app access based on location and time, offering a personalized privacy experience. We encourage you to try Dr.Fone - App Lock to safeguard your browsing activities and sensitive apps.
FAQ
-
Q: How can I browse privately on my iPhone or iPad?
A: You can use Incognito Mode in Chrome or Private Browsing mode in Safari to ensure your browsing history and cookies aren't saved. For added privacy, consider using a security tool like Dr.Fone - App Lock to lock your browser apps, preventing unauthorized access to your private browsing sessions.
-
Q: How can I ensure my browsing apps are secure on my iPhone or iPad?
A: To secure your browsing apps, you can use the built-in private browsing features in Chrome and Safari. Additionally, Dr.Fone - App Lock provides an extra layer of protection by locking your Safari or Chrome apps with a PIN code or Face ID, ensuring no one else can access your private tabs.
-
Q: What other ways can I protect my sensitive apps and data on my device?
A: Besides using private browsing modes, you can enhance the security of your sensitive apps by using Dr.Fone - App Lock. It lets you lock any app, including messaging, social media, and financial apps, with a PIN or Face ID, providing complete control over your privacy.


Jane Lunes
staff Editor
Generally rated4.5(105participated)