
Want to instantly elevate your Illustrator designs? Start by learning how to remove a background in Illustrator. Whether youe designing logos, brand assets, or product visuals, a clean background boosts clarity and professionalism. In today mobile-first world, where attention spans are short, cluttered visuals can easily get ignored. A transparent or minimal background helps your content shine ssential for eCommerce, marketing, and branding.
Removing backgrounds isn just a design trend a digital necessity. From creating versatile logos to meeting platform standards for clean product images, mastering background removal gives you a creative edge. In this guide, we'll cover multiple easy, effective ways to remove or erase backgrounds in Adobe Illustrator step-by-step. Plus, we'll introduce a bonus tip using Dr.Fone App's AI Photo Enhancer, perfect for improving image quality on mobile before editing in Illustrator.
In this article
Part 1. What Is Adobe Illustrator & Why Background Removal Matters
Adobe Illustrator is a powerhouse in the creative industry. It's widely used by graphic designers, branding agencies, marketers, and even freelancers for producing scalable vector graphics. Think logos, posters, packaging, and even UI mockups.
Its key strength? Scalability. You can design something in Illustrator, and it'll look just as sharp on a billboard as it does on a mobile screen.
But here's the catch: even the most beautifully drawn image can lose its impact if it's sitting on a cluttered or irrelevant background. That's why knowing how to remove background in Adobe Illustrator is crucial.
Why Designers Remove Backgrounds
- Creates cleaner compositions
- Improves brand adaptability across different media
- Makes exporting easier for e-commerce, social media, and websites
- Helps isolate subjects in a professional way
Use Cases for Transparent Backgrounds
- ✅ Product Photography Highlight only the object
- ✅ Logos Fit seamlessly on any color or layout
- ✅ Web Design Create layered assets without background clashes
- ✅ Marketing Collateral Clean visuals attract more attention
Learning how to make Illustrator background transparent is essential if you want your graphics to be truly versatile.
Part 2. How to Remove a Background in Illustrator (3 Methods)
Illustrator offers different methods to remove backgrounds, depending on the complexity of your image and the level of detail you need.
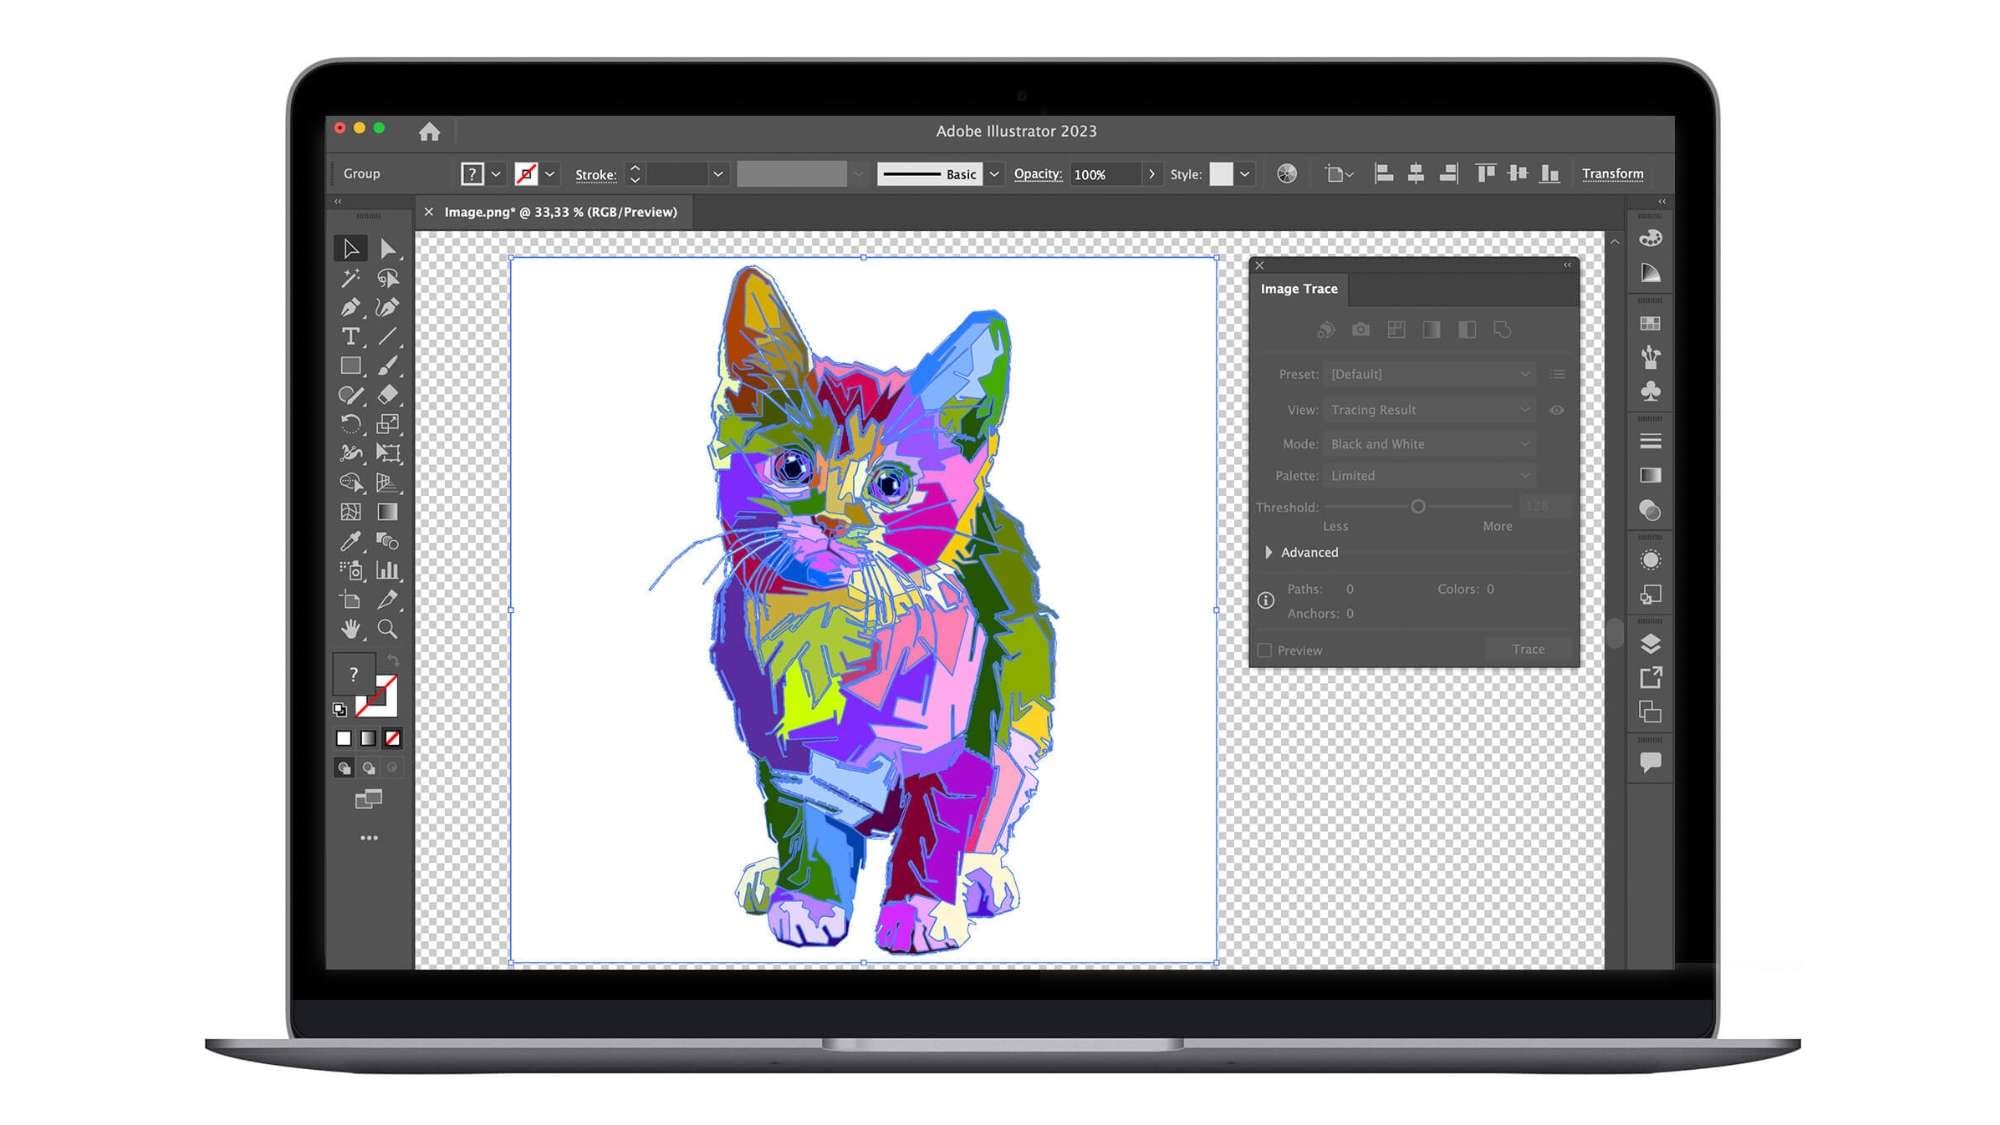
Method 1: Image Trace Tool
One of the most popular and time-efficient techniques. It works well when you have a clear contrast between the background and foreground.
Step-by-Step:
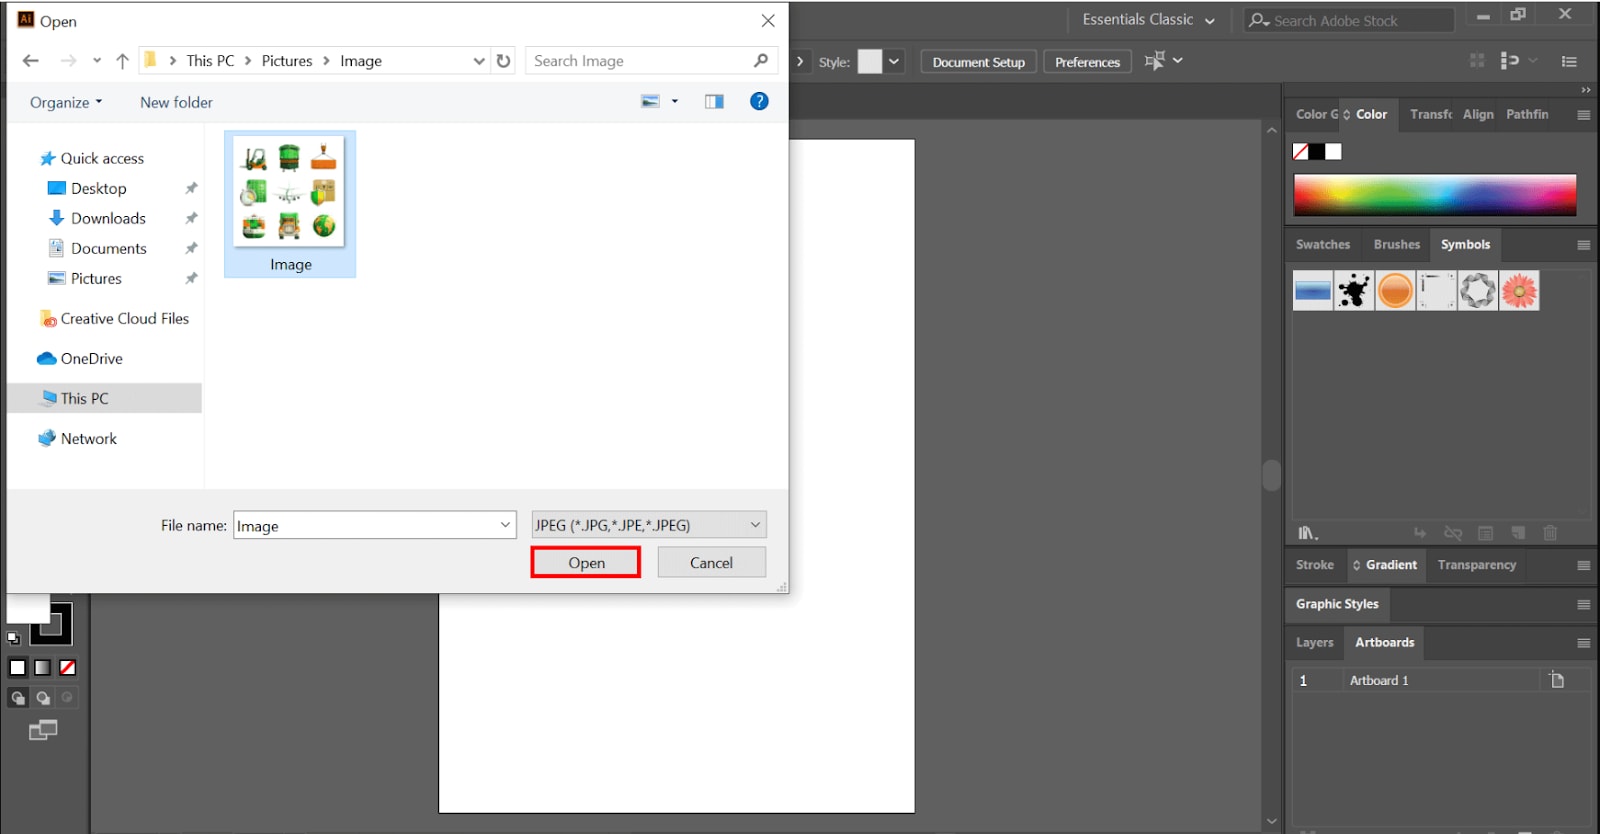
- Step 1: Import your image into Illustrator (preferably a high-resolution version).

- Step 2: Select it, then open the Image Trace panel (Window > Image Trace).
- Step 3: Choose a preset like:
- High Fidelity Photo for colorful and detailed images
- Black and White Logo for sharp contrast artwork

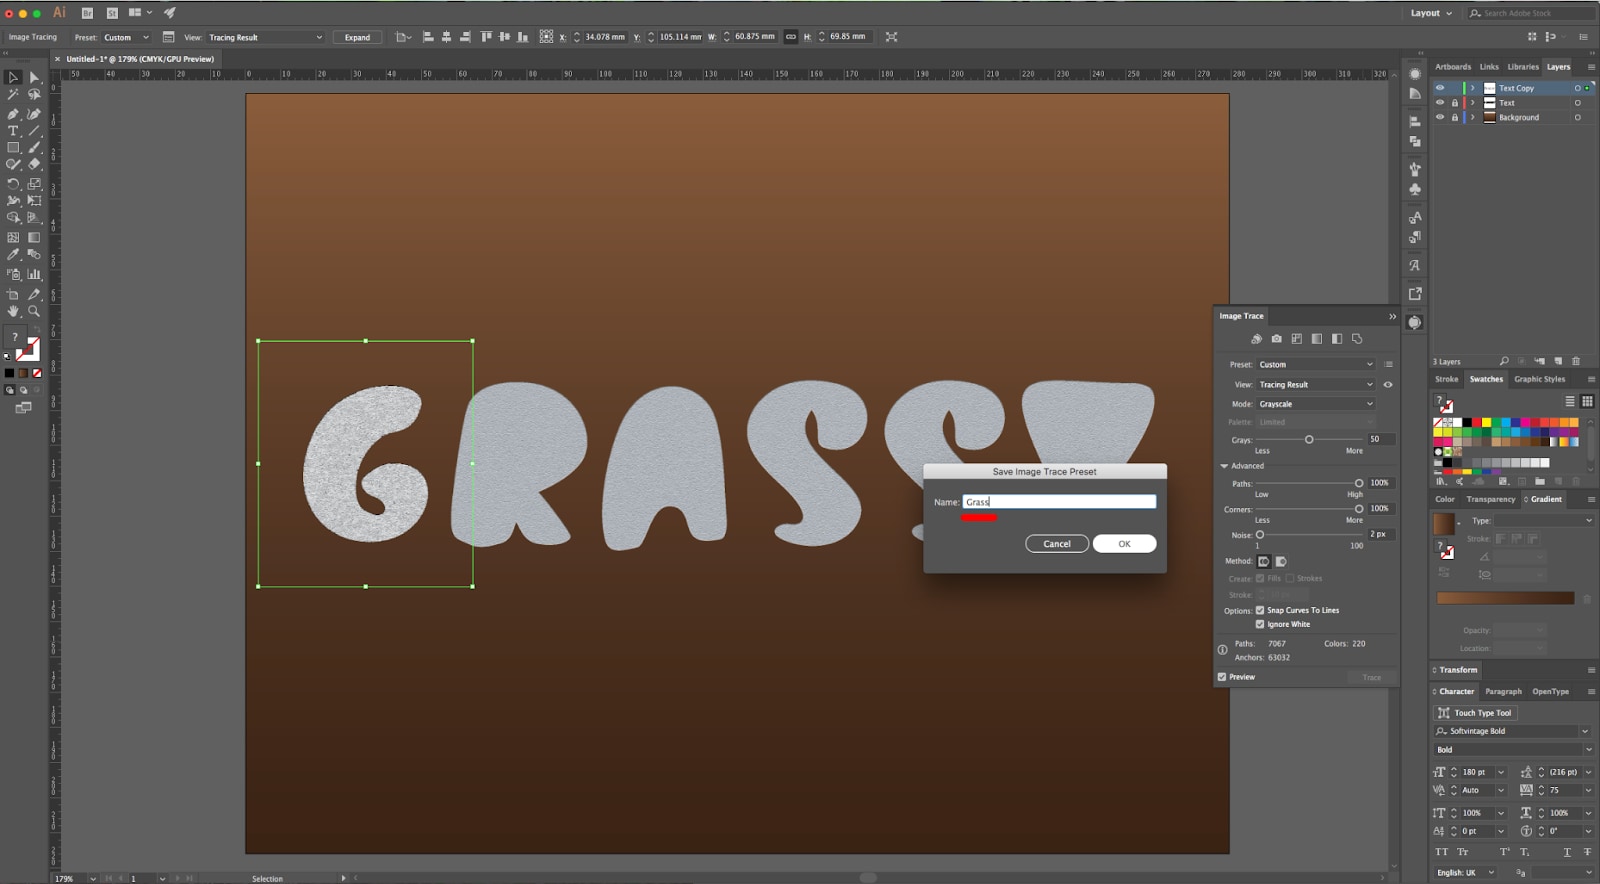
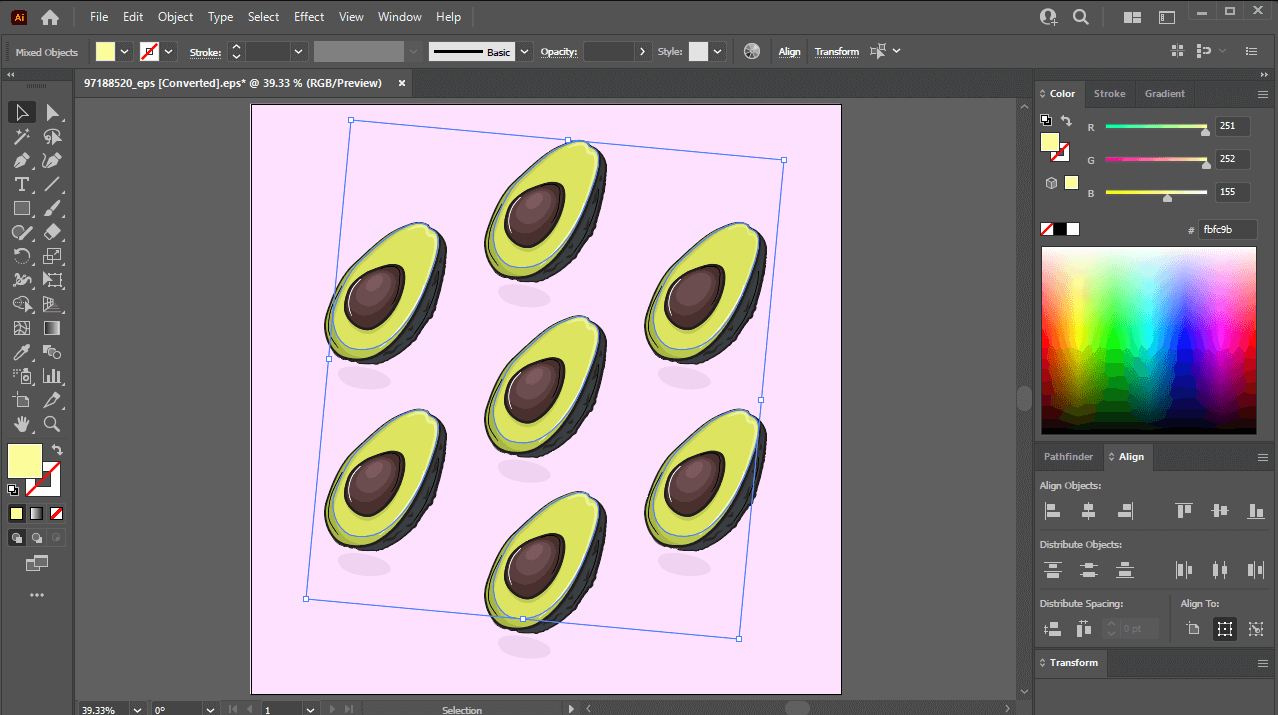
- Step 4: Click Trace, then select Expand from the top menu.
- Step 5: Right-click and choose Ungroup (or press Ctrl + Shift + G).

- Step 6: Manually click and delete the background shapes.
Use this method when you need to quickly convert raster images into editable vectors.
💡 Mini-Tip: Use the ignore White option in Image Trace if you know your background is white - it automatically skips white fills.
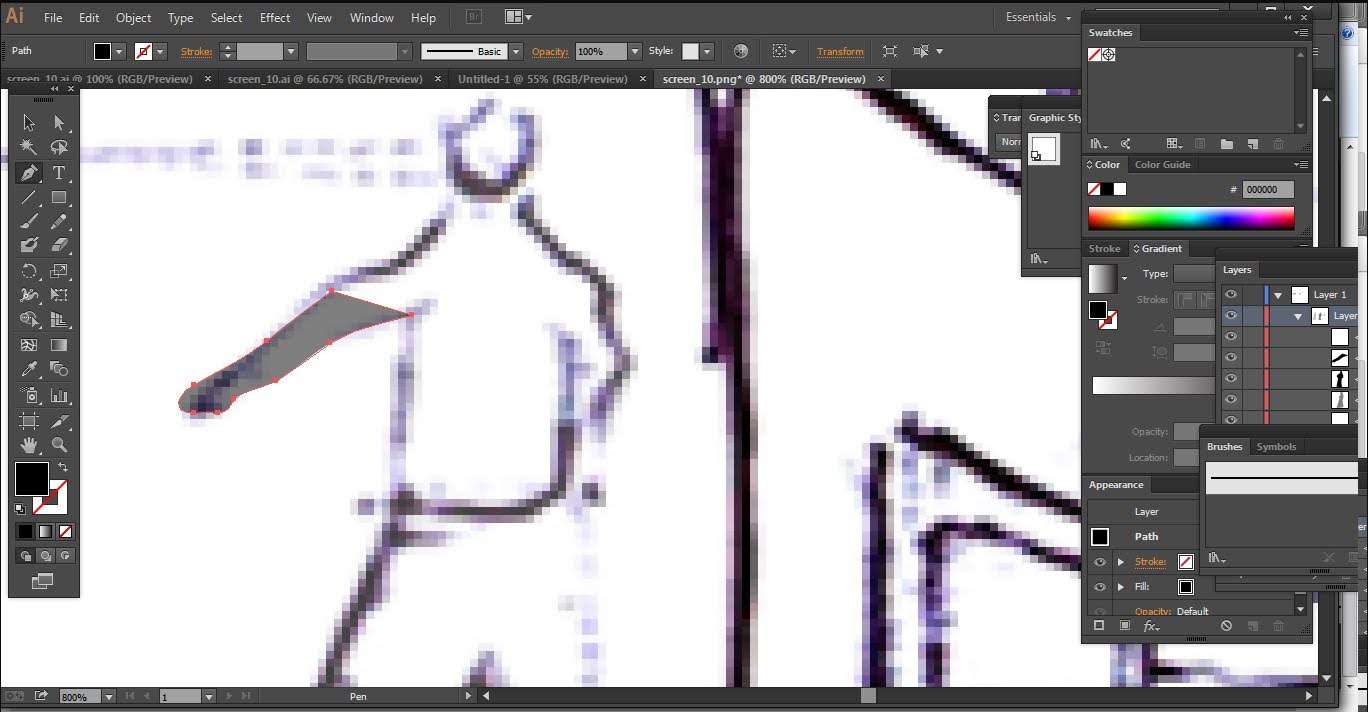
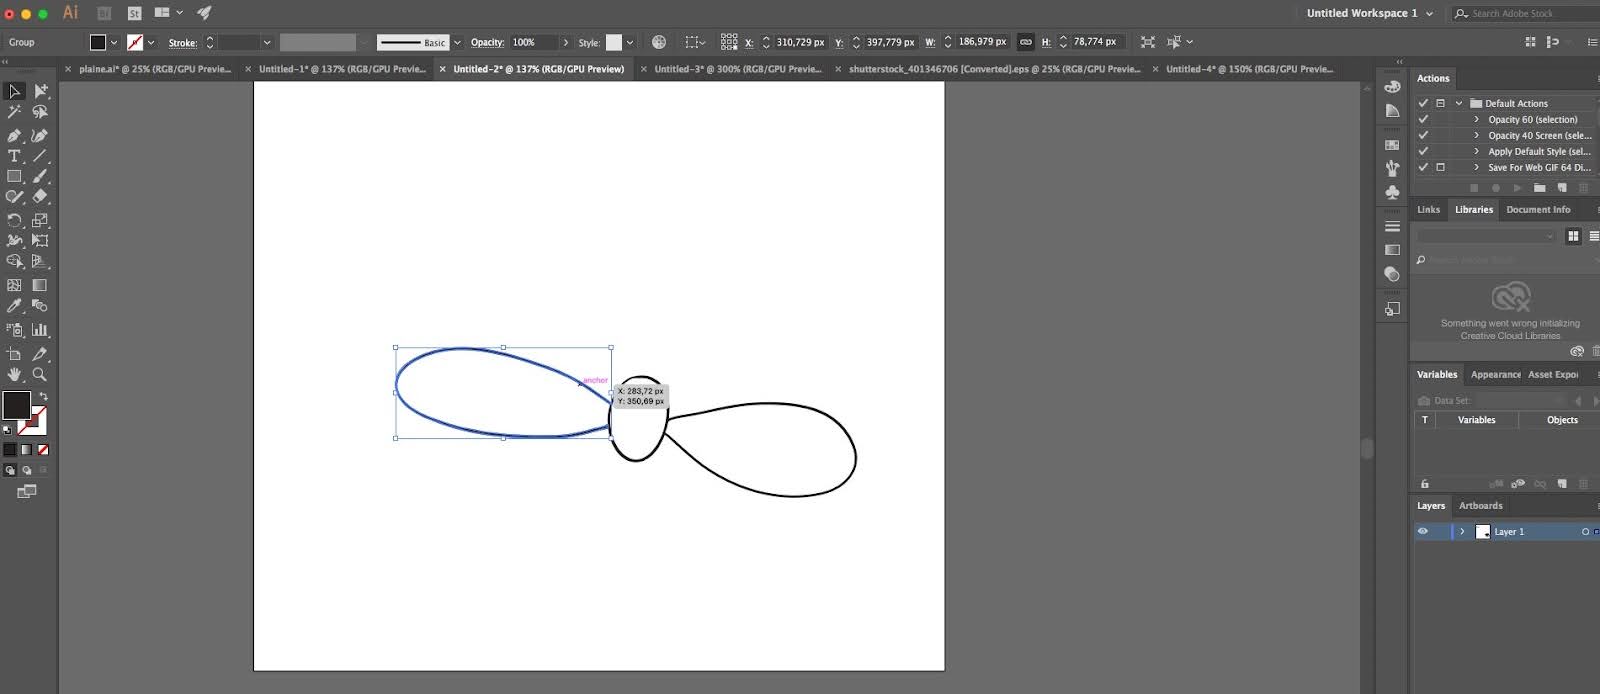
Method 2: Pen Tool (Manual Tracing)
This method is great for images with complex shapes or soft transitions, where auto-tracing won give you clean results.
Step-by-Step:
- Step 1: Activate the Pen Tool (P) from the toolbar.

- Step 2: Begin clicking along the edge of the object to create anchor points. Be as precise as possible.
- Step 3: Complete the path by connecting back to the starting point.
- Step 4: Select the image and the path, then right-click > Make Clipping Mask.

- Step 5: Export your artwork as PNG with transparency settings enabled.
💡 Mini-Tip: Zoom in close (Ctrl + +) to trace around edges more accurately. You can always adjust anchor points later with the Direct Selection Tool (A).
This method is ideal if you're wondering how to erase background in Illustrator and need the highest level of precision.
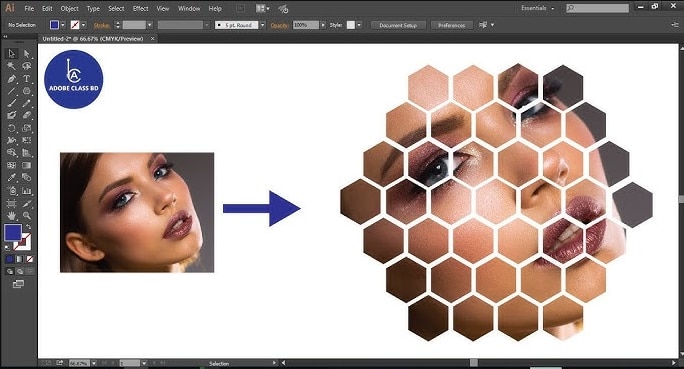
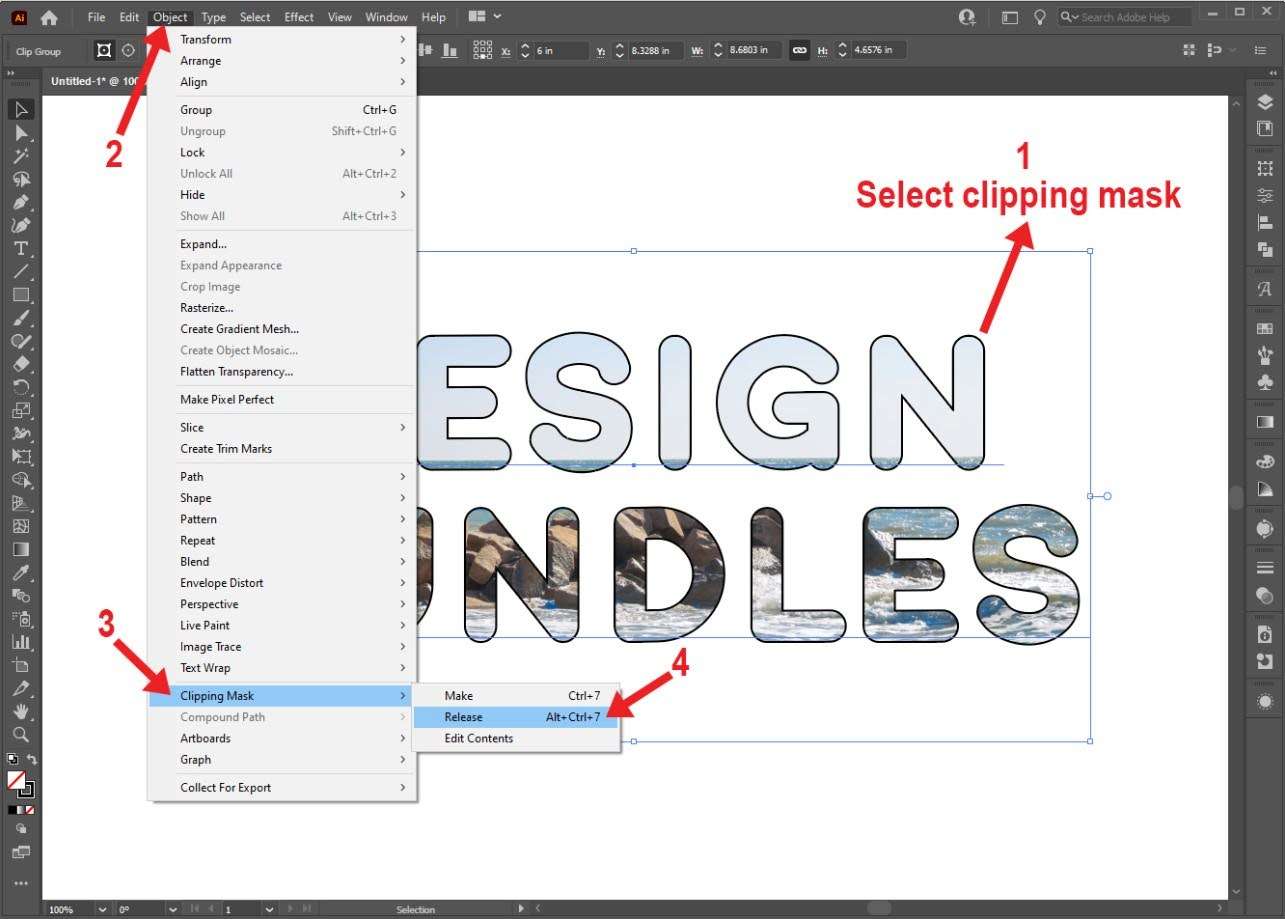
Method 3: Clipping Mask Technique
This is the simplest non-destructive method for clean background removal, and it works best when your object fits neatly inside a rectangle or circle.
Steps:
- Step 1: Create a shape (rectangle, circle) using the Shape Tool.
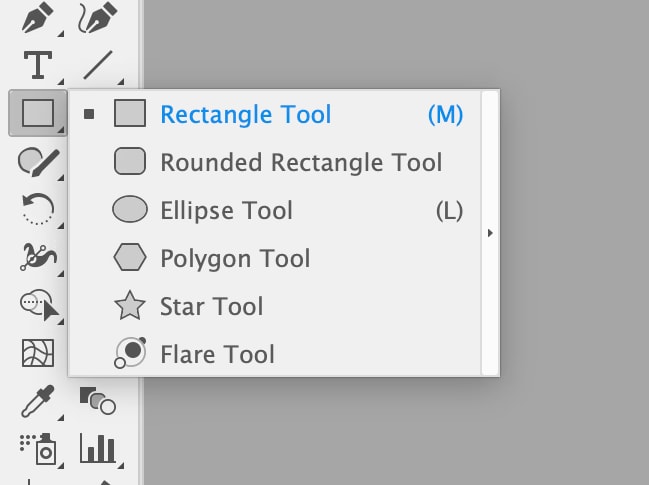
- Step 2: Place the shape over the area you want to retain.
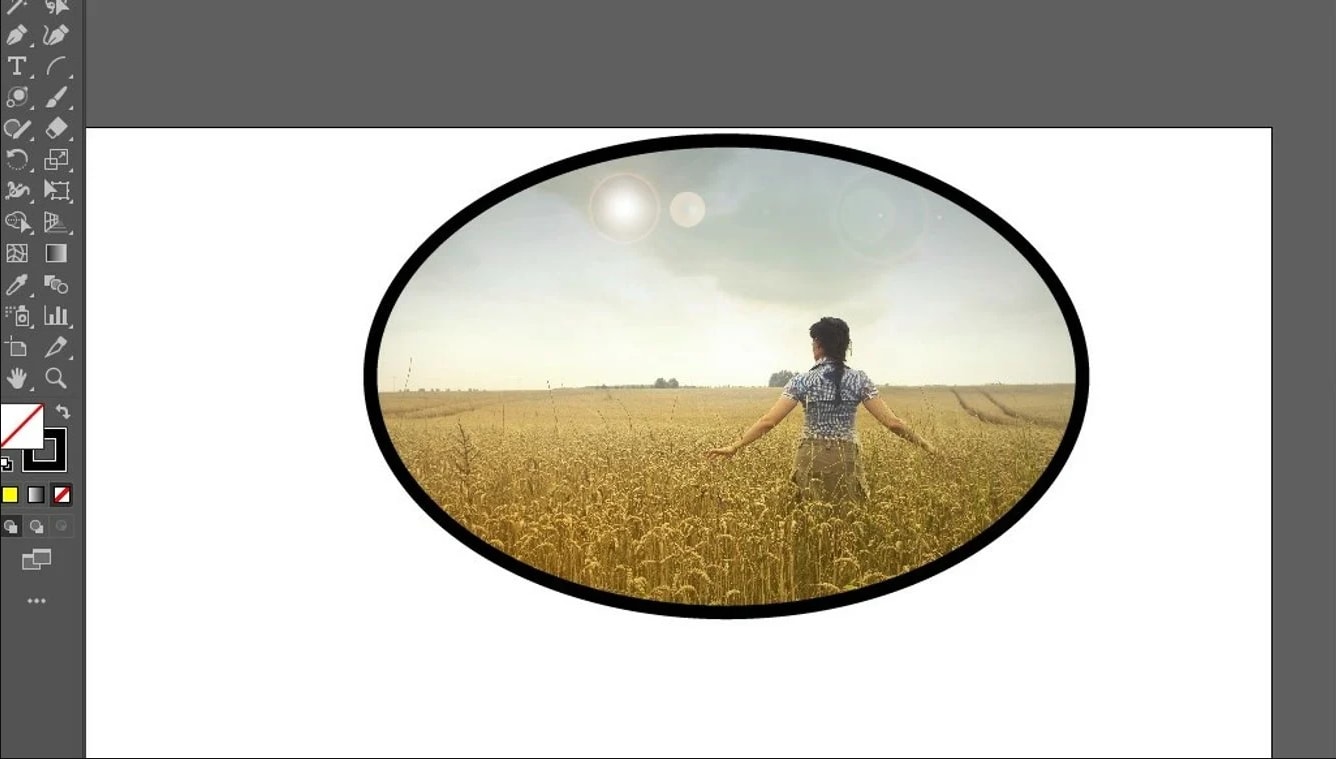
- Step 3: Select both the shape and the image.
- Step 4: Right-click > Make Clipping Mask.
💡 Mini-Tip: After creating the mask, switch to Outline View (Ctrl + Y) to verify no unwanted shapes are visible.
This method doesn't delete the background - it just hides it, making it great for quick layouts or presentations.
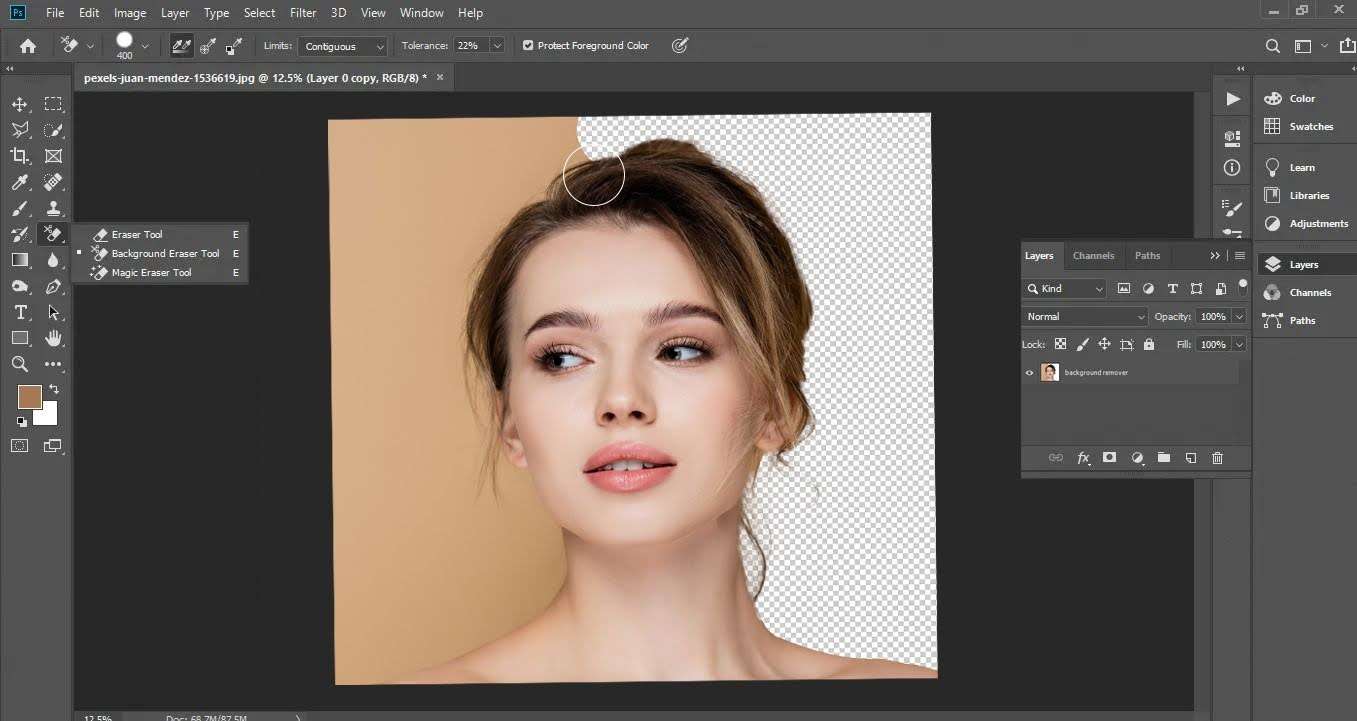
Part 3. How to Remove White Background in Illustrator
One of the most common challenges new users face is dealing with white backgrounds specially in scanned logos, exported PNGs with white fill, or watermarked stock images.
Here's how to remove the white background in Illustrator the smart way.
Steps:
- Step 1: Open your file and select the image.
- Step 2: From the top menu, click Select > Same > Fill Color.
- Step 3: Illustrator will select all areas filled with white.
- Step 4: Hit the Delete key to remove them.

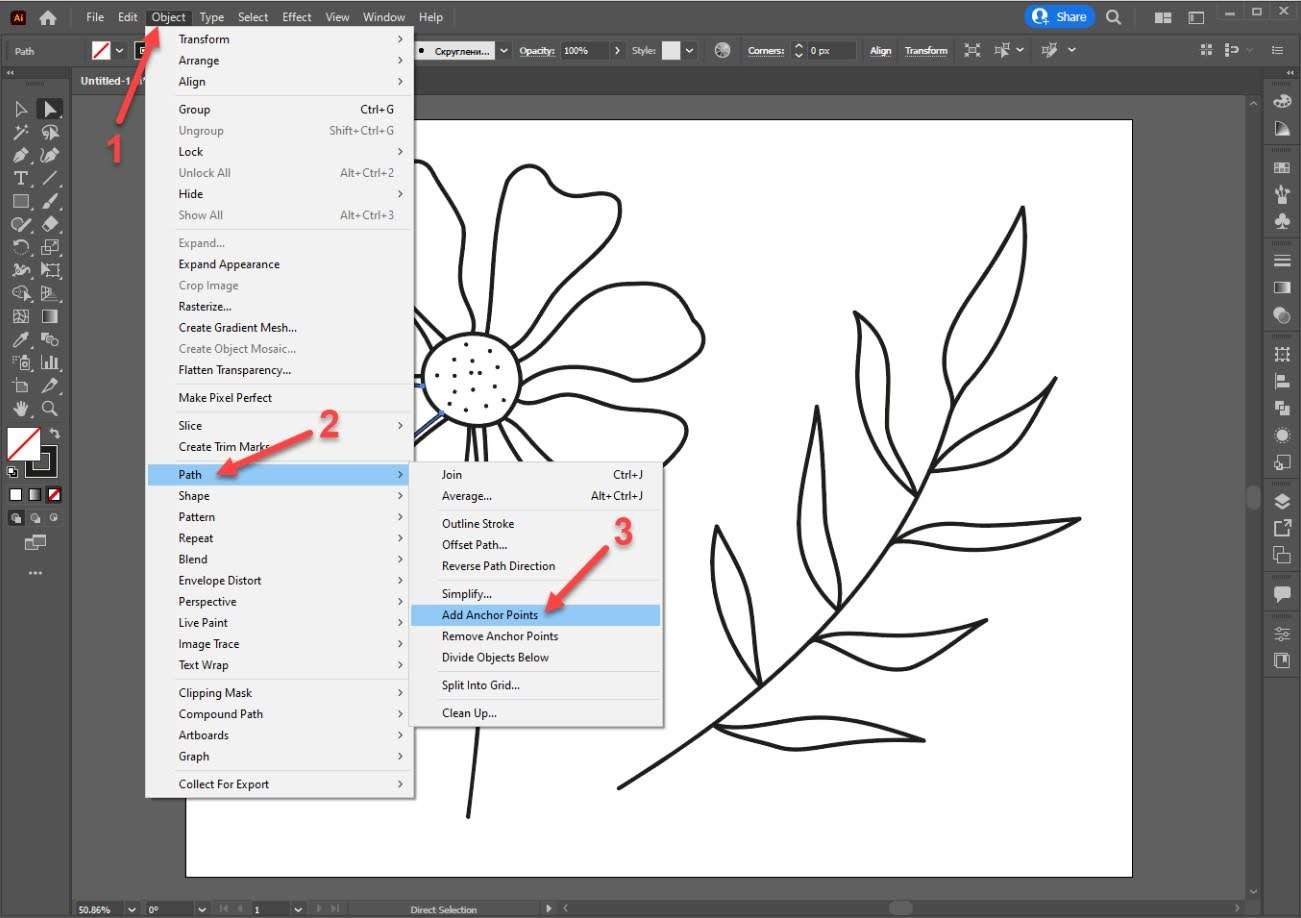
Bonus Method:
- Use Object > Expand to convert fills into paths.
- Open the Pathfinder panel (Window > Pathfinder) and choose Minus Front to remove overlapping white shapes.
💡 Mini-Tip: Always double-check the background by temporarily changing your artboard color or placing a black rectangle behind your design.
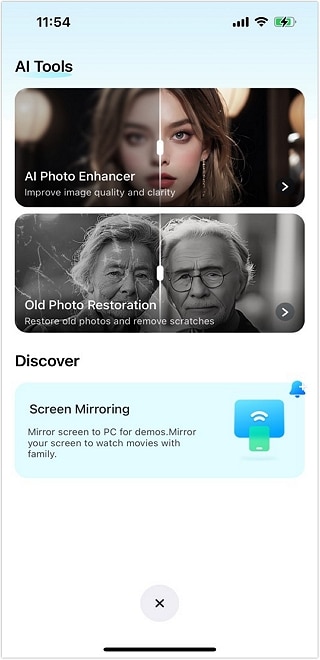
Bonus Tip: Enhance Your Images with Dr.Fone App - AI Photo Enhancer
Before jumping into Illustrator, what if you could improve your images with one tap? That where Dr.Fone App - AI Photo Enhancer steps in.
This tool uses AI to automatically improve:
- Sharpness
- Clarity
- Lighting
- Pixelation
It's especially useful for designers working with:
- Low-res images from clients
- Blurry screenshots
- Scanned documents or logos
Dr.Fone App - AI Photo Enhancer (iOS & Android)
100% Automatic Photo Enhancement: 1-Click Fixes
- Sharpen Blurry Images
- Denoise & Enhance Low-Light Photos
- Naturally Enhance Portrait Details
- User-Friendly & Beginner-Perfect


How to Use It (4 Easy Steps):
- Step 1: Download and open the Dr.Fone App
- Step 2: Upload the image you want to enhance.
- Step 3: Tap on AI Enhance

- Step 4: Save and export for Illustrator editing.

This tool is perfect for anyone looking to elevate their designs from basic to brilliant.
Conclusion: Clean Designs Begin With Clean Backgrounds
Removing backgrounds in Illustrator isn't just a skill t a creative advantage. With tools like Image Trace, the Pen Tool, and Clipping Masks, you can craft clean, professional visuals without relying on other apps. And for even sharper results, enhance your images first with the Dr.Fone App.
Clean designs start with clear images oost yours on iOS or Android with Dr.Fone and let your creativity shine.
FAQ
-
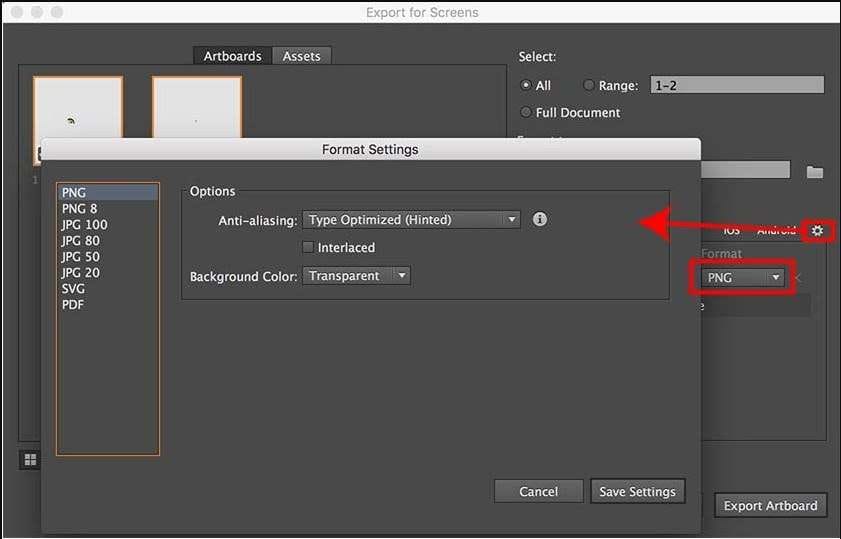
Q: Can I make an Illustrator background transparent?
A: Yes. Just remove the background and export the file as a PNG with a transparent background. (Tip: Go to File > Export > Export As > PNG, and check the ransparent box.)
-
Q: What's the fastest way to remove background in Illustrator?
A: The Image Trace + Expand method is the fastest for most images with clear contrasts.
-
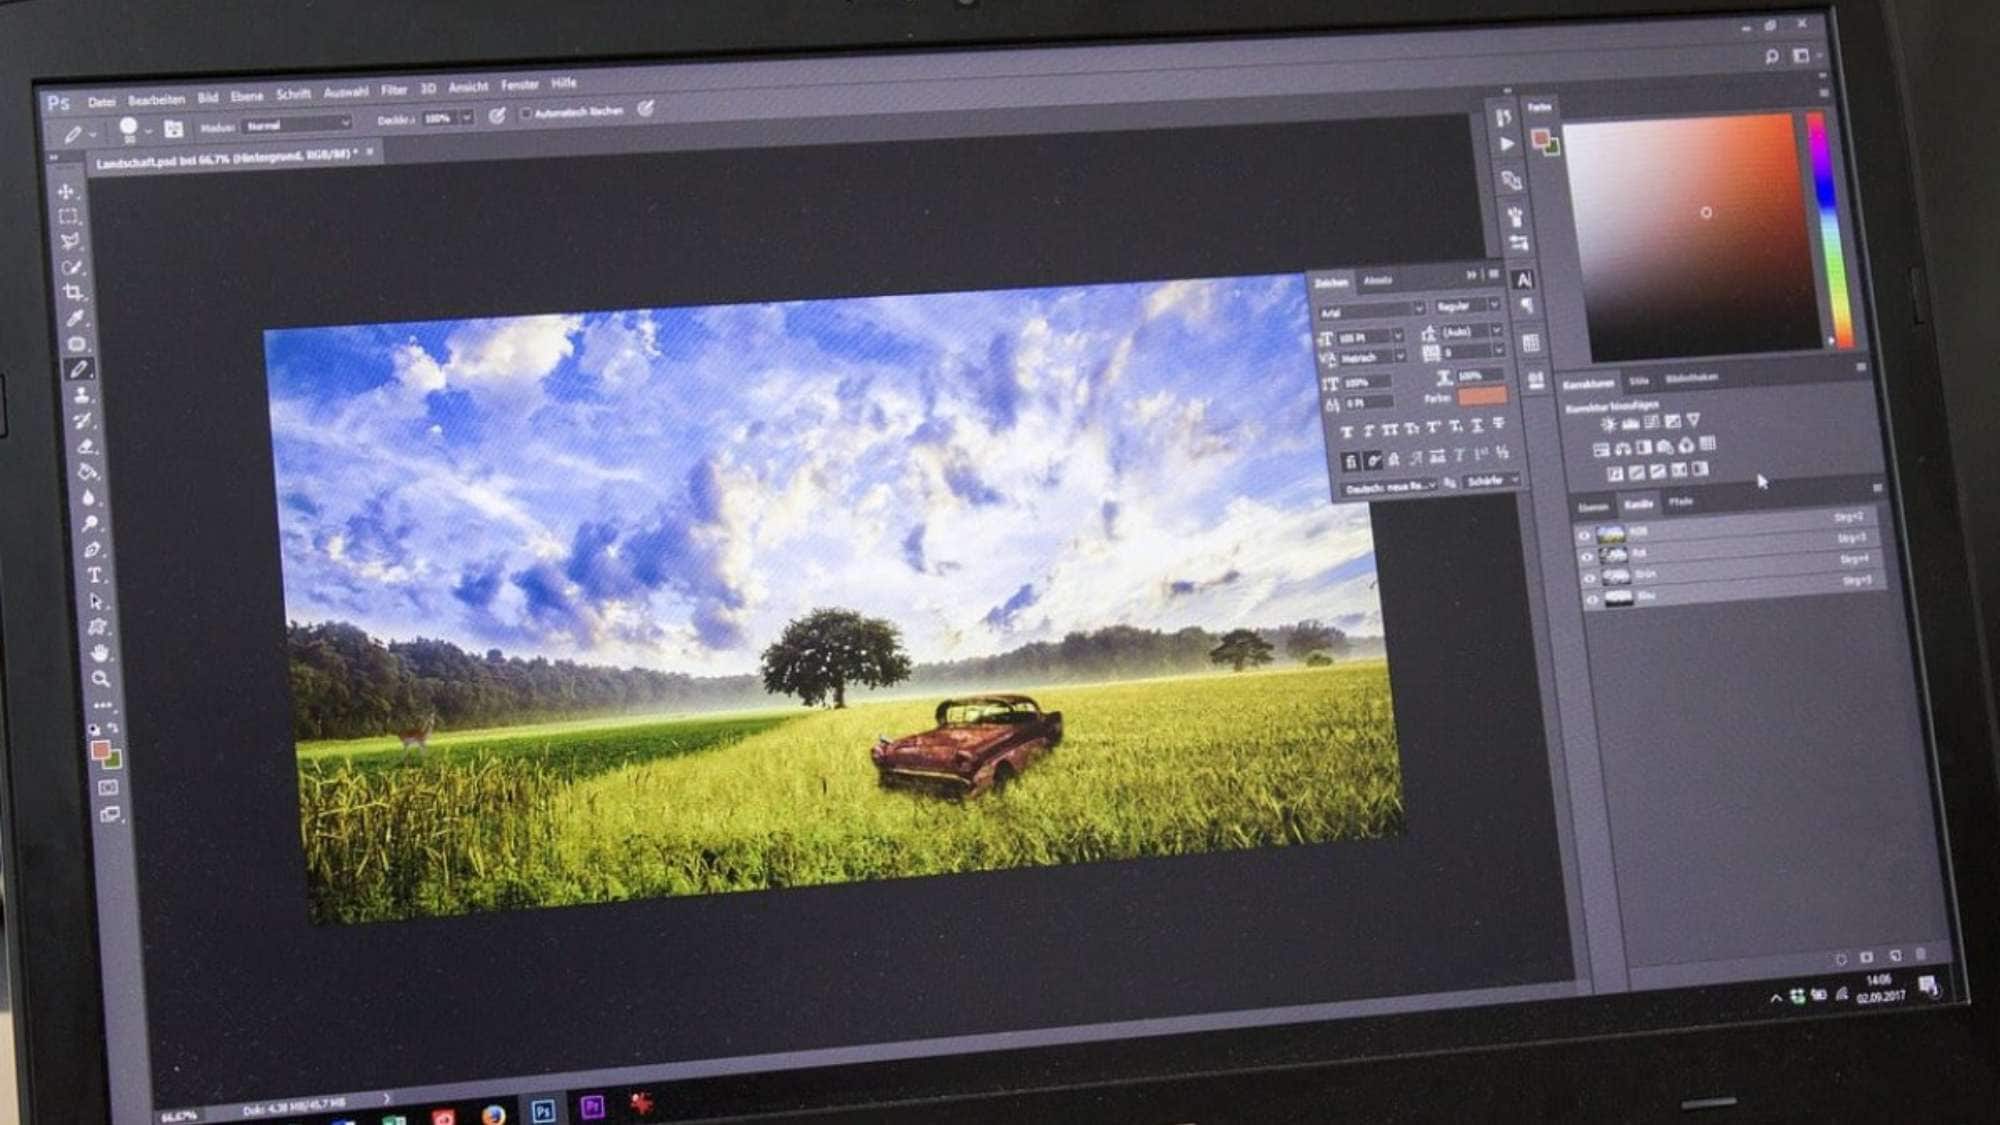
Q: Is Illustrator better than Photoshop for background removal?
A: Illustrator is ideal for vector graphics, while Photoshop is better for photo editing and raster images. Use Illustrator when working with logos, icons, and shapes.
-
Q: Can I enhance image quality before editing in Illustrator?
A: Absolutely. Use Dr.Fone AI Photo Enhancer to improve image clarity and sharpness before starting the background removal process.


Selena Lee
staff Editor
Generally rated4.5(105participated)