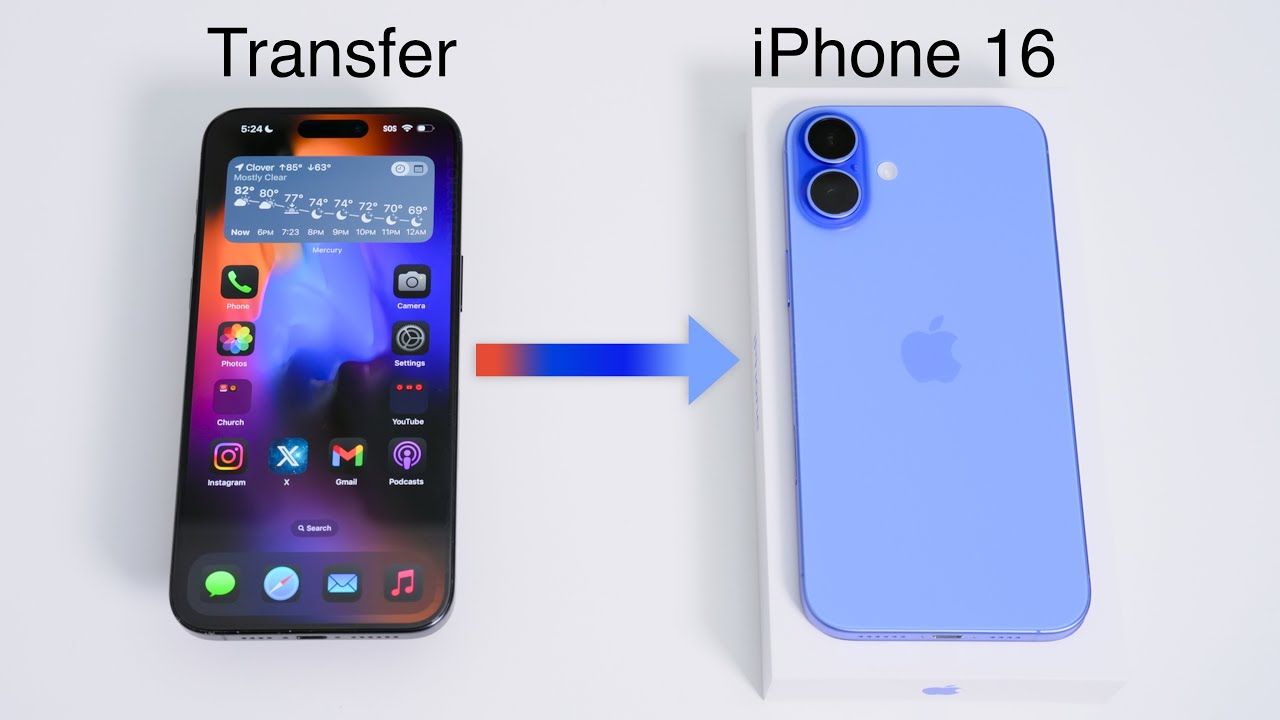
Wondering how do you transfer photos from iPhone to iPhone? Well, upgrading to a new iPhone 16 doesn't mean leaving your cherished memories behind. Transferring photos and videos from your old iPhone to your new device can be a daunting task.
Fortunately, Apple makes it seamless with various wireless transfer methods.
In this step-by-step guide, we'll explore multiple wireless transfer methods. You'll learn how to transfer your entire photo library, including videos, in just a few taps. Say goodbye to tedious cable connections and hello to a hassle-free transfer experience.
With these simple methods, you'll be enjoying your favorite memories on your new iPhone 16 in no time.
Part 1: How To Transfer Photos/Videos From Old iPhone To iPhone 16 Wirelessly
Method 1: Use Dr.Fone App to Transfer Photos/Videos and More (Recommended)
One of the most efficient and user-friendly ways to transfer photos and videos from your old iPhone to the new iPhone 16 is by using the Dr.Fone app. This powerful tool offers a seamless phone to phone transfer experience, making it our top recommendation for users looking to move their media wirelessly.
Dr.Fone App (iOS) & Dr.Fone App (Android)
Your One-Stop Expert for Screen Unlock, Smart Clean, Data Recovery, and Phone Management of Mobile Devices!
- Effortlessly unlock various locks on your device.
- Instantly free up storage space by smart clean.
- Rapidly recover different kinds of lost phone data and information.
- Easily manage cluttered and private device content.
- Supports both iOS and Android devices.
Here's how to use Dr.Fone for transferring your photos and videos:
Step 1: Launch the Dr.Fone app and click on “Transfer.” Choose the “Phone to Phone” option to start your data transfer process.

Step 2: In the Tab bar, select “Send.”
Select the specific items you want to transfer. Dr.Fone allows you to choose from various data types, including Photos, Videos, Music, Contacts, Files, etc.
Step 3: Click the “Send” button to proceed to the QR code page. Make sure to allow Bluetooth permissions when prompted for a smooth transfer.

Step 4: On the receiving phone, open the Dr.Fone app, select the “Receive” option, and scan the QR code. This will direct the receiving phone to a connecting page, ready for data transfer.

Step 5: After the transfer is complete, the receiving phone will display a confirmation page. Click the “Yes” button to return to the scanning page.

Dr.Fone offers several advantages for phone to phone transfer:
- It's fast and reliable, ensuring all your photos and videos are transferred without loss of quality.
- You can selectively choose which photos and videos to transfer, giving you more control over the process.
- The app supports transferring other types of data as well, such as contacts, messages, and apps.
- It works across different iOS versions, making it ideal for transferring from older iPhones to the latest iPhone 16.
- Dr.Fone isn't limited to just iPhone-to-iPhone transfers. It supports wireless transfers between iOS and Android devices in both directions.
- No mobile data usage required, more intuitive transmission, data visualization, high speed transmission.
- Once you've established a connection between devices, you can perform multiple data transfers without needing to reconnect.
Using Dr.Fone is an excellent choice if you're wondering how to transfer photos from iPhone to iPhone quickly and efficiently. It simplifies the process and ensures that all your memories make it safely to your new device.
Method 2: Use Quick Start to Transfer Photos
Apple's Quick Start feature is a built-in tool that makes it easy to set up a new iPhone and transfer data from your old device. This method is particularly useful for those who want to know how to transfer photos from iPhone to iPhone without using third-party apps.
Follow these steps to use Quick Start on iPhone 16:
Step 1: Turn on your new iPhone 16 and put it close to your old iPhone. A message will show up on your old iPhone, asking if you want to use your Apple ID to set up the new phone. Tap "Continue."

Step 2: An image will appear on the new iPhone 16. Hold your old iPhone over the new one to scan the image. Type the passcode from your old iPhone into the new iPhone 16.

Step 3: Follow the instructions to set up Face ID or Touch ID on your new phone. When asked, choose to move your data from your old iPhone to the new one. Keep both phones close to each other and plugged in until the data transfer is finished.
While Quick Start is an excellent option for most users, it's worth noting that the transfer time can be lengthy, especially if you have a large photo library.
Method 3: Use iCloud for Phone to Phone transfer
iCloud is Apple's cloud storage service, and it offers a convenient way to transfer photos and videos from your old iPhone to your new iPhone 16. This method is particularly useful if you're wondering how to transfer photos from iPhone to iPhone without direct device-to-device contact.
Here's how to use iCloud for transferring your photos:
Step 1: On your old iPhone, go to Settings > [Your Name] > iCloud > Photos. Turn on "iCloud Photos" if it's not already enabled.

Step 2: Wait for your photos to upload to iCloud. This may take some time depending on your internet connection and the number of photos.
Step 3: On your new iPhone 16, sign in with the same Apple ID. Go to Settings > [Your Name] > iCloud > Photos. Turn on "iCloud Photos" on your new device.
And that’s it! Your photos will start downloading to your new iPhone 16.
iCloud is a great choice for those who want to know how to transfer photos from iPhone to iPhone gradually and without the need for immediate physical proximity between devices.
Method 4: Transfer Photos/Videos From old iPhone to New via AirDrop
AirDrop is a feature built into iOS that allows for easy wireless transfer of files, including photos and videos, between Apple devices. It's an excellent option if you're looking to transfer a select number of photos or if you're wondering how do you airdrop photos from one iPhone to another.
Here’s how do you AirDrop photos from old iPhone to iPhone 16.
Step 1: Ensure both your old iPhone and new iPhone 16 have Wi-Fi and Bluetooth turned on. On both devices, go to Settings > General > AirDrop and select "Everyone" or "Contacts Only."

Step 2: On your old iPhone, open the Photos app and select the photos you want to transfer. Tap the share button (the square with an arrow pointing upward). In the AirDrop section, you should see your new iPhone 16. Tap on it.

Step 3: On your new iPhone 16, you'll receive a prompt to accept the transfer. Tap "Accept." The photos will be transferred and saved in the Photos app on your new device.

When considering how to transfer photos from iPhone to iPhone, AirDrop is an excellent choice for smaller batches of photos or when you need to quickly share specific images. It's also a great answer to the question "how do you airdrop photos?" as the process is straightforward and user-friendly.
Method 5: Use the Move to iOS app
For those switching from an Android device to the new iPhone 16, Apple provides the Move to iOS app.
Here's how to use Move to iOS:
Step 1: Download the Move to iOS app on your Android device from the Google Play Store. During the setup process of your new iPhone 16, look for the "Apps & Data" screen.

Step 2: Select "Move Data from Android" on your iPhone 16.
Step 3: Open the Move to iOS app on your Android device and tap "Continue." Enter the code displayed on your iPhone 16 into the Android device.
Step 4: Select the content you want to transfer, including photos and videos. Leave both devices alone until the transfer is complete.
Part 2: Tips for Efficient Phone to Phone Transfer Wirelessly
Now that we've covered the main methods for how to transfer photos from iPhone to iPhone, let's look at some tips to make the process smoother and more efficient:
- Prepare your devices: Before starting any transfer method, ensure both your old iPhone and new iPhone 16 are fully charged or connected to a power source. This prevents any interruptions due to low battery during the transfer process.
- Clean up your photo library: Before transferring, take some time to delete any unwanted photos or videos. This not only speeds up the transfer process but also ensures you're not wasting storage space on your new device.
- Use a strong Wi-Fi connection: For methods that require internet (like iCloud), make sure you're connected to a strong, stable Wi-Fi network. This will significantly speed up the transfer process.
- Consider using multiple methods: For extra security, you might want to use more than one method. For example, you could use Quick Start for a full transfer, then use AirDrop to ensure specific important photos have transferred correctly.
By following these tips, you can ensure a smooth and efficient phone to phone transfer experience, making the process of moving your cherished photo memories to your new iPhone 16 as painless as possible.
Conclusion
Transferring photos and videos from your old iPhone to your new iPhone 16 doesn't have to be a daunting task. With the various wireless methods we've explored in this guide, you have multiple options to choose from based on your specific needs and preferences.
Whether you opt for the comprehensive approach of Dr.Fone, the built-in convenience of Quick Start, the cloud-based solution of iCloud, AirDrop, or even the Move to iOS app for Android switchers. Be rest assured that your precious memories will make their way safely to your new iPhone 16.
FAQ
-
Q:How long does it take to transfer photos from one iPhone to another?
A:The time it takes to transfer photos from one iPhone to another can vary greatly depending on the method used and the number of photos being transferred. Using Quick Start or iCloud can take several hours for large libraries, while AirDrop is quicker for smaller batches. On average, expect anywhere from 30 minutes to several hours for a full transfer. The key is to be patient and ensure both devices remain powered on and connected throughout the process.
-
Q:Can I transfer photos from a very old iPhone to iPhone 16?
A:Yes, you can transfer photos from a very old iPhone to iPhone 16, but the method may vary depending on the iOS version of your old device. For very old iPhones, using iTunes backup and restore might be necessary. However, for most cases, iCloud or third-party apps like Dr.Fone can handle transfers from older devices. If your old iPhone supports AirDrop, that's also a viable option for transferring photos to your new iPhone 16.
-
Q:How do I know if all my photos have been transferred successfully?
A:To ensure all your photos have been transferred successfully, start by checking the total number of photos on both devices - they should match. Then, browse through your photo library on the new iPhone 16, paying special attention to different time periods and albums. You can also sort your photos by date to make sure the oldest and newest photos have transferred. If you're using iCloud Photos, wait for the upload and download processes to complete fully before making this comparison.
Dr.Fone Unlock Online - Free IMEI Check
iPhone 17 Is Here. Is Your Old Phone Ready to Sell?
Quickly check your iPhone or Android device status for free: Verify Blacklist, iCloud, Carrier Lock, and Warranty Status in Seconds. Ad-free, and globally.


Jane Lunes
staff Editor
Generally rated4.5(105participated)