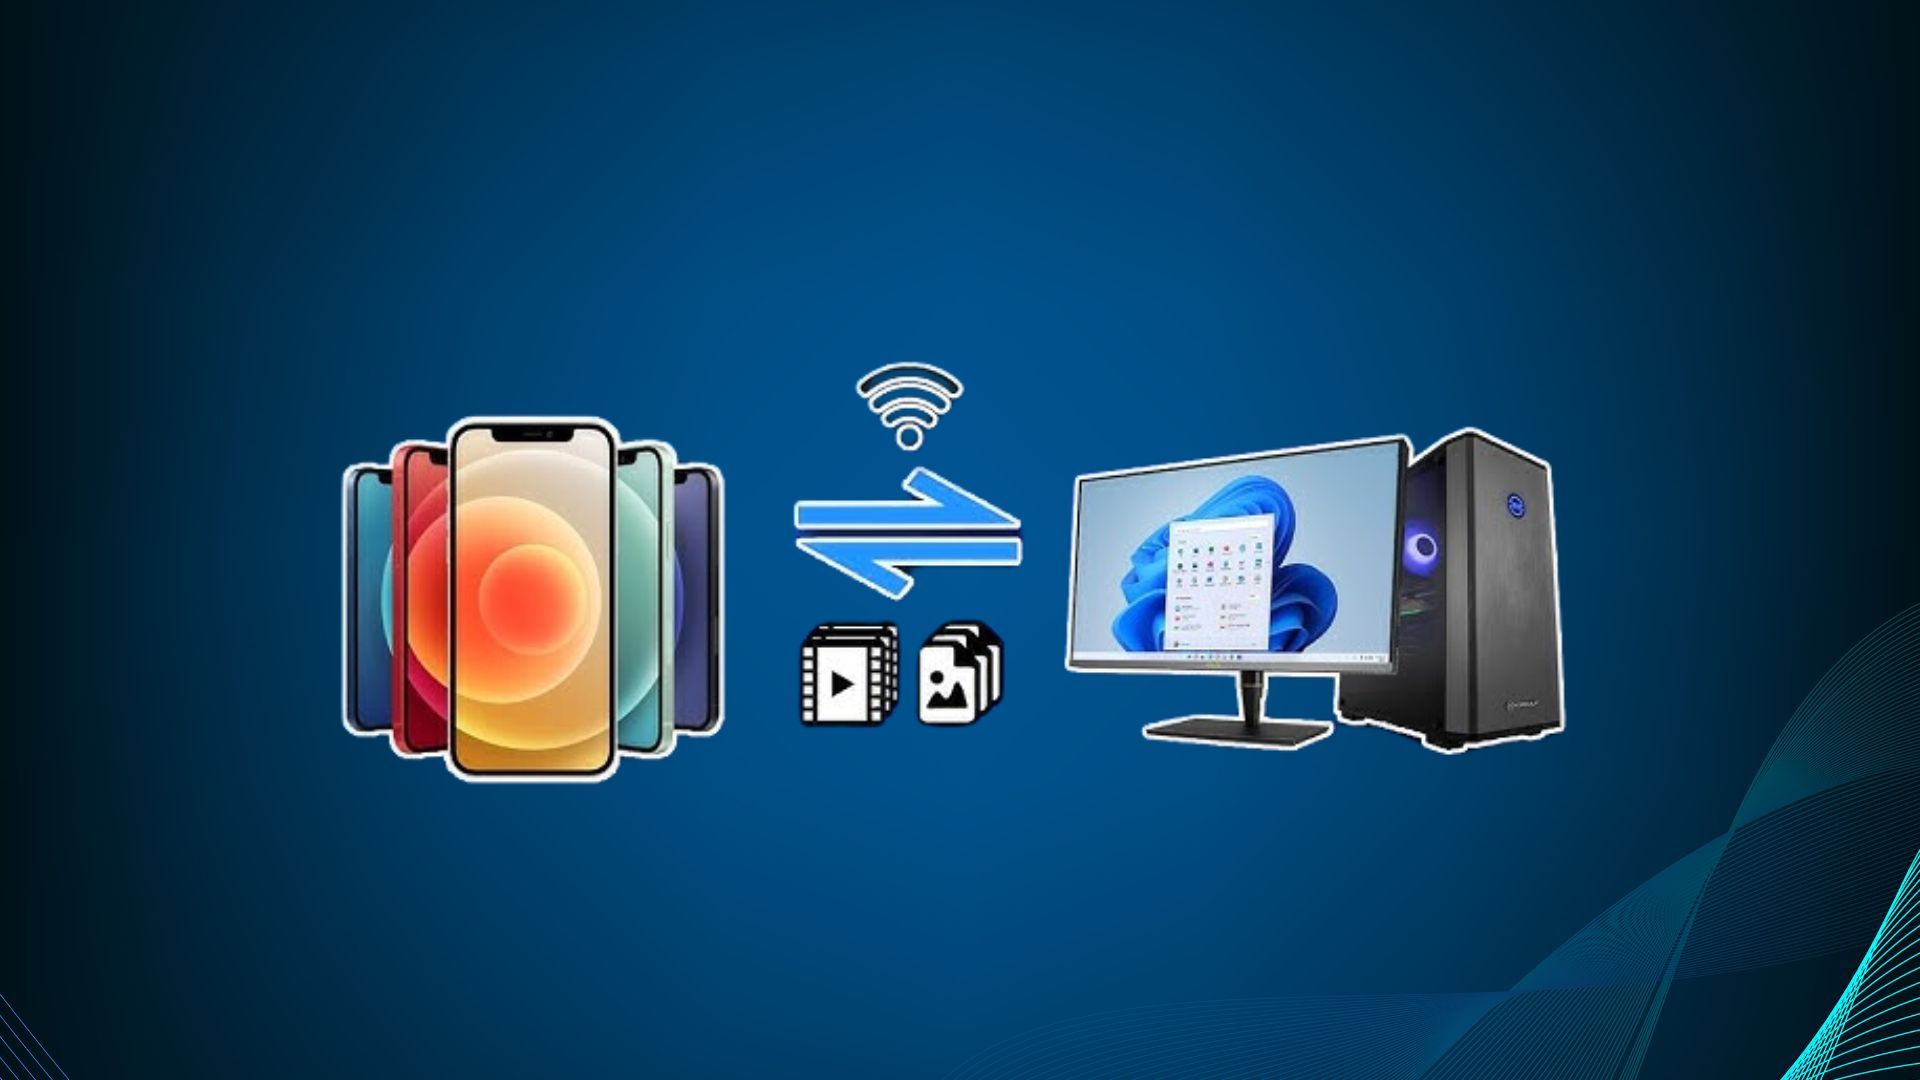
When upgrading to a new iPhone or sharing playlists with friends, transferring your music becomes an important task. Ensuring that all your favorite songs are available on your new device helps maintain your listening experience without interruption. Smooth and efficient transfer methods are essential.
There are various scenarios where transferring music is useful, such as switching to a new device or wanting to share a playlist with a friend. Sometimes, you may be moving from an iPhone to an Android device, or you simply want to make sure your music is safely copied without using iTunes.
Methods like Apple Music’s sharing feature allow you to share songs or playlists seamlessly. For more direct transfers between devices, tools like Dr.Fone App - Phone to Phone Transfer make it easy to copy music across platforms, ensuring that your songs move with you without a hitch.
Method 1: Using Apple Music to Share Music
Apple Music provides a simple and efficient way to share your favorite songs and playlists with others. Whether you want to directly share a playlist, invite friends to follow you, or set up Family Sharing for ongoing access, Apple Music offers multiple options to make music sharing easy.
Step-by-Step Guide to Sharing Apple Music
Sharing music with friends and family is a breeze with Apple Music. Whether you’re looking to share your curated playlists, invite friends to enjoy your music, or set up Family Sharing for continuous access across multiple devices, Apple Music has you covered. Here’s a quick guide to help you share your music effortlessly.
Sharing Playlists
With Apple Music, you can share your playlists quickly and easily, allowing friends to enjoy your curated music selections.
Step 1: Open the Apple Music app on your iPhone.
Step 2: Go to Library and select Playlists.
Step 3: Choose the playlist you want to share.
Step 4: Tap the three dots (•••) and select Share Playlist.
Step 5: Choose your preferred sharing method (Messages, Mail, AirDrop, etc.) and send the link.

Inviting Friends
You can invite friends to follow you on Apple Music, allowing them to listen to your shared playlists directly from their devices.
Step 1: Open Apple Music and go to your Listen Now tab.
Step 2: Tap your profile icon in the upper-right corner.
Step 3: Scroll down to Find Friends or tap Invite Friends.
Step 4: Send an invitation link via Messages or another sharing option to invite them to follow you and listen to your shared playlists.

Using Family Sharing
Setting up Family Sharing allows up to six family members to access each other's Apple Music libraries, creating a seamless sharing experience across multiple devices.
Step 1: Go to Settings on your iPhone.
Step 2: Tap on Apple ID at the top, then select Family Sharing.
Step 3: Follow the prompts to invite up to six family members to join.
Step 4: Once set up, all members can access each other's Apple Music libraries, and each person can listen without interruption.

Method 2: Transferring Music from Old iPhone to New iPhone
When upgrading to a new iPhone, you might want to transfer your entire music library from your old device. Here are the two main ways to do this:
Using iCloud Music Library
One of the easiest ways to transfer your music is by enabling iCloud Music Library on both your old and new iPhone. This feature syncs your entire music library across all Apple devices linked to your Apple ID.
Enabling iCloud Music Library
To start transferring your music using iCloud Music Library, you first need to enable the feature on both your old and new iPhone. Follow the steps below
Step 1: On your old iPhone, go to Settings and tap Music.
Step 2: Turn on Sync Library (formerly iCloud Music Library).
Step 3: Repeat the same steps on your new iPhone to enable the feature.
Step 4: Ensure that both iPhones are connected to Wi-Fi for seamless syncing.

Accessing Music on New iPhone
Once iCloud Music Library is enabled, accessing your music on the new iPhone is straightforward. Follow the steps below.
Step 1: Open the Music app on your new iPhone.
Step 2: Your music library will begin syncing automatically.
Step 3: To download specific songs for offline use, tap the download icon next to each track or playlist.

Using iTunes or Finder
If you prefer a wired method, you can transfer music by connecting both iPhones to a computer and syncing them via iTunes (on Windows) or Finder (on macOS).
Step 1: Connect your old iPhone to your computer using a USB cable.
Step 2: Open iTunes (Windows) or Finder (Mac).
Step 3: Select your device from the menu and go to the Music tab.
Step 4: Under the Music tab, select Sync Music and choose the songs or playlists you want to transfer.
Step 5: Click Apply to begin syncing.
Step 6: Once the sync is complete, connect your new iPhone and repeat the steps to transfer the music from your computer to the new device.

For an easier and more reliable transfer process, consider using a tool like Dr.Fone - Phone to Phone Transfer. This app allows you to quickly and safely transfer music and other data between iPhones with just a few clicks.
Method 3: Using Dr.Fone - Phone to Phone Transfer
Dr.Fone - Phone to Phone Transfer is an exceptional tool designed to simplify the process of transferring music and other data between devices. With its user-friendly interface and efficient transfer capabilities, Dr.Fone ensures that your music library moves seamlessly from one iPhone to another.
Dr.Fone App - Phone to Phone (iOS)
Wireless Transfer: Cross-Platform Transmission Between iOS and Android Devices
- Supports photos, videos, music, files, and contacts.
- Rapid transfer with visual data display.
- One connection for multiple transfers.
- No mobile data or cables needed.
Step-by-Step Instructions
Transferring music and other data with Dr.Fone - Phone to Phone Transfer is straightforward and efficient. Follow these simple steps to complete your transfer seamlessly
01of 04Open Dr.Fone and Choose Transfer Type
Launch the Dr.Fone app on your device and tap on the "Transfer" option to get started. This will take you to the main transfer interface where you can select the type of data you want to move.

02of 04Initiate Transfer
Click "Send" to access the transfer page. From there, choose the items you wish to transfer, which can include:
- Photos
- Videos
- Music
- Contacts
- Documents

03of 04Generate QR Code
Tap "Send" to create a QR code for the transfer. On the receiving device, select "Receive" and scan the displayed QR code to establish a connection between the two devices.

04of 04Finalize the Transfer
Once the connection is established, the transfer will commence automatically. After the process is complete, click "Done" to confirm and return to the main screen, ensuring your music and other selected data are now accessible on the new device.

Benefits of Using Dr.Fone - Phone to Phone Transfer
Using Dr.Fone - Phone to Phone Transfer offers numerous benefits that streamline the music transfer process. Here are some key advantages:
- User-Friendly Interface. The app is designed for users of all technical levels, making it easy to navigate and perform transfers without complications.
- Fast and Efficient Transfers. Dr.Fone ensures that music and other data are transferred quickly, saving you time during the transition to a new device.
- Versatile Data Transfer. In addition to music, you can transfer a variety of data types, including photos, videos, and contacts, all within the same app.
- No Data Loss. Dr.Fone minimizes the risk of data loss during transfer, providing a secure way to move your music library.
Conclusion
In this guide, we've explored various methods for transferring music from one iPhone to another, highlighting the ease and versatility of each option. Whether you're using Apple Music for seamless sharing, enabling iCloud Music Library for automatic syncing, or utilizing iTunes and Finder for wire transfers, there’s a solution that fits your needs.
For those looking for a more efficient and reliable method, we highly recommend trying Dr.Fone App - Phone to Phone Transfer. This user-friendly tool simplifies the process, allowing you to transfer music and other data effortlessly. Download Dr.Fone now and enhance your music transfer experience!
FAQ
-
Q: Can I transfer music from iPhone to Android using Dr.Fone?
A: Yes, Dr.Fone - Phone to Phone Transfer supports transferring music not only between iPhones but also from iPhone to Android devices.
-
Q: Do I need an Apple Music subscription to use iCloud Music Library?
A: While you can access iCloud Music Library without an Apple Music subscription, having a subscription provides additional features and storage for your music library.
-
Q: Is Dr.Fone safe to use for transferring music?
A: Absolutely! Dr.Fone is designed with user security in mind, ensuring that your data is transferred safely without loss or corruption.


Julia Becker
staff Editor
Generally rated4.5(105participated)