Transferring data from your iPhone to a PC is essential for several reasons. It allows you to back up important files, manage your storage more effectively, and ensure your data is secure. Whether you're looking to free up space on your device or keep crucial documents safe, having a reliable method for transferring data is vital in today’s digital age.
In addition to backing up files, transferring data enables you to access your photos, videos, and documents from a larger screen, making it easier to organize and edit them. With so many options available, finding an efficient and fast way on how to transfer data from one iphone to a computer is key.
Using tools like the Dr.Fone App can significantly enhance your data transfer experience. This app allows for quick and reliable wireless transfers without the need for cumbersome cables. Continue reading below to learn more.
In this article
Method 1: Using Dr.Fone App - Phone to PC
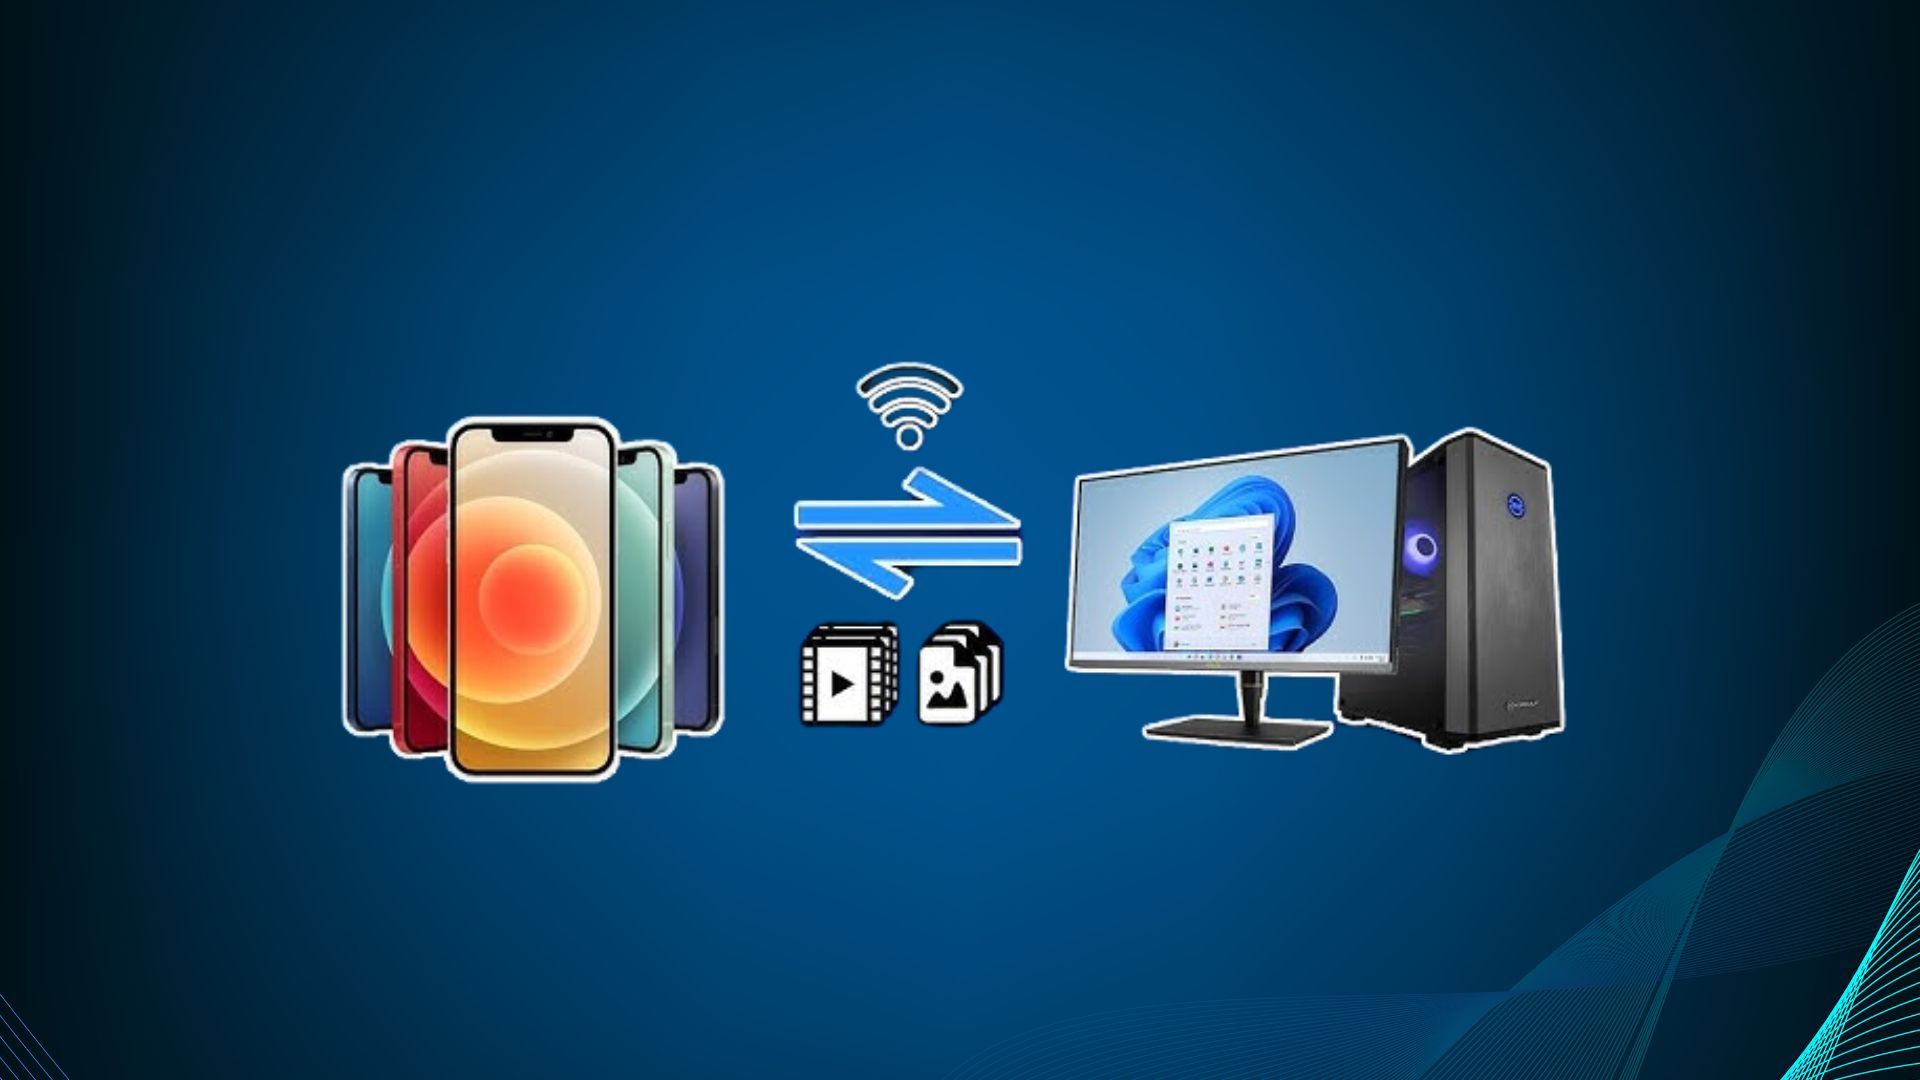
Dr.Fone App is a modern, wireless alternative to traditional transfer methods, providing a convenient solution for moving data between your Phone and PC. This innovative app allows for seamless wireless transfers of various file types, including photos, videos, music, documents, contacts, and messages.
Dr.Fone App (iOS) & Dr.Fone App (Android)
Your One-Stop Expert for Screen Unlock, Smart Clean, Data Recovery, and Phone Management of Mobile Devices!
- Effortlessly unlock various locks on your device.
- Instantly free up storage space by smart clean.
- Rapidly recover different kinds of lost phone data and information.
- Easily manage cluttered and private device content.
- Supports both iOS and Android devices.
Supported Device Types
Dr.Fone app - Phone to PC supports the following devices, ensuring compatibility across platforms. The flexibility to connect multiple devices makes it a versatile choice for users who operate within different ecosystems.
- iPhone (iOS devices)
- Android Phones
- Windows PCs
- Mac computers
Supported Data Types
Dr.Fone is designed to handle the following data types, allowing users to transfer everything from personal photos to important documents.
iOS
- Photos
- Videos
- Files
- Text Messages
Android
- Photos
- Videos
- Music
- Files
- Apps
- Text Messages
Key Advantages of Wireless Transfer with Dr.Fone
Here are the several key advantages of using Dr.Fone that enhance the user experience.
- Cross-platform compatibility: Works with both Windows and Mac computers, allowing for easy access on any platform.
- No cables required: Establish a direct wireless connection between your iPhone and computer, simplifying the transfer process.
- Fast and easy transfer: Transfers can occur without the need for internet connectivity, ensuring quick and efficient file management.
- User-friendly interface: The app's straightforward design makes it simple for users to navigate and execute file transfers effortlessly.
- Secure and reliable: Dr.Fone ensures that your files are transferred safely and privately, giving you peace of mind during the process.
Step-by-Step Guide on How to Transfer Data from iPhone to Windows/Mac
Follow these easy steps to transfer your data wirelessly from your iPhone to your PC or Mac using Dr.Fone.
Step 1Establish Connection Between iPhone and PC
Download and install the Dr.Fone App from the App Store on your iPhone. Launch the app and go to the “Transfer” section, then select “Phone to PC” to start the connection process.

Step 2Select the Files You Want to Transfer
Once connected, navigate to the Dr.Fone app on your iPhone and choose the category of data you wish to transfer (e.g., Photos, Videos, Music). Select the specific files you want to move to your PC. For example, if you’re transferring videos, tap “Videos” and pick the clips you want to transfer.

Step 3Start the File Transfer Process
After selecting the files, tap “Send” on your iPhone to initiate the transfer process. You will see the transfer status displayed on both your iPhone and PC, indicating that the files are being transferred wirelessly.

Step 4Access the Transferred Files on Your PC
Once the transfer is complete, navigate to the folder on your PC where the files were saved. The transferred files will now be available on your computer for use or further management.

Pros and Cons Table for Dr.Fone App - Phone to PC
This table outlines the advantages and disadvantages of using Dr.Fone for wireless data transfers. Understanding these factors can help you make an informed decision about whether this method suits your needs.
Method 2: Using iTunes
iTunes has been a traditional tool for transferring files from iPhones to computers, but it comes with limitations. The process often requires manual backups, and users may face restrictions on the types of files they can transfer.
Step-by-Step Guide on How to Transfer Data Using iTunes
To successfully transfer data using iTunes, follow these simple steps:
Step 1: Connect your iPhone to your computer using a USB cable.
Step 2: Launch iTunes (make sure it's updated to the latest version).
Step 3: Click on the device icon in the upper-left corner of the iTunes window.
Step 4: Select the type of content you want to back up (e.g., Music, Movies, Photos).
Step 5: For backup, click on "Back Up Now" to create a complete backup of your device.
Step 6: If transferring specific files, select "File Sharing" and choose the app you want to transfer files from.
Step 7: Drag and drop files from your computer into the iTunes window or select files and click "Add."
Step 8: Click ""Sync" " to complete the transfer process.

Pros and Cons Table for iTunes Transfer
When considering iTunes for file transfer, here are the advantages and disadvantages:
Method 3: Using iCloud
iCloud provides a cloud-based solution for transferring files, allowing users to access data from any device with internet connectivity. However, iCloud offers limited free storage, which can be a drawback for users with larger files or extensive libraries.
Step-by-Step Guide on How to Transfer Files via iCloud
To transfer files via iCloud, follow these steps:
Step 1: Ensure you are signed in to your iCloud account on your iPhone.
Step 2: Go to "Settings," tap on your name, and select "iCloud."
Step 3: Enable the types of data you want to sync (Photos, Drive, etc.).
Step 4: For file transfers, open the “Files” app on your iPhone.
Step 5: Select the files you want to upload, tap "Share," and choose "Save to Files."
Step 6: Select "iCloud Drive" and save your files there.

Pros and Cons Table for iCloud Transfer
Here are the pros and cons of using iCloud for file transfer:
Method 4: Using USB Cable
The USB cable method is the most traditional way to transfer files. While it is generally reliable, it has its drawbacks, including the need for specific software and the limitation of file types that can be transferred directly.
Step-by-Step Guide on How to Transfer Data Using a USB Cable
Follow these steps to transfer files using a USB cable:
Step 1: Connect your iPhone to your computer using a USB cable.
Step 2: Unlock your iPhone and trust the computer if prompted.
Step 3: Open the appropriate application (e.g., iTunes, Photos, or Windows Explorer) depending on your operating system.
Step 4: For photos, open the Photos app (Windows) or Image Capture (Mac).
Step 5: Select the files you want to transfer and choose ""Import"" to transfer them to your computer.

Pros and Cons Table for USB Cable Transfer
Consider the following advantages and disadvantages when using a USB cable for transfers:
Method 5: Using Third-Party Apps
There are several third-party apps available, such as Google Drive, Dropbox, and SHAREit, that facilitate file transfers between iPhones and computers. These apps often offer additional flexibility and features, allowing users to manage their files efficiently.
Step-by-Step Guide on How to Use Third-Party Apps
To transfer files using third-party apps, follow these steps:
Step 1: Download the desired third-party app (e.g., Google Drive, Dropbox, SHAREit) on your iPhone and computer.
Step 2: Sign in to your account or create a new one if necessary.
Step 3: "Upload" files from your iPhone to the app (e.g., open the app, tap on "Upload" or "Add Files").
Step 4: Wait for the upload to complete, then access the app on your PC.
Step 5: Download the files from the app to your computer as needed.

Pros and Cons Table for Third-Party Apps Transfer
When considering third-party apps for file transfer, keep the following pros and cons in mind:
Conclusion
In conclusion, transferring files from your iPhone to a PC or Mac can be accomplished through various methods, each with its own advantages and limitations. Among these options, Dr.Fone App - Phone to PC Transfer stands out as a modern and efficient solution. Its wireless functionality, cross-platform compatibility, and user-friendly interface make it an excellent choice for seamless file transfers. By eliminating the need for cables and complex setups, Dr.Fone empowers users to manage their files with ease and security.
FAQ
-
Q: What are the different methods to transfer files from iPhone to a PC?
A: There are several methods to transfer files, including using iTunes, iCloud, USB cables, and third-party apps. However, while each method has its advantages, many users find wireless options like Dr.Fone to be more convenient for seamless file management.
-
Q: What types of files can I transfer from my iPhone to a computer?
A: You can transfer a variety of files, including photos, videos, music, documents, contacts, and messages. Moreover, for a user-friendly experience that covers multiple file types, tools like Dr.Fone can simplify the process and make file management easier.







Daisy Raines
staff Editor
Generally rated4.5(105participated)