

 TL;DR:
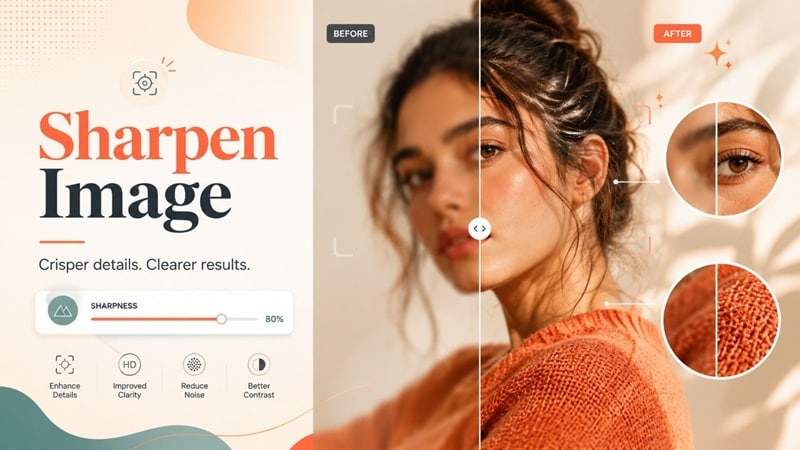
AI can sharpen a slightly soft image, but it cannot reliably restore detail lost through severe motion blur, missed focus, or heavy compression.
- Use Dr.Fone APP for automatic mobile enhancement of selfies, portraits, phone photos, and everyday images.
- Choose Pixelcut for quick browser sharpening, AI Ease for simple one-click processing, or Upscale.media when the image also needs enlargement.
- Use manual sharpening for text, logos, product details, and selective edits, checking at 100% view to avoid halos, noise, and harsh texture.
Ask AI for a summary
 ChatGPT
 Perplexity
 Gemini
 Claude
 Grok
Grok
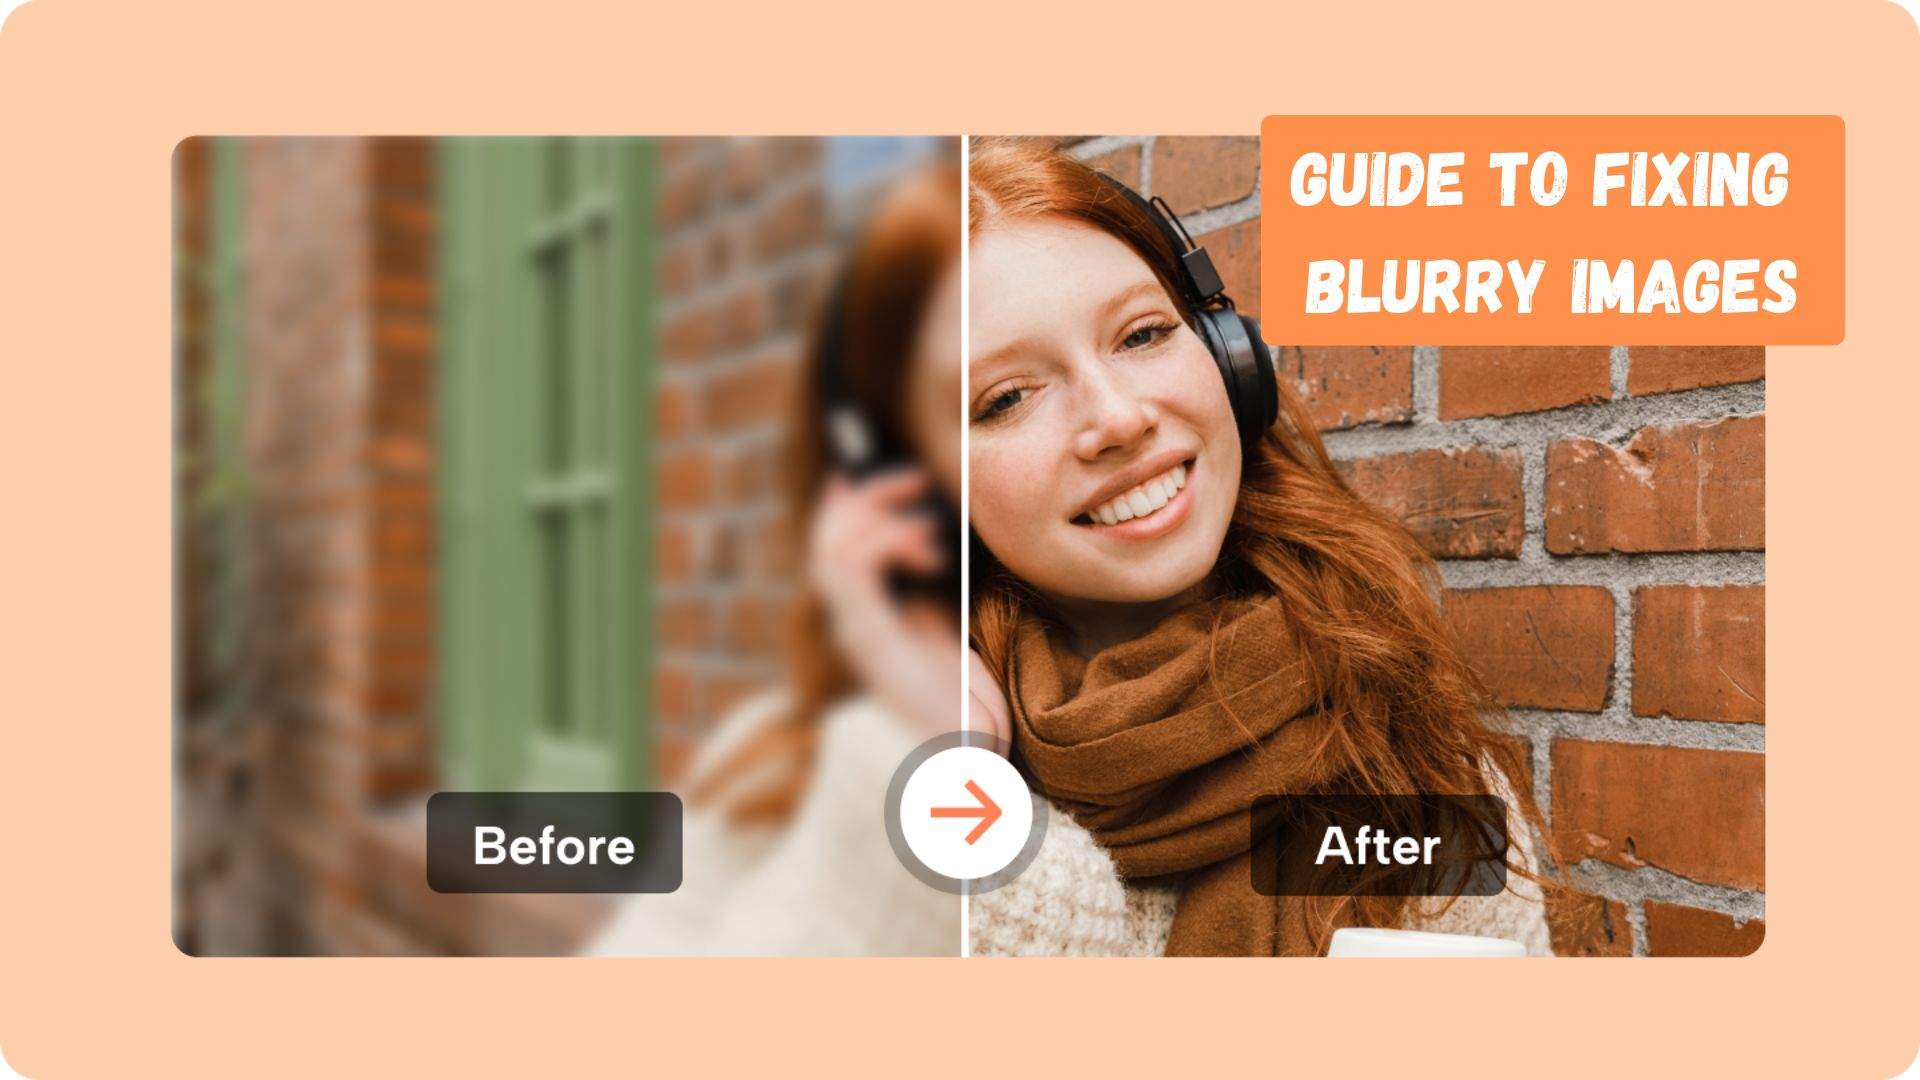
A portrait can have enough pixels yet still show soft eyes or hair. Text in a screenshot may look weak around the letters. A product photo can be large enough for a store page but still lack clean edges. These are often sharpness problems, not size problems.
Image Sharpening increases edge definition and makes existing detail appear clearer. AI can automate much of this work. However, it performs best when useful detail is already present. Slight softness is much easier to improve than severe motion blur or badly missed focus.
In this guide, we will look at the Dr.Fone APP for mobile image AI enhancement, a couple of online tools to sharpen images, and manual controls for cases that need more precision.
Part 1: What Does Sharpening an Image Actually Do?
Sharpening enhances the appearance of finer details by increasing edge contrast. It enhances the perception of image sharpness, although it does not increase image size, nor does it faithfully recreate details that weren’t originally captured.
1.1 Sharpening vs. Deblurring vs. Upscaling
| Process | Main Goal | Best Used When |
|---|---|---|
| Sharpening | Improve edge definition | The photo looks slightly soft |
| Deblurring | Reduce focus or motion blur | Blur is clearly visible |
| Upscaling | Increase pixel dimensions | The image is too small |
| AI Enhancement | Improve several quality issues together | Softness, noise, and weak detail overlap |
Key takeaway: Use an image sharpener when the picture has enough pixels but lacks crisp definition.
1.2 What Can Sharpening Realistically Fix?
Works well for:
- slight softness;
- weak edges;
- mildly soft portraits;
- product boundaries;
- slightly fuzzy text or screenshots;
- images softened by resizing.
Less reliable for:
- severe motion blur;
- badly missed focus;
- heavy compression;
- unreadable tiny text;
- genuinely missing facial or object detail.
Adobe notes that sharpening can correct mild softness, but it cannot bring a truly out-of-focus image fully back into focus.
Do Not Over-Sharpen
Too much sharpening can create:
- bright or dark halos;
- stronger noise;
- rough skin;
- jagged text;
- harsh or “crunchy” detail.
Part 2: Method 1 — Enhance and Clarify a Photo with Dr.Fone APP
If a photo already has enough pixels but looks soft or low-quality, Dr.Fone APP offers a mobile AI-based option. Its AI Photo Enhancer improves image quality and resolution with automatic processing. It is available within Dr.Fone's AI tools, and the official guide confirms the same basic workflow for iOS and Android.
Dr.Fone is more of an AI photo enhancer, rather than sharper for solely enhancement. In this instance, it enhances perceived sharpness, boosts clarity, and cleans up a soft photo without requiring any manual sharpening controls.
Dr.Fone App - AI Photo Restorer & Enhancer (iOS & Android)
Restore, Colorize, Enhance, and Upscale Photos with AI
- Restore Old Photos by Fixing Creases, Tears, and Scratches
- Colorize Black-and-White Photos with AI
- Auto-Enhance Photos and Improve Portrait Details to HD Quality
- Upscale Images to 2x, 4x, or 8x for Clearer Results



2.1 Where Does It Fit?
Dr.Fone's automatic enhancement is useful when the whole photo needs a general quality boost. This can suit phone photos, social-media images, and product shots that look slightly soft.
For portraits and selfies, the AI Photo Enhancer can also be used when you need more clarity in facial details. The existing official documentation does not specifically mention a dedicated “Portrait Enhancer” or “Sharpen” control so view these as use cases and not feature names.
Best suited to:
- soft phone photos;
- selfies and portraits;
- social-media images;
- everyday product photos;
- generally low-quality images.
2.2 How to Enhance Photo Clarity with Dr.Fone APP
The official Dr.Fone workflow can be completed in four main steps:
-
Step 1 Open AI Toolbox
Launch Dr.Fone APP and tap the blue AI Toolbox at the bottom.
-
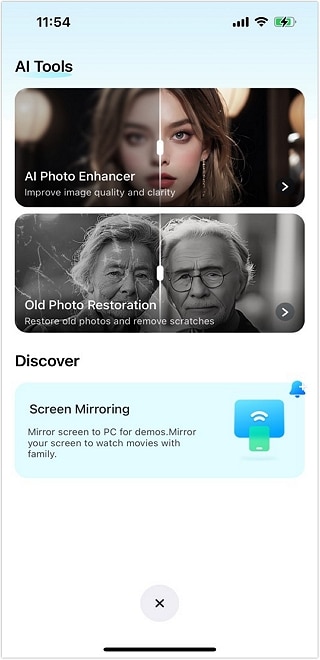
Step 2 Choose AI Photo Enhancer
Select the AI Photo Enhancer tool from the AI Tools page.
-
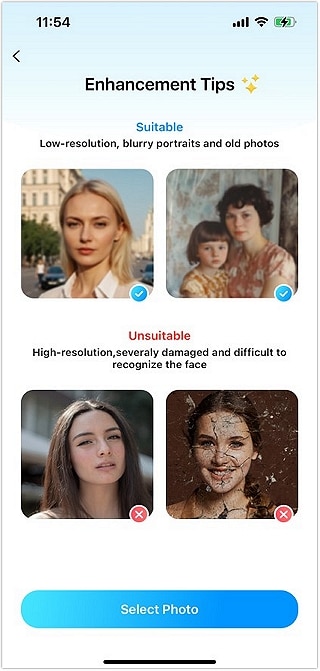
Step 3 Select your photo
Tap Select Photo and choose the soft or low-quality image you want to improve.
-
Step 4 Enhance, compare, and save
Tap Enhance. When processing finishes, drag the slider to compare the original and enhanced versions, then tap Save.

Zoom in and inspect the areas that matter most:
- eyes and hair;
- skin texture;
- product edges;
- logos and small text;
- background noise.
A good result should look clearer while staying natural. Extra processing isn't useful if skin looks artificial, letters lose their shape, or edges look harsh.
If you only need an image sharpener online once or twice and don’t want to install any app on your device, a browser-based AI sharpener may be the quicker choice.
Part 3: Best Free AI Tools to Sharpen an Image Online
For a quick browser job, an online image sharpener removes most manual work. These three tools all use automatic AI processing, but each fits a different need.
3.1 Pixelcut — Best for Quick, No-Signup AI Sharpening
Pixelcut offers a dedicated Free AI Image Sharpener that works directly in the browser. Its current page states that basic sharpening needs no signup and adds no watermark. It accepts JPG, PNG, and HEIC files up to 100 MB or 8000 × 8000 pixels. AI handles the sharpening automatically, while 4x upscaling and batch processing sit under Pixelcut Pro.
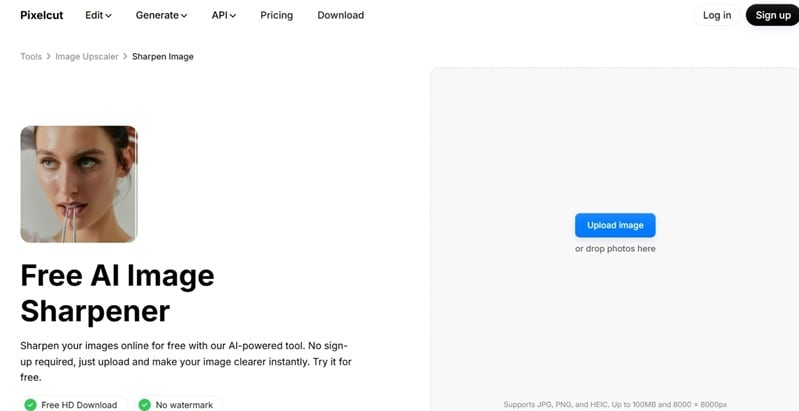
Quick steps:
Upload image → AI sharpens automatically → Download
Best for: product photos, social images, and everyday photos
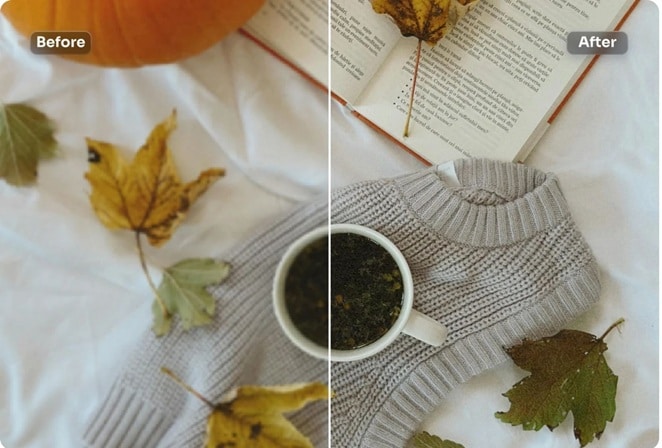
3.2 AI Ease — Best for Simple One-Click AI Sharpening
AI Ease focuses on automatic correction. Its sharpener analyses an uploaded image and improves sharpness and clarity without manual sliders. The page also supports blurry, pixelated, compressed, product, portrait, and social-media images. Batch enhancement can process up to 50 images.
Quick steps:
Upload photo → AI sharpens automatically → Download
AI Ease currently advertises free sharpening, while its sign-in interface also lists daily free credits. This makes it better to describe it as a free-access tool rather than promise unlimited free use.
Best for: beginners and users who want a simple AI sharpen image free workflow without adjusting technical settings.
3.3 Upscale.media — Best When Sharpness and Low Resolution Overlap
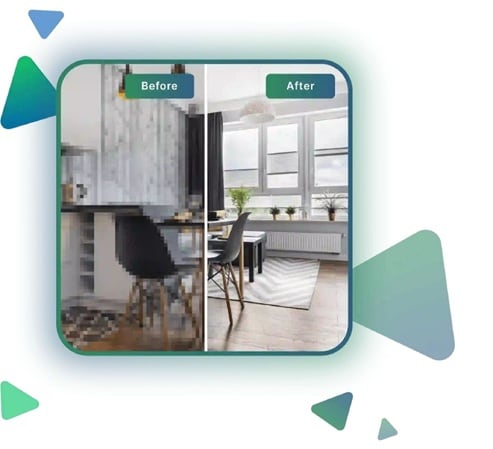
Upscale.media is useful when an image is not only soft but also short on pixels. Its current sharpening workflow combines AI enhancement with 2x, 4x, or 8x enlargement, followed by a preview and download.
Quick steps:
Upload image → Choose upscale → Preview → Download
Best for: low-resolution photos that need both greater clarity and larger pixel dimensions.
If enlargement becomes the main goal, use a dedicated image-upscaling guide instead. Sharpening and upscaling solve different problems.
3.4 Online Image Sharpener Comparison
| Tool | Best For | Core Workflow | Useful Extra | Enlargement in Sharpening Workflow |
|---|---|---|---|---|
| Pixelcut | Fast, no-signup sharpening | Automatic AI sharpening | No watermark; Pro batch processing | Up to 4x via Pixelcut Pro |
| AI Ease | Simple automatic sharpening | One-click AI sharpening | Batch processing up to 50 images | Not part of the main sharpening steps |
| Upscale.media | Soft + low-resolution images | AI sharpening with scaling | Before/after preview | Yes — 2x, 4x, or 8x |

Part 4: Manual Sharpening When You Need More Control
Even though AI is fast, when the control over how much sharpening is applied and where it is applied, manual sharpening works better. This works well for text, logos, product packaging, architecture, and portrait details.
4.1 Sharpening Controls That Matter
Photoshop and other similar editors provide a handful of controls.
- Strengthening the edges and increasing contrast controls sharpening strength.
- The radius refers to how far from the edge the sharpening happens. Smaller values are for fine detail and larger ones for edges.
- Threshold or Masking determines how much a pixel you click must differ from its neighbour. Using mask or selection tools can prevent skin or sky areas from becoming sharpened.
- Noise reduction helps control the grain and artifacts which may be visible post sharpening.
When an automatic AI sharpen changes the image too much, it is better to sharpen manually. Useful for: screenshots, lettering, logos, product details, buildings, eyes and hair etc.
4.2 Know When to Stop
Reduce sharpening if you notice:
- bright or dark halos;
- rough-looking skin;
- stronger grain;
- jagged letters;
- crunchy hair or fabric;
- artificial outlines around objects.
It is recommended you apply sharpening gradually and check back at 100% view. One pixel in the image corresponds to one pixel on the screen with this size, making judging halos, noise, and edge artifacts easier.
Rule of thumb: sharpen important edges, not every pixel. The final image should look clearer, not visibly processed.
Part 5: Which Sharpening Method Should You Choose?
Your best solution depends on your image problem and the control you need. Automatic tools offer speed, while manual sharpening is useful only for specific details.
5.1 Sharpening Method Comparison
| Factor | Dr.Fone APP | Online AI Sharpener | Manual Sharpening |
|---|---|---|---|
| Best for | Soft everyday phone photos | Quick browser-based jobs | Precise or selective edits |
| Automation | High | High | Low to moderate |
| Sharpness control | Automatic enhancement | Usually automatic | High |
| Good fit | Photos, selfies, everyday images | Products, social images, general photos | Text, logos, portraits, detailed products |
| Main limitation | Not a dedicated manual sharpener | Controls vary by tool | Easier to over-sharpen |
Dr.Fone’s current AI Photo Enhancer works instantly to improve low-quality, grainy or blurry pictures on iOS and Android. Tools in the browser like Pixelcut take the sharpening down for you as pixel-cut takes care of the edges of your image. Photoshop, on the other hand, allows you to restrict sharpening to selected areas or edges.
5.2 Match Sharpening to the Image
Portraits: Prioritise the eyes, brows, hair, and facial edges. Keep skin softer so texture does not become harsh.
Text and screenshots: Sharpen letter edges only when useful detail still exists. If text is really tiny or missing pixels, sharpening can’t be relied on to recreate it. Adobe explains that sharpening can't fake detail or fix perfectly blurred areas.
Product images: Focus on product boundaries, logos, labels, and useful texture. Selective sharpening helps prevent smooth backgrounds and noise from becoming unnecessarily harsh.
Conclusion
Sharpening works best when useful detail is present, but edges look soft. It works well for improving portraits, text, product photos, and everyday images. However, it cannot always recreate detail in severely blurred or out-of-focus shots. You can use AI sharpen options offered at Pixelcut, AI Ease, and Upscale.media. Dr.Fone APP also offers a simple mobile option with its AI Photo Enhancer. A strong sharpen image result should look clearer and more defined without halos, harsh texture, or artificial detail.
FAQ
-
1. Can AI sharpen a blurry image?
Definitely, especially if the image is just a bit soft. Nonetheless, instances of extreme motion blur, miss-focus, or missing detail won’t be accurately rescued. Adobe says that sharpening cannot bring back detail that never existed. -
2. Is sharpening the same as deblurring?
No, although some AI tools combine both. Sharpening mainly increases edge contrast and perceived detail. Deblurring targets blur caused by problems such as motion or focus. Adobe's Smart Sharpen, for example, includes a Motion Blur option specifically for blur reduction. -
3. Does sharpening increase image resolution?
Not by itself. Regular sharpening enhances edge definition with unchanged pixels. When images are enlarged, they require resizing or resampling, which is the addition or removal of pixels. -
4. Should I sharpen or upscale a low-quality image?
Choose based on the main problem. An image that is large enough in size but appears soft should be sharpened or enhanced. If it does not include enough pixels for the required output, upscale the image. Some AI tools combine both, but they solve different problems.








Selena Lee
staff Editor
Generally rated4.5(105participated)