

 TL;DR:
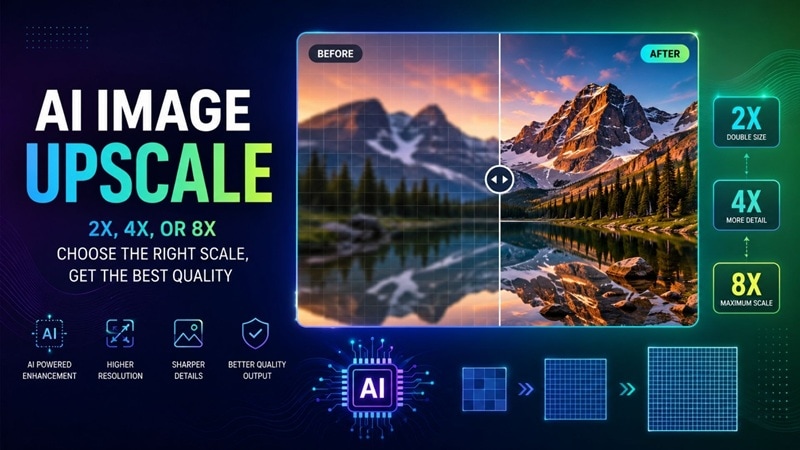
Choose the smallest AI scale that reaches your required dimensions: 2x for moderate enlargement, 4x when 2x is insufficient, and 8x only for very small sources.
- Scaling applies to width and height, so 2x creates 4x the total pixels, 4x creates 16x, and 8x creates 64x.
- Dr.Fone APP can enhance and compare photos on iOS and Android, although its official guide does not show a manual 2x, 4x, or 8x selector.
- Upscaling changes dimensions, while sharpening, deblurring, denoising, and enhancement address separate image-quality problems.
Ask AI for a summary
 ChatGPT
 Perplexity
 Gemini
 Claude
 Grok
Grok
A sharp photo can quickly show its limits after a tight crop, large print, or bigger screen placement. There may simply be too few original pixels for the new size. A simple resize enlarges the file, but it does not produce true new detail. An AI image upscaler can create a more convincing result by filling in added texture and edge detail, although aggressive processing can change fine detail or emphasize flaws in a weak source.
This guide explains how to choose the right photo upscale level while protecting useful detail and avoiding unnecessary processing.
- Part 1: What Is Image Upscaling, and How Do 2x, 4x, and 8x Work?
- Part 2: 2x vs 4x vs 8x
- Part 3: Upscale and Enhance Photos on Your Phone with Dr.Fone APP
- Part 4: Other Ways to Upscale an Image Online
- Part 5: Know When Upscaling Is — and Isn’t — the Right Fix
- Part 6: Avoid These Common Upscaling Mistakes
- FAQs About AI Image Upscaling
Part 1: What Is Image Upscaling, and How Do 2x, 4x, and 8x Work?
Image upscaling is the process of increasing an image's pixel dimensions. The extra pixels are formed differently depending on the method used.
1.1 Image Upscaling vs Simple Resize
In a standard resize, resampling or interpolation determines pixels using the original image. AI upscaling first analyses edges, textures, and patterns before generating extra detail.
It can be particularly effective at improving the outline of edges in an image. However, AI cannot always recover every missing detail exactly. At higher scales, more of the result is estimated rather than captured from the original.
1.2 What Scale Factor Actually Changes
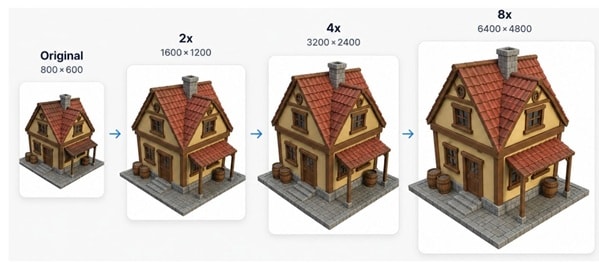
The scale factor applies to both width and height:
| Original | 2x | 4x | 8x |
|---|---|---|---|
| 800 × 600 | 1600 × 1200 | 3200 × 2400 | 6400 × 4800 |
Therefore, 2x creates 4x the total pixels, 4x creates 16x, and 8x creates 64x. Aggressive upscaling also means larger files and more AI-generated detail. JPG/JPEG and PNG are widely supported formats for image upscaling.
Part 2: 2x vs 4x vs 8x — Which Upscale Level Should You Choose?
More pixels do not automatically mean a better result. The useful scale is the smallest one that reaches your required dimensions while keeping the image close to its source.
2.1 2x: Best for Everyday Enlargement
Choose 2x when the source already has decent detail and only needs moderate growth. It suits web graphics, presentations, social content, and other digital uses where doubling the width and height is enough.
2.2 4x: Best When 2x Falls Short
4x makes more sense for noticeably small or cropped photos, product images, larger displays, and print assets. It gives more pixel headroom, but also requires the upscaler to create more visual information than 2x.
2.3 8x: Best Reserved for Very Small Sources
Use 8x when a tiny thumbnail, crop, or low-resolution image still cannot reach its target at 2x or 4x. At this level, the model has much more missing information to handle. Generative upscalers may reconstruct new detail, so the result can look convincing without being an exact recovery of the original.
| Scale | Best Fit | Main Consideration |
|---|---|---|
| 2x | Web, presentations, moderate enlargement | Keeps processing restrained |
| 4x | Crops, product images, print, larger assets | More generated detail |
| 8x | Tiny sources and major size gaps | Highest reconstruction demand |
Quick Selection Rule
Required scale ≈ target dimension ÷ current dimension
For an 800 px image needed at 3000 px:
3000 ÷ 800 = 3.75 → choose 4x
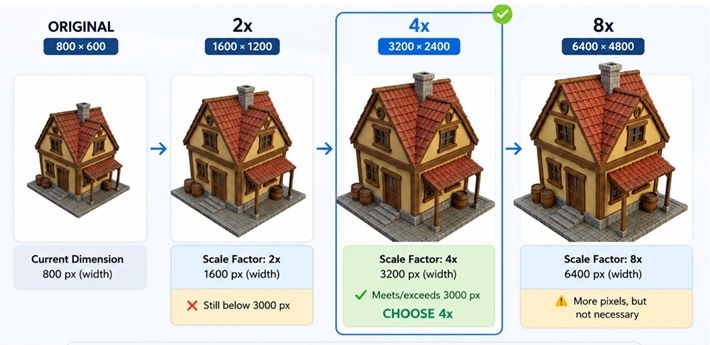
Key rule: Use the smallest AI upscale that clears your target. If 4x already provides enough pixels, moving to 8x adds size without guaranteeing more useful detail.
Part 3: Upscale and Enhance Photos on Your Phone with Dr.Fone APP
Once you know how much enlargement your image needs, you can move to the actual edit. Dr.Fone APP offers an AI Photo Enhancer for users who want to improve image quality and resolution directly on a phone. Wondershare lists the feature on both iOS and Android, with the same basic workflow on each platform.
Why Use Dr.Fone AI Photo Enhancer?
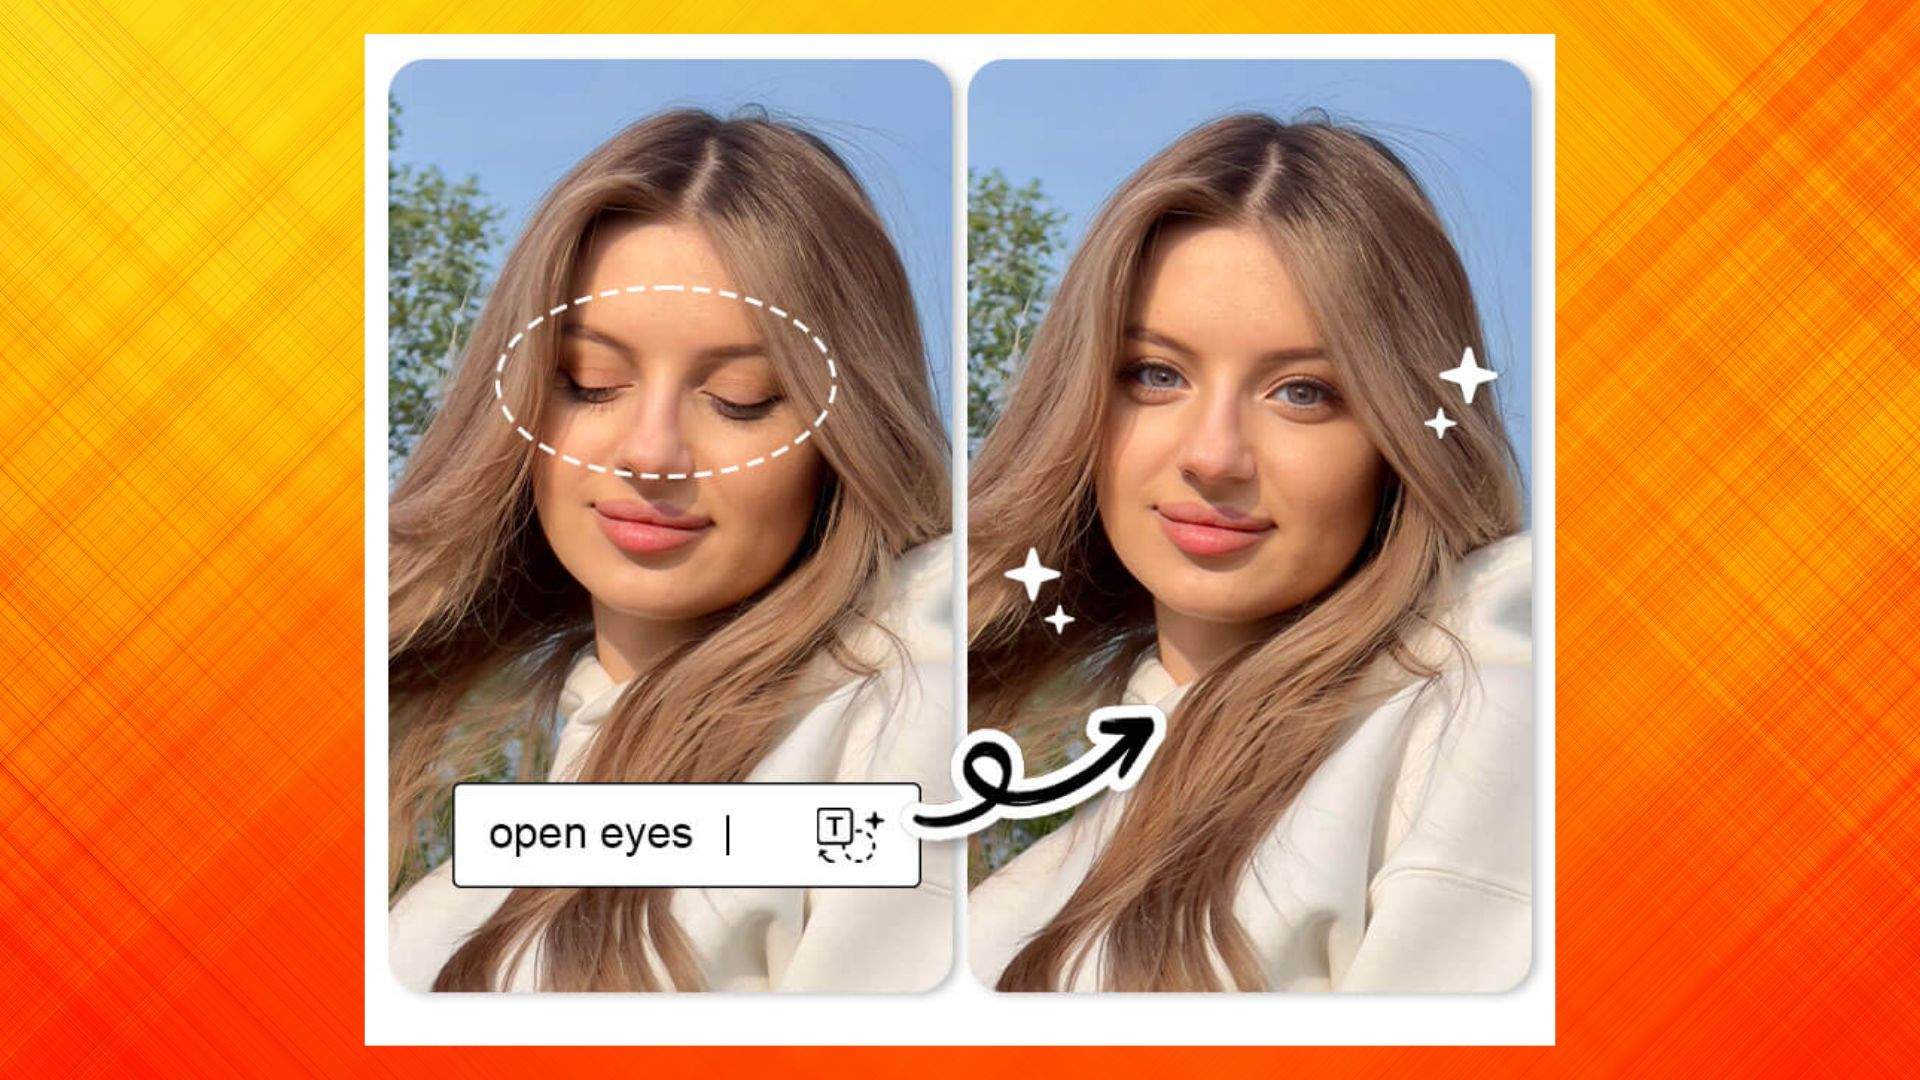
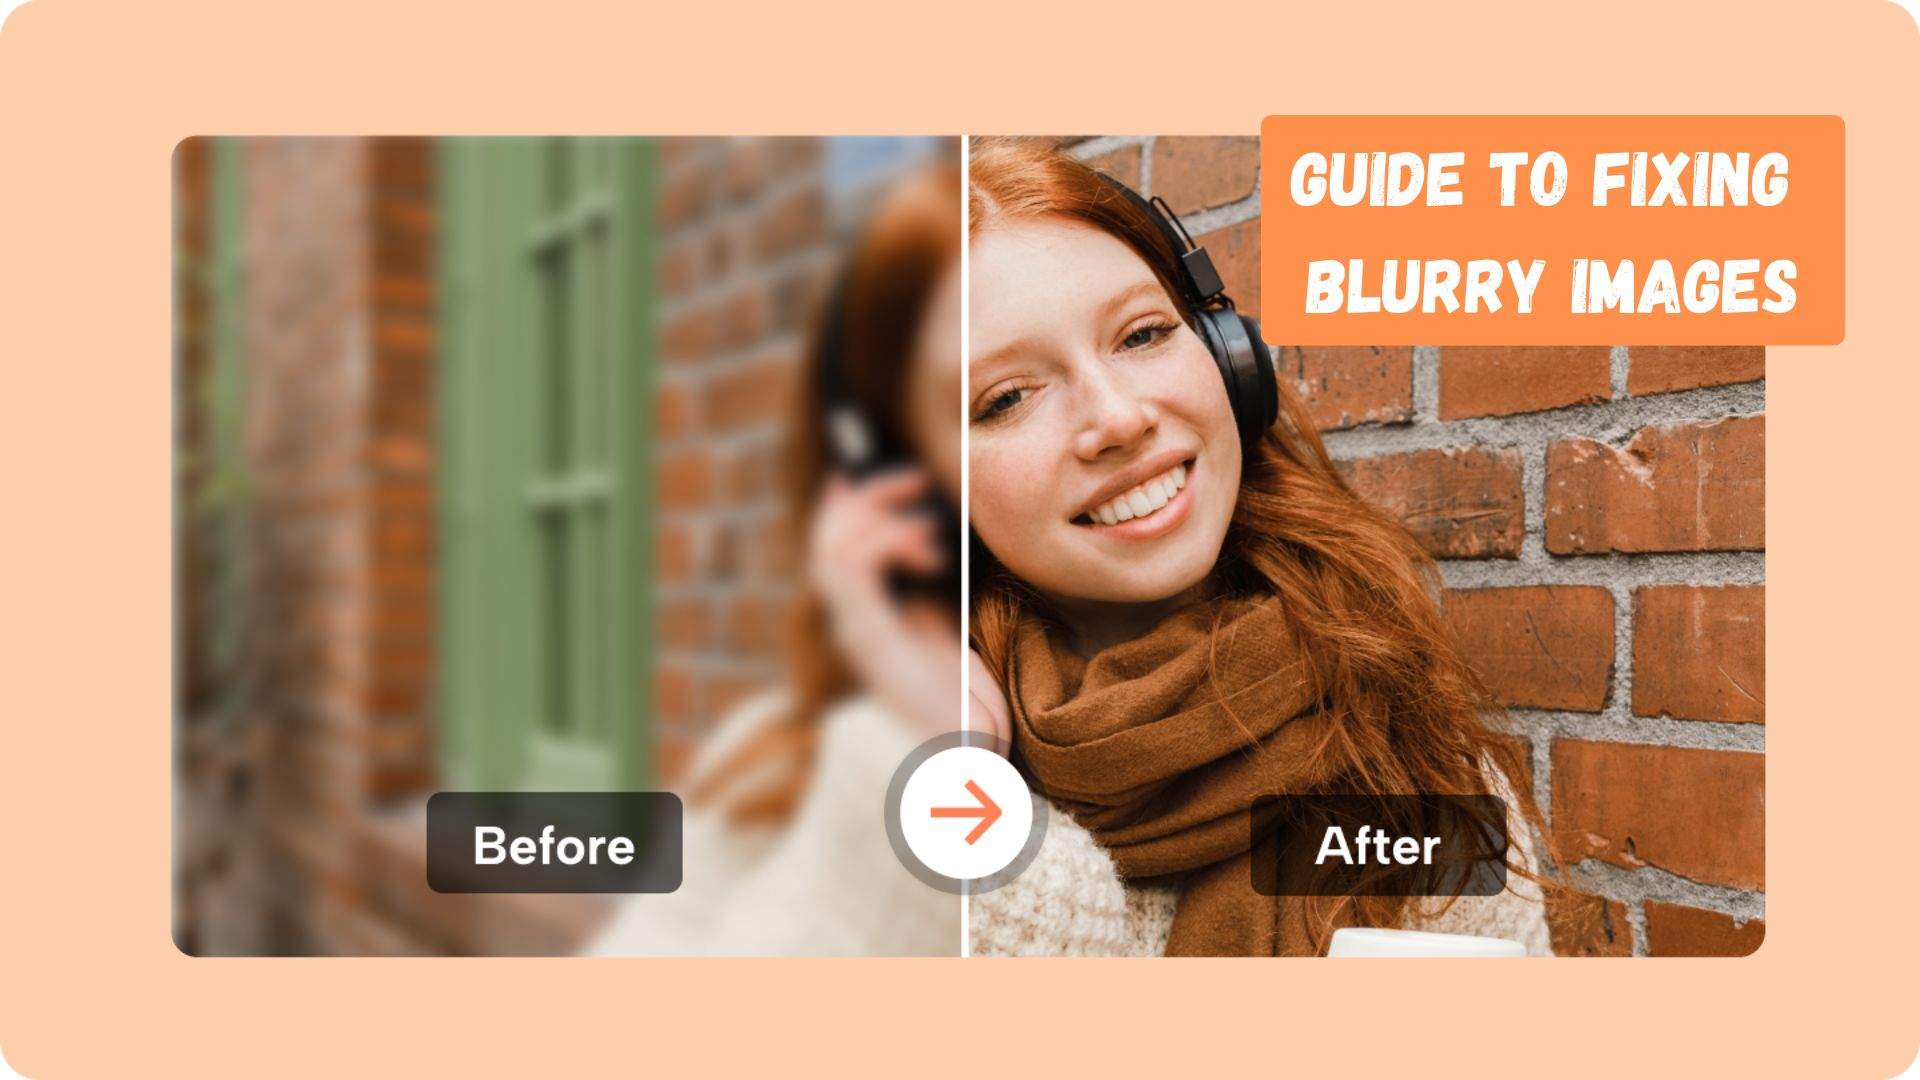
Dr.Fone works as a simple mobile image upscaler app for quick photo improvement. AI Photo Enhancer is made for low-quality, grainy, or blurry photographs and automatically processes the photo.
- AI-based image quality and resolution enhancement
- One-click processing
- Support for iOS and Android
- Before-and-after comparison slider
- Direct saving to the phone after processing
Wondershare also provides a separate Old Photo Restoration tool within the AI Toolbox for damaged or aged photos.
Dr.Fone App - AI Photo Restorer & Enhancer (iOS & Android)
Restore, Colorize, Enhance, and Upscale Photos with AI
- Restore Old Photos by Fixing Creases, Tears, and Scratches
- Colorize Black-and-White Photos with AI
- Auto-Enhance Photos and Improve Portrait Details to HD Quality
- Upscale Images to 2x, 4x, or 8x for Clearer Results



How to Enhance and Upscale Image Quality with Dr.Fone
-
Step 1 Open the AI Toolbox
Launch Dr.Fone APP and tap the blue AI Toolbox at the bottom. If it is missing, update the app to the latest version.

-
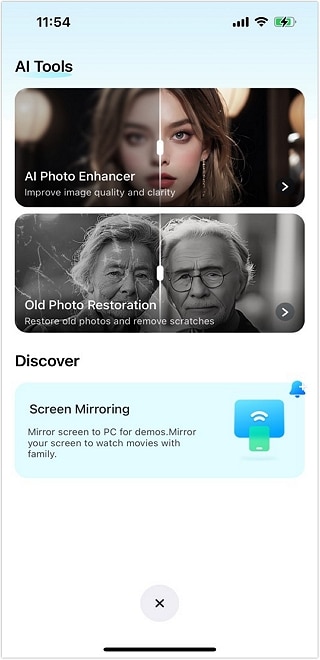
Step 2 Select AI Photo Enhancer
Choose AI Photo Enhancer from the available AI tools.
-
Step 3 Add Your Photo
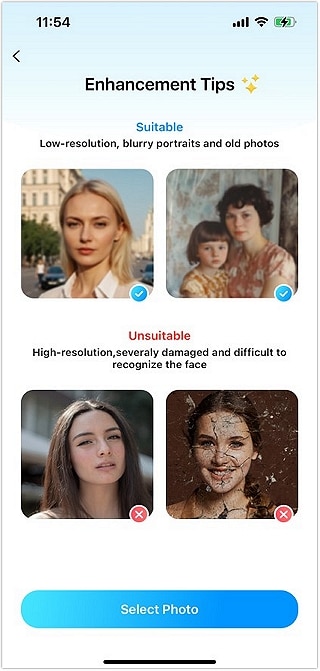
Choose the photo that you want to improve by tapping Select Photo. Images that are suitable and unsuitable for adaptation are also shown.
-
Step 4 Enhance, Compare, and Save
Tap Enhance and allow the app to process the photo. Once complete, move the comparison slider to check the result. Tap Save to store the enhanced image on your device.

Keep Your Scale Target in Mind
- 2x is enough for moderate enlargement.
- 4x makes sense when 2x would still leave the image too small.
- 8x should be reserved for much larger output needs.

Part 4: Other Ways to Upscale an Image Online
Browser tools can magnify images quickly without installing an application. The main difference is how much control they give over scale and output size.
Option 1: Upscale.media
Upscale.media makes uploading and processing easy. After selecting an image and its enlargement size, such as 2x, 4x, or 8x, you can download it.
Its artificial intelligence works on noise and edge detail during the photo upscale process. It is a practical choice for a quick upscale image online workflow.
Best for: Fast upload, scale, and download tasks.
Option 2: Let's Enhance
Let's Enhance supports scaling up to 16 times, scaling modes for images with writing or text, and old-timey photos. It also helps process several files at once when they need the same treatment.
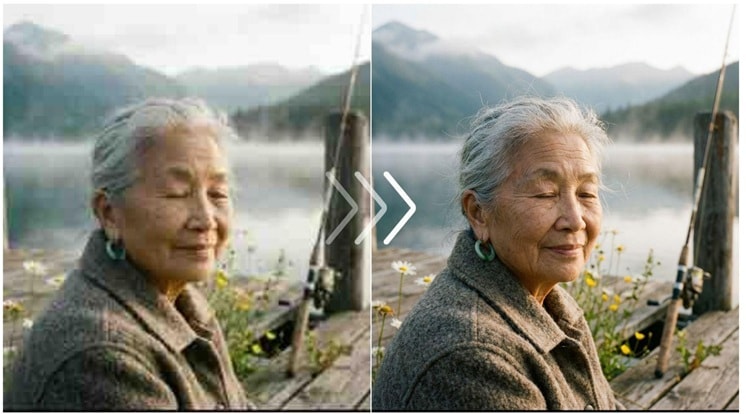
Best for: Wider scaling options and greater control over larger outputs.
Option 3: Img.Upscaler
Img.Upscaler keeps the process simple for casual enlargement. Basic use does not require a login, while 2x and 4x scaling cover common upscale image resolution needs. Batch processing is available for heavier workflows.
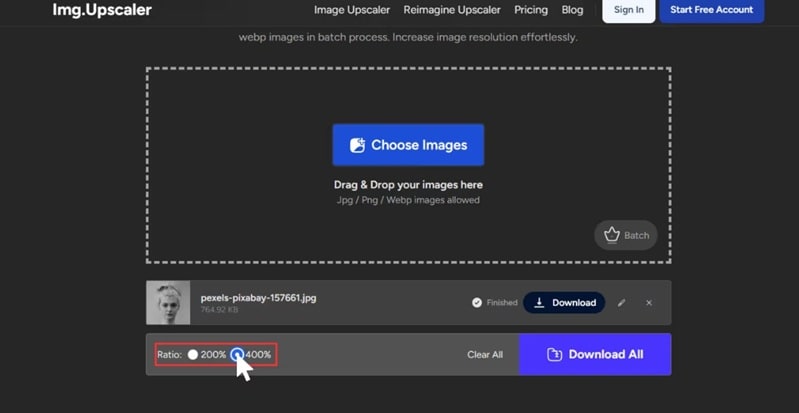
Best for: Simple browser-based upscaling with flexible enlargement options.
Quick Comparison Table
| Tool | Account Needed to Start? | Batch Processing | Custom Output Control | Extra AI Processing Options |
|---|---|---|---|---|
| Upscale.media | No for a basic single image | Yes | 2x, 4x, 8x; custom-size options | Face enhancement, sharpening, deblur, retouch, noise reduction |
| Let's Enhance | Yes | Yes, up to 20 images | 1x–16x, exact width/height, DPI and print presets | Multiple AI models, face enhancement, restoration |
| ImgUpscaler | No for basic web use | Yes, on paid plans | 2x or 4x | AI enhancement and Reimagine AI tools |
Part 5: Know When Upscaling Is — and Isn't — the Right Fix
Although pixel dimensions can be increased, the image may need different treatment depending on its final application. HD enhancement, 4K output, sharpening, and upscaling are not the same thing.
| What You Notice or Need | What to Check | Right Next Step | Why |
|---|---|---|---|
| Image is too small for its intended use | Current pixel dimensions vs. required size | Upscale / resample | Upscaling adds pixels and increases width and height. |
| Image is large enough but looks soft | Edge clarity and blur | Sharpen or deblur | Sharpening improves edge contrast; more pixels alone may not fix softness. |
| Final output must be 3840 × 2160 | Whether current dimensions reach the 4K target | Upscale if needed, then resize/crop | 4K is a target resolution, not the same as 4x enlargement. |
| Image has enough pixels but looks noisy or dull | Noise, color, contrast, and fine detail | Denoise or enhance | These are quality problems, not size problems. |
Samsung defines consumer 4K UHD as 3840 × 2160, so you can calculate whether 2x, 4x, or another enlargement is needed. Adobe describes sharpening as increasing contrast around image edges, so it should be treated as a separate finishing operation.
One Example Makes the Difference Clear
Original image: 1600 × 900
- 2x upscale → 3200 × 1800: Larger, but still below 3840 × 2160.
- 4x upscale → 6400 × 3600: Enough pixels to create a 3840 × 2160 output afterward.
- If the 4x result looks slightly soft, sharpening can be applied after resizing.
- If the issue is noise or weak image quality rather than size, further upscaling is not the solution.
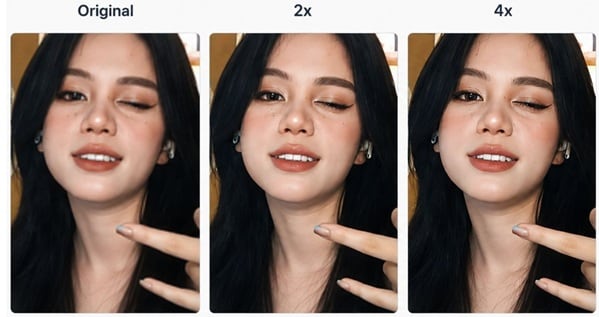
Key Takeaway: Upscale for dimensions. Enhance for image defects. Sharpen for edge definition. Target 4K only when the final use calls for 3840 × 2160.
Part 6: Avoid These Common Upscaling Mistakes
Even a good picture upscaler works best when the source and scale match the final use.
- Using 8x by default: Pick the smallest scale that reaches your target size.
- Starting with a poor copy: Use the cleanest, highest-resolution source available.
- Mixing up 4x and 4K: 4x is an enlargement factor; 4K UHD is 3840 × 2160.
- Expecting precise recovery: AI might replicate missing detail instead of fully restoring it.
- Ignoring final use: Web, screen, and print outputs need different pixel sizes.
- Repeatedly saving JPGs: JPEG uses lossy compression and can lose quality.
- Over-sharpening can increase noise and halos.
- Do not send dangerous pictures to social media without checking what they will do with them.
Conclusion
A good photo upscale starts with the right aim, not the largest scale. Use 2x for modest expansion, 4x for extra pixel room, and 8x only when smaller options cannot fit. AI picture upscalers can boost detail but also reconstruct missing data, so source quality and final dimensions matter.
Dr.Fone APP makes it possible to improve low-quality images, compare them, and keep them on your phone. Smart scaling usually outperforms aggressive scaling.
FAQ
-
1. Is 4x automatically better than 2x?
No. If 2x already reaches your required dimensions, 4x adds more pixels than needed and requires more AI-generated information. Use the smallest scale that meets the target. -
2. Should I use a PNG upscaler or JPG upscaler?
Use the best quality source available. PNG uses compression without losing quality and supports transparency, which helps with graphics. JPEG uses lossy compression and is best for digital photography or color photographs. -
3. Is an image upscaler app better than an online tool?
It depends on the task. Dr.Fone APP offers automatic mobile photo enhancement on iOS and Android. Upscale.media provides selectable 2x, 4x, and 8x scaling in a browser, while Let's Enhance supports presets up to 16x plus manual width and height controls.









Selena Lee
staff Editor
Generally rated4.5(105participated)