
How to Delete Voicemail on Android

Jun 30, 2026 • Filed to: Data Wipe Solutions • Proven solutions
 TL;DR:
To delete voicemails on Android, select the trash icon within your carrier's Visual Voicemail app, or dial into your mailbox by holding the 1 key or dialing *86, press # to skip the message playback, and press 7 to erase it.
● Stuck voicemail notification icons can be cleared by force-stopping the Phone app or clearing its cache, though using the clear data option may reset your call history and phone preferences.
● Verizon users can mass-delete messages using the Edit menu in their Visual Voicemail app, whereas traditional dial-in systems for Sprint, T-Mobile, and AT&T require deleting messages individually.
● Wondershare Dr.Fone Data Eraser permanently wipes all private data across the entire Android device, requiring a PC USB connection and making it suited for complete data removal before resale rather than routine mailbox cleanup.
Ask AI for a summary
 ChatGPT
 Perplexity
 Gemini
 Claude
 Grok
Grok

If you want to delete voicemail on Android, the easiest method is to open your carrier’s voicemail or visual voicemail app, select the message, and tap the delete button. If the voicemail notification still stays on your phone after deletion, clearing the Phone app cache or app data usually fixes it.
Managing voicemail on Android can feel confusing because the steps are different across carriers, visual voicemail apps, and traditional dial-in voicemail systems. Some users want to delete a single message, while others need to clear voicemail on Android completely or remove a voicemail notification that will not go away.
In this guide, you will learn how to delete voicemail on Android for major carriers, how to delete multiple voicemails, and what to do when you still see the voicemail icon after clearing your messages.
Let’s go step by step so you can clear voicemail Android devices more easily and keep your voicemail box organized.
- Part 1: How to Delete VoiceMail on Android
- Part 2: Still Stuck with Voicemail Notification Icon? Try This
- Method 1: Force Stop the Phone App
- Method 2: Clear the App Data
- Method 3: Delete VoiceMail Android with Wondershare Dr.Fone Data Eraser

Part 1: How to Delete VoiceMail on Android
If you need to delete voicemail Android messages, the exact steps depend on your carrier and whether you use visual voicemail or traditional voicemail. In most cases, the delete voicemail button appears inside the voicemail app. On older or carrier-specific systems, you may need to call voicemail, skip to the end of a message, and press the number key assigned to delete it.
Below are practical methods for the major carriers covered in the original article so you can clear voicemail on Android more efficiently.
#1 Delete Voicemail Android on Sprint Phone

Sprint, now part of T-Mobile, uses a familiar voicemail flow on many Android devices. If you are wondering how to delete voicemail on Android through the dialer, this is one of the most common methods.
Here’s how you can do it:
Step 1: Open the Phone app on your Sprint Android device and tap the Voicemail icon, or call into your voicemail box if required. Enter your voicemail password when prompted.
Step 2: Listen to the voicemail you want to remove, or skip forward if your system allows it. After the message plays, use the delete option and press 7 to delete the voicemail.
Step 3: Repeat the same action for any additional messages you want to remove from your mailbox.
Pro Tip: If your voicemail storage fills up often, delete old or unnecessary messages regularly so new important messages can still come through.
#2 How to empty voice mailbox on Android Verizon Phone

Verizon often provides a Visual Voicemail app, which makes deleting messages easier because you can see a list of voicemails and use an on-screen delete voicemail button instead of keypad commands.
Here’s how to empty voice mailbox on Android Verizon phones:
Using the Visual Voicemail App:
Step 1: Open the Visual Voicemail app on your Verizon Android phone. You will see a list of voicemail messages.

Step 2: Tap and hold the voicemail you want to delete, then choose the Delete option.
Step 3: If you want to delete all or several messages, tap the menu icon, choose Edit, select the messages, and tap the trash or Delete icon.
This is often the easiest answer for users searching for a button to delete voicemail or looking for how to delete all voicemails android in one place.
Using Traditional Voicemail:
If your device does not use Visual Voicemail, you can still delete voicemail on Android Verizon phones manually:
Step 1: Open the Phone app and dial *86 or press and hold the 1 key. Enter your voicemail password if prompted.
Step 2: Listen to the voicemail, or press # to skip to the end. Press 7 to delete the message.
Step 3: Repeat the process for additional messages until your voicemail box is clear.
#3 How to delete voicemail on Android T-Mobile

T-Mobile supports both traditional voicemail and visual voicemail on many Android models. If you want to delete my voicemail quickly without listening to each message all the way through, the keypad shortcut is usually the fastest method.
Step 1: Open the Phone app. Press and hold the 1 key, or dial *86 to connect to voicemail.
Step 2: Enter your voicemail password, then press the # key if your system asks you to confirm.
Step 3: If you have several messages, press the # key to skip to the end of a message without listening to all of it.
Step 4: Press 7 to delete the voicemail. Repeat this process for every voicemail you want to remove.
Pro Tip: This is one of the fastest ways to clear voicemails when your mailbox is full and you want to move through messages quickly.
#4 How to erase voicemail on Android for AT&T

AT&T users can also manage voicemail through either the phone dialer or a visual voicemail app, depending on the device and plan. If your goal is to clear voicemail Android mailboxes regularly, this process is simple once you know the keypad options.
Step 1: Open the Phone app. Press and hold the number 1, or dial *86 to access voicemail.
Step 2: Enter your voicemail password if needed. Choose the option to listen to saved messages.
Step 3: While a message is playing or after it finishes, press 7 to erase it.
Regular voicemail cleanup helps prevent storage issues and keeps important messages easier to find later.
Part 2: Still Stuck with Voicemail Notification Icon? Try This
Sometimes you delete your voicemail, but the notification icon still stays on your Android phone. This usually happens because the Phone app, carrier voicemail app, or cached voicemail data has not refreshed correctly. If you are searching for android clear voicemail notification, the methods below are usually the most effective.
Start with the least disruptive fix first, then move to deeper cleanup only if the icon still does not disappear.
Method 1: Force Stop the Phone App
If the voicemail notification remains after deleting your messages, first try force stopping the Phone app. This refreshes the app session and can remove a stuck voicemail indicator.
Step 1: Open Settings on your Android device. Tap Apps or Application Manager, then find and open the Phone app.

Step 2: Tap Force Stop and confirm when prompted.
Step 3: Restart your device and check whether the voicemail icon has disappeared.
Method 2: Clear the App Data
If force stopping does not work, clear the Phone app storage. This is also the most relevant fix for users searching for clear cache voicemail or clearing voicemail on android when the badge or icon is stuck.
Step 1: Go back to the Phone app info page through Settings > Apps, then tap Storage.

Step 2: Tap Clear Cache first. If the issue remains, tap Clear Data and confirm the action.
Step 3: Reopen the Phone or voicemail app and check whether the voicemail notification is gone.
Note: Clearing app data may reset call history, preferences, or some phone-related settings, so use this step only if simpler methods do not work.
Method 3: Delete VoiceMail Android with Wondershare Dr.Fone Data Eraser
If you still have trouble clearing voicemail on Android, or if you want to permanently remove personal data from a device before resale or transfer, Wondershare Dr.Fone Data Eraser can help erase data more thoroughly. This is especially relevant when voicemail, call logs, and private communication data need a deeper cleanup than standard deletion methods provide.
Dr.Fone - Data Eraser
Fully Erase Everything on Android and Protect Your Privacy
- Simple, click-through process.
- Wipe your Android completely and permanently.
- Erase photos, contacts, messages, call logs, and all private data.
- Supports all Android devices available in the market.


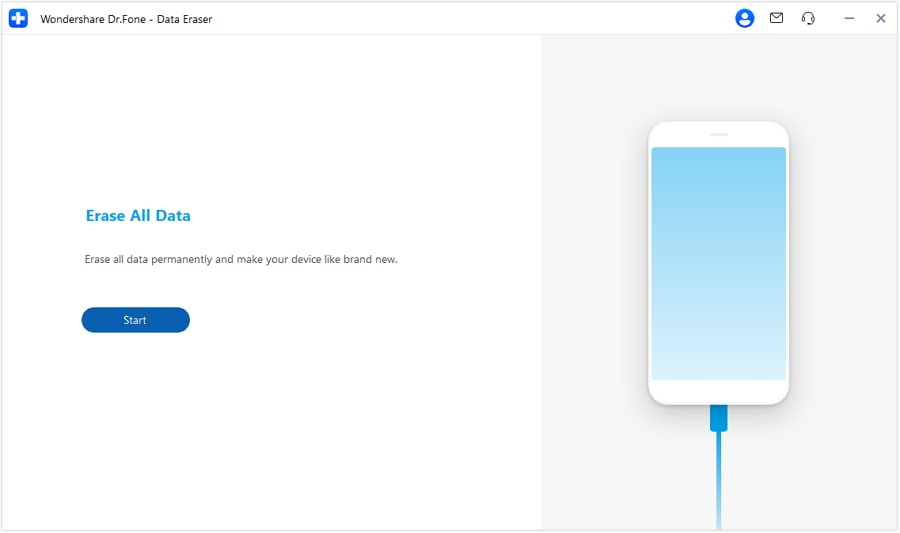
Step 1: Visit the official Wondershare website and download the Dr.Fone software for your computer. Install it, connect your Android phone to your PC with a USB cable, launch Dr.Fone, and select Data Eraser from the main screen.

Step 2: In the Data Eraser window, click the Start button.
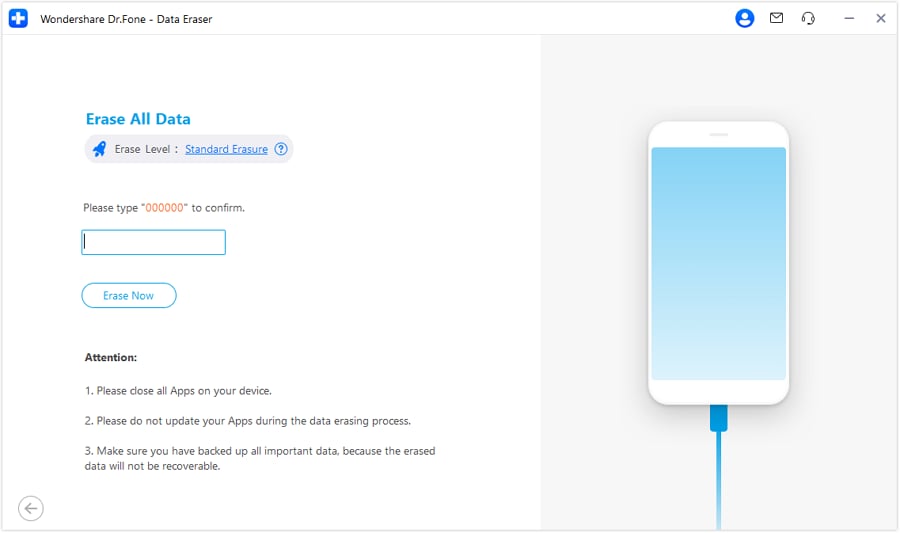
Step 3: Type the confirmation code shown on screen, then click Erase Now to begin the process.
Step 4: The software will display the progress as it erases data. If needed, you can click Stop to pause the process.
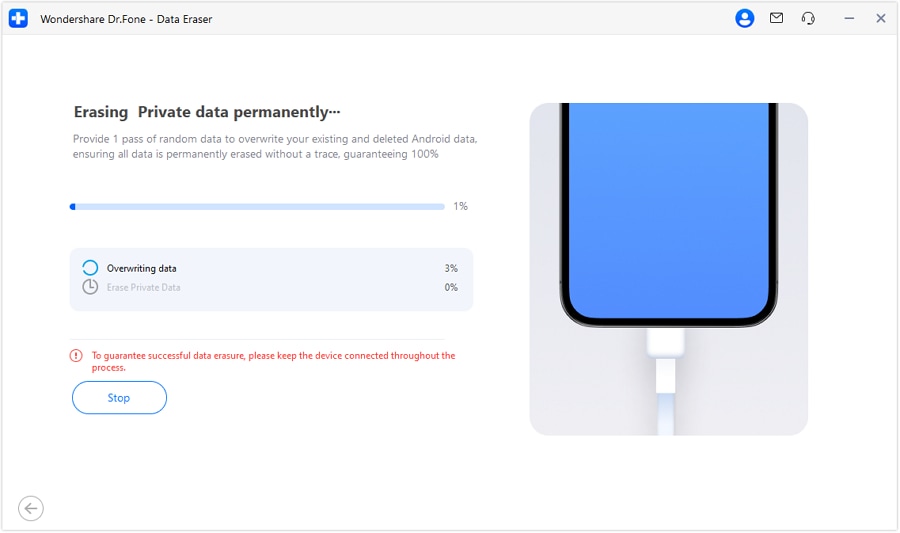
Step 5: When the process is complete, click Erasure Report to review which data categories were removed.
Tip: Back up any important data before using full-device erasure, especially if you only want to clear voicemail or notification issues rather than wipe the device completely.
Conclusion
Deleting voicemail on Android is usually simple once you know which system your phone uses. If your device has visual voicemail, you can usually tap the message and use the delete voicemail button directly. If it uses traditional dial-in voicemail, you can call voicemail, skip through messages, and use keypad commands such as 7 to delete them.
If you want to clear voicemail Android notifications that will not disappear, start by force stopping the Phone app, then try clearing cache or app data. These fixes usually solve stuck voicemail icons and help refresh the voicemail status properly.
For deeper privacy cleanup or complete device erasure before resale, a tool like Wondershare Dr.Fone Data Eraser can provide a more thorough solution. In short, whether you want to delete my voicemail, clear my voicemail box, or remove an Android clear voicemail notification issue, the right method depends on whether you are dealing with stored messages, app cache, or full-device private data.
FAQs


Android Erase
- Android Diagnostics
- 1. Fix Android Microphone Issues
- 2. Test NFC on Android Device
- 3. Check Android Device in Minutes
- 4. Apps For Sensor Check Android
- 5. Apps for Testing Device's Hardware
- 6. Tools for Conducting Screen Tests
- 7. Ways to Check Phone's Vibrations
- 8. Check Mobile Signal Strength
- 9.Realme Touch Screen Test Codes
- 10.Android Codes To Test Touch Screen
- 11.Phone Processor Speed Tests
- Erase Android
- 1. Delete Browsing History on Android
- 2. Clear App Data and Cache on Android
- 3. Delete Photos from Android
- 4. Wipe Android When It's Lost
- 5. Wipe Cache Partition on Android
- 6. Delete Text Messages on Android
- 7. Delete WhatsApp Backup
- 8. Wipe Data or Factory Reset
- 9. Erase Android Data Before Selling
- 10. Delete Contacts on Android
- 11.Delete Multiple Contacts on Android
- 12.Wipe Android Phone before Selling
- 13.Delete Photos on Android
- 14.Remove Pre-installed Apps
- 15.Delete Apps on Android
- 16. Access Trash on Android
- Android Reset
- 1. Restart Phone without Power Button
- 2. Reset Phone without Volume Buttons
- 3. Factory Reset Android Phone
- 4. Hard Reset Android Phone Using PC
- 5. Hard Reset Locked Infinix Phone
- 6. Factory Reset Lenovo Phone
- 7. Factory Reset Android Tablets
- 8. Factory Reset Lenovo Tablets
- 9. Format Your Android Phone
- 10. Hard Reset Android Phones
- 11.Reset Android Without Home Button
- 12.Restart Your Android Phone
- 13.Soft Reset Android Devices
- 14.Reset Android without Losing Data
- 15.Ways to Hard Reset Tecno Spark
- 16.Updated Android Factory Reset Code
- Data Erase Apps
- 1. Speed Booster for Android
- 2. Android Cleaners to Boost Device
- 3. Data Erase Apps to Protect Privacy
- 4. Data Eraser Apps to Wipe Android
- 5. 15 Best Cleaning Apps for Android
- Sell Old Android
- ● Manage/transfer/recover data
- ● Unlock screen/activate/FRP lock
- ● Fix most iOS and Android issues
- Free Download Free Download Free Download


Julia Becker
staff Editor