100% Security Verified | No Subscription Required | No Malware

 :
: 
 ChatGPT
 Perplexity
 Gemini
 Claude
 Grok
Grok

I transferred everything to my new iPhone, but now my line is on the wrong device and I’m afraid to move the eSIM because I need SMS codes for banking and work.
Apple Support Community user
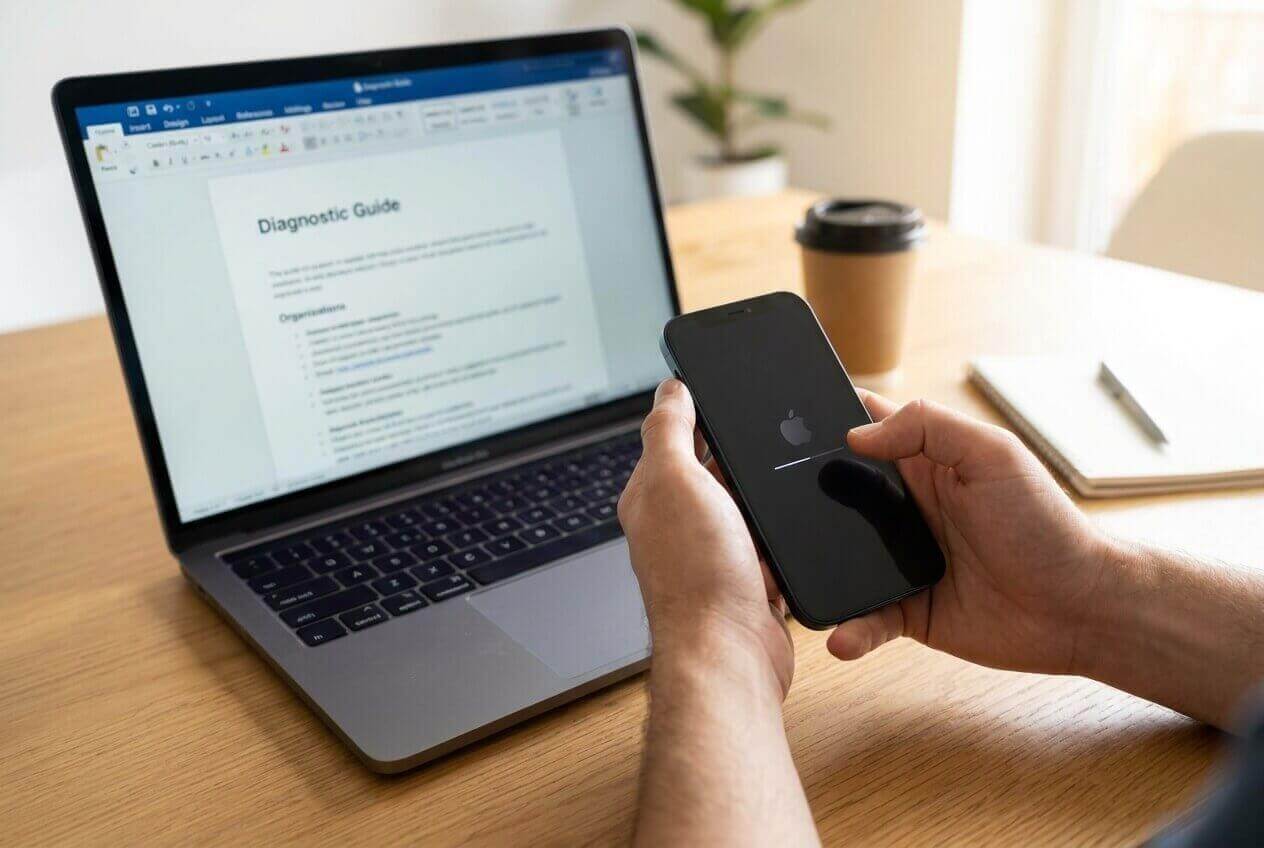
A rushed eSIM move can leave you without service at the exact moment you need verification codes and calls.
Moving to a new iPhone after a transfer is deceptively simple until you realize the steps aren’t just “copy data, then activate eSIM.” If you miss the right order, you can strand your number on the old phone, lose access to 2FA texts, or discover key data didn’t transfer after you’ve already wiped the original.
AI helps by turning your situation (carrier, iOS version, transfer method, current eSIM state) into a sequenced checklist with clear “stop and confirm” gates. It can also surface carrier-specific unknowns and define what to verify before you hit any irreversible step.
AI can’t read your phone’s actual eSIM status, carrier backend, or activation errors in real time, and it can’t execute device operations. Once the plan is solid, you still need real tools and device settings to perform the backup/transfer checks and the eSIM activation safely.
In this article
- How to plan a safer eSIM setup sequence after phone transfer
- Why sequencing matters
- Define the point of no return
- Set a fallback path
- Create verification gates
- What the AI needs to know
- Using AI prompts to build a safer workflow
- When to stop planning and start execution
- Execute the workflow safely with Dr.Fone
Part 1. How to Plan eSIM Setup on New iPhone After Phone Transfer Without Missing Critical Steps
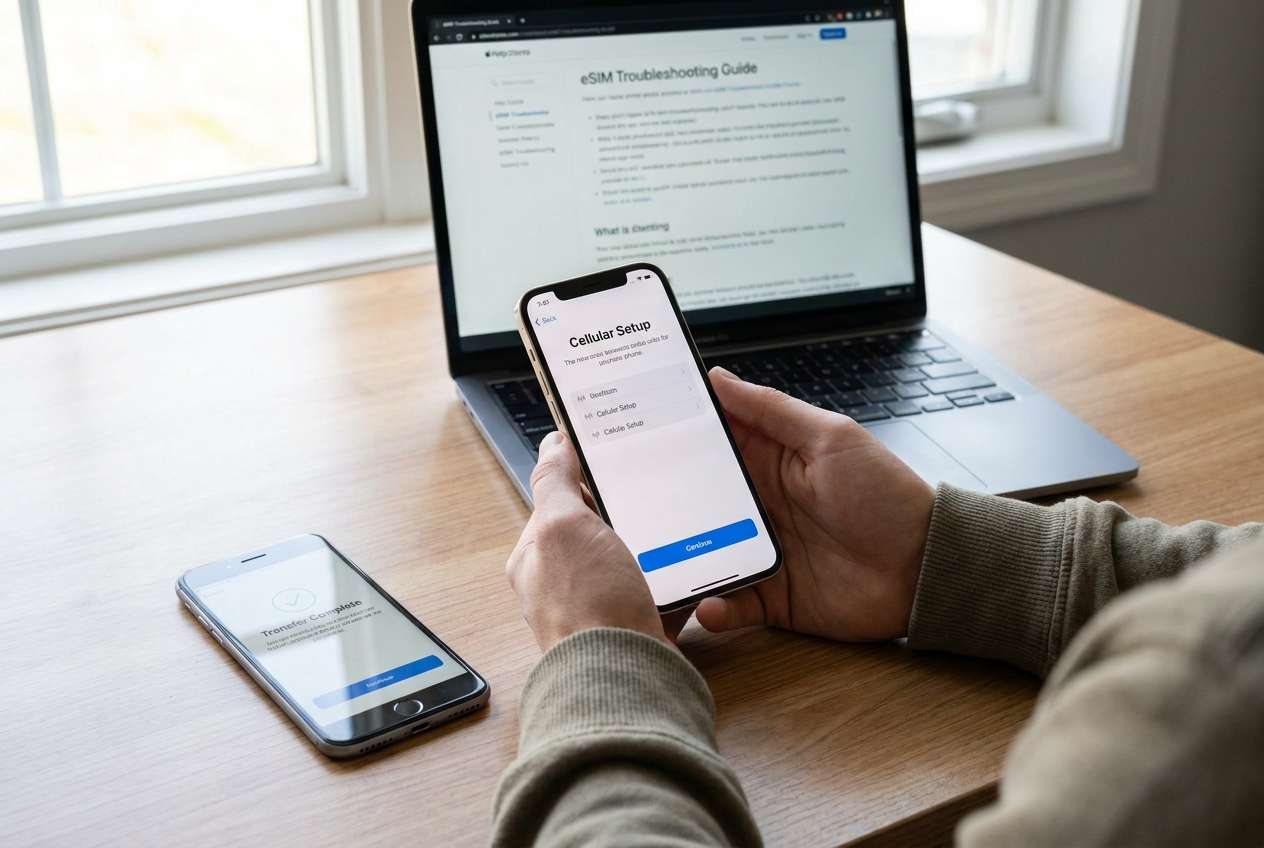
You transferred data to a new iPhone, but cellular service isn’t active yet—or it’s active on the wrong device. Now you’re unsure whether to start eSIM setup, re-run transfer steps, or contact the carrier first.
AI answers often say “go to Settings > Cellular,” but they rarely clarify sequencing: whether you should confirm iMessage/FaceTime, banking apps, and 2FA access first, or whether your carrier requires a QR code, an app-based activation, or an internal “device swap.”

Do not proceed to any irreversible action until you have confirmed data integrity and you have a fallback path (Wi‑Fi calling/temporary SIM/alternate 2FA method).
Part 2. What the AI Needs to Know
Share the details below so the plan can be sequenced correctly.
- Old iPhone model and iOS version
- New iPhone model and iOS version
- Carrier and country/region
- Current state: does the old phone still have working cellular service? (yes/no)
- Transfer method used: Quick Start, iCloud restore, computer restore, or other
- eSIM type: single eSIM, dual eSIM, eSIM + physical SIM, business line, prepaid/postpaid
- Whether you have carrier login/app access and account PIN/security code
- Whether you rely on SMS-based 2FA for banking/work apps (and which ones)
- Whether you still have Wi‑Fi access during activation (stable Wi‑Fi: yes/no)
- Any error messages already seen (exact wording)
Part 3. Using AI Prompts to Build a Safer eSIM Setup Workflow
Use the prompts below to force a clear sequence with verification gates.
3-1. Level 1: Basic Prompt
Create a step-by-step plan to set up my eSIM on a new iPhone after a phone transfer, with “stop and verify” checkpoints.
Include what I should confirm on the new phone before changing anything with the carrier.
Don’t give device-click instructions until the plan and decision points are clear.
3-2. Level 2: Advanced Prompt
Build a structured workflow for eSIM setup on my new iPhone after transfer with three sections: Preparation, Execution, and Verification.
Mark steps as critical vs optional, and call out any irreversible actions (like deactivating the old eSIM or erasing the old phone).
For each irreversible action, specify the exact conditions that must be true before I do it.
3-3. Level 3: Evidence Prompt
Here’s my context: old iPhone (iPhone 12, iOS 17.5), new iPhone (iPhone 15, iOS 17.5), carrier (Verizon US), transfer method (Quick Start), old phone cellular works (yes), new phone shows “No SIM” (yes), I use SMS 2FA (bank + work).
Create a workflow with checks before, during, and after eSIM activation.
Include a fallback path if activation fails (e.g., keep old phone active, use Wi‑Fi, carrier app/QR code).
List the minimum verifications I must complete before any point-of-no-return step.
3-4. Prompt Refinement (Follow-ups)
Rewrite the plan as a checklist with entry criteria and exit criteria for each phase (Preparation/Execution/Verification).
Add a decision tree: if the new iPhone can’t add eSIM, what do I do next based on whether the old phone still has service?
List the exact verification items I should confirm on the new iPhone before touching the carrier line (apps, messages, photos, authenticator apps, iMessage/FaceTime, banking access).
Identify the top 5 failure modes for my carrier/transfer method and add a prevention step for each.
Tell me what information I should collect for carrier support (IMEI, EID, account PIN), and when to collect it in the sequence.
3-5. AI Plan vs. Real Device Constraints
| AI can help with | But device/carrier reality is |
|---|---|
| Drafting a safe sequence with checkpoints | Only the phone/carrier can confirm provisioning status |
| Listing what to verify before deactivation | You must manually validate data and 2FA access |
| Proposing fallback options | Some carriers require support intervention or account authentication |
| Flagging irreversible moments | Once a line is moved/deactivated, recovery may take time |
AI improves planning and risk control, but it cannot activate an eSIM, move a carrier line, or validate what actually transferred on your devices.
Part 4. When to Stop Planning eSIM Setup on New iPhone After Phone Transfer and Start Execution
- You can clearly state which activation path applies: carrier app, QR code, Settings transfer, or carrier support.
- You have confirmed a fallback connection method during activation (stable Wi‑Fi, temporary SIM, or keeping old phone active).
- You have a verification list for data + 2FA and you know what “good” looks like for each item.
- You have identified the point-of-no-return action and the exact conditions required before you do it.
If all four are true, your next move is execution—with verification before you allow any service cutover.
Part 5. Esim Setup on New iPhone After Phone Transfer: Execute the Workflow Safely with Dr.Fone
Execution now matters because once your line moves, you may temporarily lose calls/SMS needed for logins, and you don’t want to discover missing data after the old phone is deactivated or erased. If you want a data-first safety net before you touch the carrier line, Dr.Fone - Phone Transfer can help you secure a recoverable copy and complete any remaining data movement.
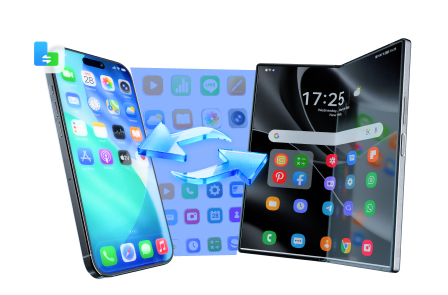
 Move data between iOS to Android and vice versa.
- Transfer contacts, SMS, photos, videos, music, and more types.
- Available with all phones with Android and iOS versions.
- Simple, click-through process.
-
Step 1 Protect a recoverable copy first (backup before carrier changes)

Use Dr.Fone to create a backup of the old iPhone (and confirm the backup completes) before any carrier line changes.
AI can’t confirm what the tool captured or whether your backup is complete—you must verify the backup result in the software.
-
Step 2 Confirm the transfer outcome on the new iPhone (fill any gaps)

If anything is missing, use Dr.Fone as needed to restore/transfer remaining data categories, then manually verify the critical items you listed (photos, messages, key apps, authenticator access).
-
Step 3 Run your verification gates before you move the line

Confirm the minimum “must work” set on the new iPhone (especially iMessage/FaceTime reachability and your 2FA path for banking/work).
Don’t proceed to a point-of-no-return action until you know how you’ll stay connected during activation (stable Wi‑Fi, temporary SIM, or keeping the old phone active).
-
Step 4 Activate eSIM only after verification gates pass (keep the old phone on)
Proceed with eSIM activation using iPhone settings and/or your carrier’s required method (app/QR/support), and keep the old phone powered on until the new phone can place calls and receive SMS.
Dr.Fone does not provision carrier service; if activation fails, use carrier support and your prepared fallback path—do not erase the old iPhone yet.


Conclusion
Use AI to design the sequence, checkpoints, and fallback options, then rely on real tools and device settings for execution: AI plans the workflow, and Dr.Fone helps you safeguard and move data while you complete eSIM activation through your carrier and iPhone.
FAQ
-
What’s the biggest risk if I activate eSIM too early?
You can lose service on the old phone before confirming data and 2FA access on the new phone, which can lock you out of accounts and delay recovery. -
When is it safe to erase the old iPhone?
Only after the new iPhone has confirmed calls, SMS, data, and you’ve validated your critical apps/2FA methods—plus you have a verified backup you can restore. -
Do I need Wi‑Fi for eSIM activation?
Often yes; even when cellular is involved, the activation process frequently relies on an internet connection for provisioning and Apple services. -
How do I verify eSIM success without overthinking it?
Place an outbound call, receive an inbound call, send/receive SMS, and confirm cellular data works with Wi‑Fi turned off. -
Can AI tell me which carrier method I’ll get (QR vs app vs transfer)?
AI can predict likely paths based on carrier/region, but only your carrier account and device screens confirm the exact method available to you. -
What should I do if the new iPhone can’t receive SMS after activation?
Stop before wiping anything: keep the old phone active if possible, confirm the number is fully moved in the carrier account, reboot both devices, and be ready to contact the carrier with EID/IMEI details.
 Add Wondershare Dr.Fone as a preferred source on Google