Recover photos, messages, WhatsApp, and more — no backup
needed.


 100% Security Verified | No Subscription Required | No Malware

 :

 ChatGPT
 Perplexity
 Gemini
 Claude
 Grok
You need a statement that arrived as a password-protected Gmail attachment, but both the message and the separate opening instructions are missing from your Redmi K70E. A familiar PDF filename is only part of the solution: you need usable document data and the legitimate information required to read it.
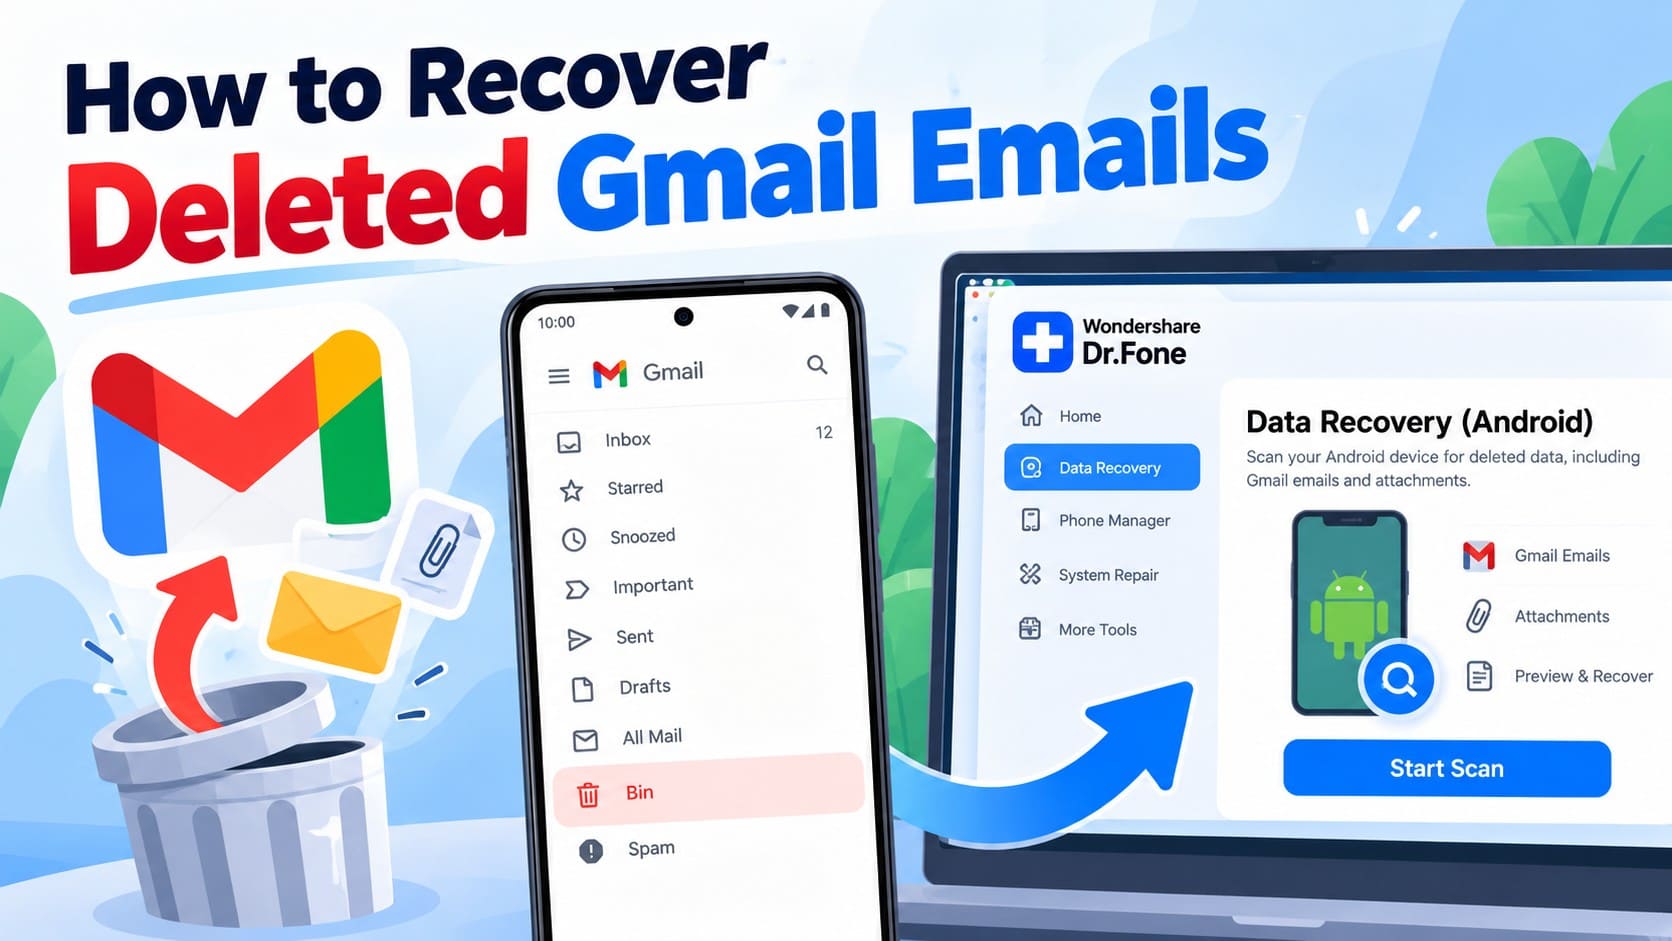
Dr.Fone - Data Recovery (Android) can help you recover available local Gmail records and attachments on a supported Redmi K70E, preview useful results and save selected items to a PC. This guide helps you look for the actual document rather than counting a message title, thumbnail or password prompt as a completed recovery.
In this article
Before you start
Check the exact Redmi K70E condition
The supplied recovery record names Redmi K70E with Kernel 6.1.138; no Android-version restriction is listed for this model. Keep the Kernel condition and do not apply the record to other Redmi variants or arbitrary firmware. Have the model and software information ready for the product's compatibility check.
Preserve the phone and prepare a private PC destination
Advanced Recovery is Windows-only and saves selected discoverable results to a PC, not back to Gmail. Prepare a USB data cable and a folder appropriate for personal documents. Keep Gmail installed and preserve its storage and account: do not clear app data, remove the account, reinstall or reset the phone to troubleshoot recovery. Follow product access prompts; no precise Root mechanism or lossless-access result is established here, so do not substitute a generic unlock or flashing process.
Keep document access separate from data availability
Write down the issuer, document period and approximate email date without sharing private account details. Have any legitimate document-opening instructions available from the issuer. A device scan does not promise to decrypt a protected attachment, supply its password, find every file or recover Google server-side permanently deleted mail. Verify a document's sender before opening it; Google notes that encrypted attachments cannot be scanned for viruses.
Look for the retained statement and opening instructions separately
Use this check when the document email, companion instructions or an existing downloaded copy may still be available.
Step 1 Search the correct account for the issuer
In Gmail, search the issuer's name or a distinctive phrase from the statement notification. Open Menu > All mail to check archived messages. Use the Attachment search chip when looking for the file, but repeat without it to look for an instructions-only email. Instructions can be useful even when they have no attachment.
Step 2 Broaden the search and inspect any existing file copy
Use in:anywhere with relevant terms to include Spam and Trash, which standard search excludes. Repeat online if the first search was offline because offline results cover only synced messages. Separately inspect a document copy you knowingly saved to your own device or computer; finding that retained copy avoids mistaking an opening problem for a deleted-file problem.
Step 3 Move eligible email out of Trash
Open Menu > Trash, touch and hold a matching message, choose More > Move to and pick its destination. Gmail permits this while the message remains there, up to 30 days from deletion unless permanently deleted earlier. The statement period is not the deletion date, and deleted drafts cannot be recovered through Trash.
- A password prompt is an access requirement, not proof by itself that the file is absent or that it is intact.
- If retained email is not updating, check the internet connection and swipe down from the top of Inbox to refresh. Do not clear Gmail storage in order to test whether a document will reappear.
Email context, document data and document access are different results
| Result | What it gives you | How to assess it |
|---|---|---|
| A Gmail entry with an issuer and title | A candidate correspondence record | Preview actual content; the title alone does not establish a recovered statement. |
| Readable document-opening instructions | The issuer's available guidance | Confirm it applies to the target document and do not assume the attachment was also found. |
| An available protected attachment | File data that can be selected and saved | Open the saved file in a trusted viewer using authorized access and verify the actual contents. |
| A thumbnail, filename or link only | A clue about the expected document | Do not count it as a recovered file or as a way to bypass protection. |
Common problems and fixes
The saved document asks for a password
Use only the legitimate opening instructions and authorized password from the issuer. Do not assume the Gmail account password is the document password. A prompt alone does not verify that all document data was recovered; after authorized opening, check the actual pages and required information.
The file cannot be opened, even with the expected access
Confirm that it is the intended document and that the viewer can handle that file type. Recheck the available scan preview and saved output rather than renaming the file extension or claiming the export is complete. If the file remains unusable, request a fresh copy from the issuer through a trusted channel.
Only the instructions email is found
Check Gmail Attachments if attachment results were discovered, and inspect any retained downloaded copy you already have. Instructions do not recreate an absent file, just as a file result does not necessarily restore the missing explanatory email. Save useful available records while arranging a resend of the document itself.
How to use Dr.Fone - Data Recovery (Android)
Dr.Fone - Data Recovery (Android) gives supported Redmi K70E users a focused way to look for missing local Gmail correspondence and available document attachments. Its Windows-only Advanced Recovery mode scans the connected phone, provides available Gmail entries and attachment results for review, and saves selected data to a PC. You can preserve useful issuer information and file results without confusing data recovery with document decryption.
- Match available Gmail names, titles and dates to the intended issuer and correspondence.
- Review actual entry content and available attachments as separate recovery targets.
- Save selected useful records and files to a PC, then check whether the actual output meets your document need.
 Scan Android phones and tablets directly.
- Preview and recover only what you want.
- Supports WhatsApp, photos, videos, contacts, and more.
- Works with 6000+ Android devices.
Follow the official Advanced Recovery workflow
Step 1 Start Advanced Recovery and connect Redmi K70E
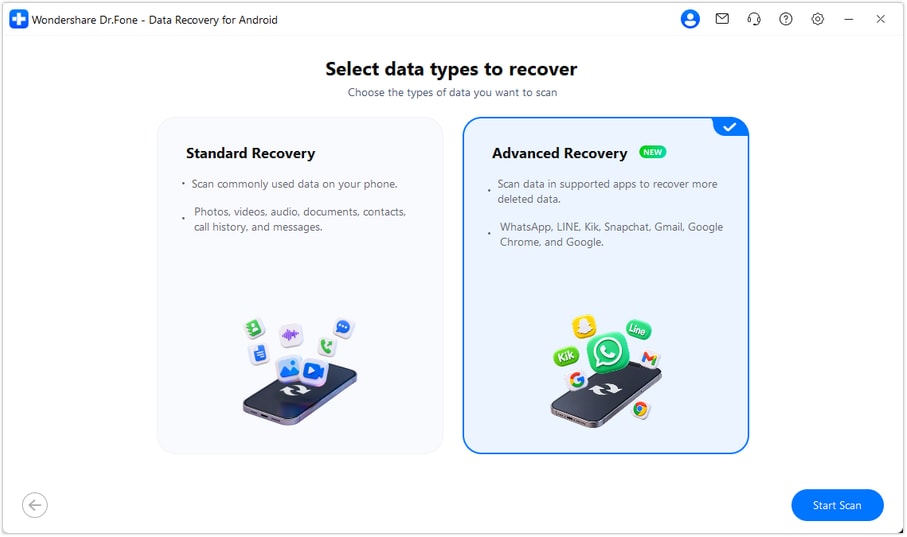
Open Dr.Fone on Windows and choose Toolbox > Data Recovery. Select Android > Recover Android Data, choose Advanced Recovery and click Start Scan. Connect the supported Redmi K70E by USB when prompted and follow the on-screen instructions until the device is detected.
Step 2 Choose Gmail for the app-data scan
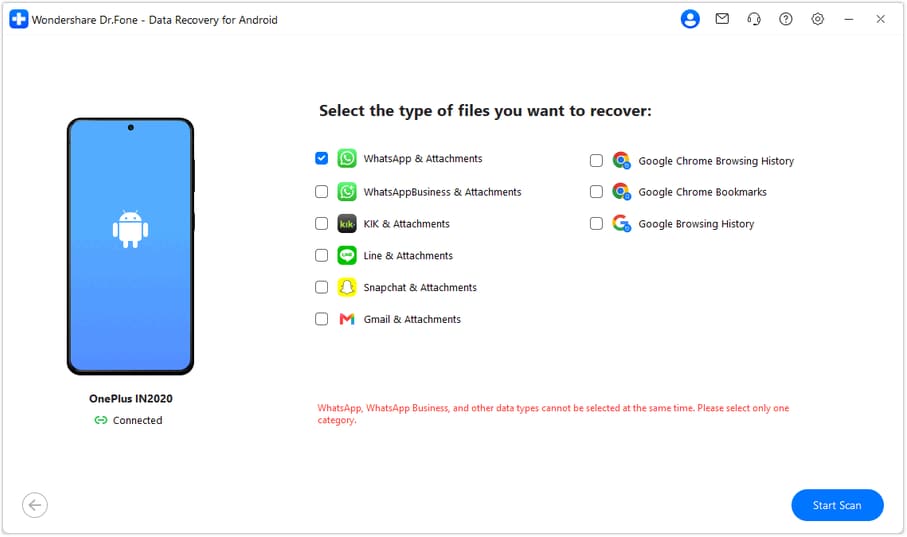
Select Gmail from the available categories and click Start Scan. If you also need WhatsApp or WhatsApp Business, those must be scanned separately from the other categories under the official workflow; this guide follows the Gmail data.
Step 3 Let the scan finish with the phone connected
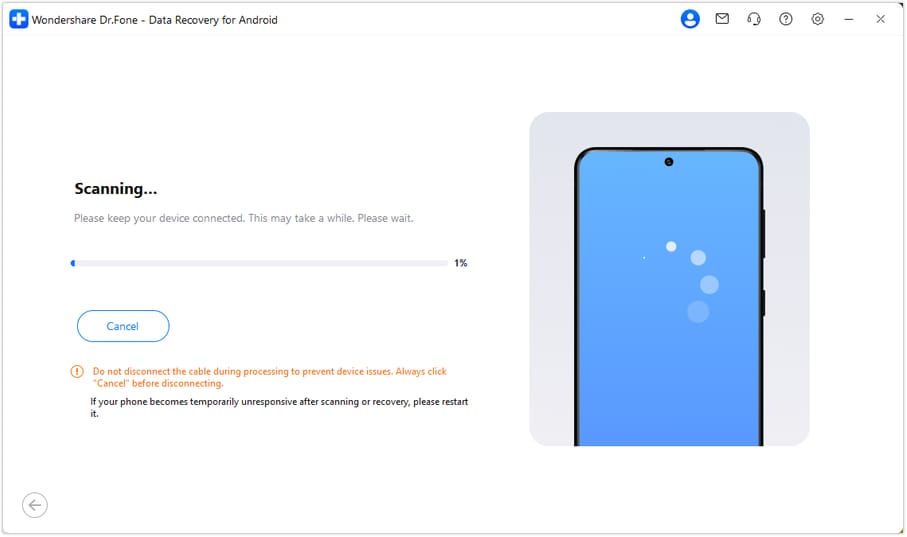
Keep the USB connection stable throughout scanning. If stopping is necessary, click Cancel before disconnecting. Follow the product's displayed restart instructions if the phone is temporarily unresponsive after scanning or recovery.
Step 4 Preview issuer correspondence and available files
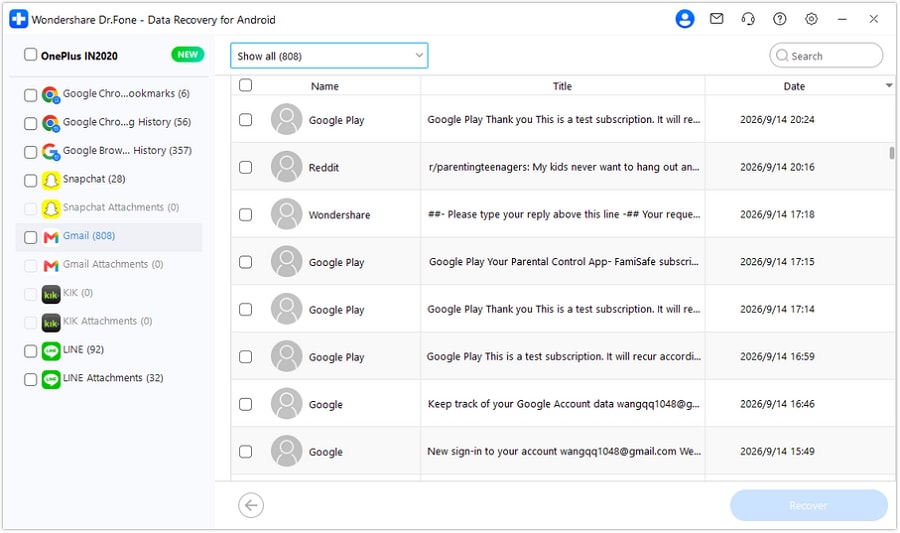
Choose Gmail in the results sidebar and compare available names, titles and dates with your document notes. Use search or filters where available and read the actual preview content. Check Gmail Attachments separately if the scan found attachment data, then select useful email records and files. A file listing does not establish successful opening or decryption.
Step 5 Save selected results and inspect the output
Click Recover and follow the prompts to choose a PC folder. Save the selected data and inspect the actual output, using legitimate document access where required. The selected results are stored on your computer, not restored into Gmail on the Redmi K70E.




Conclusion
For a missing protected document, useful recovery means identifying the right correspondence, finding available file data and checking the saved result. Dr.Fone - Data Recovery (Android) helps supported Redmi K70E users preview local Gmail records, inspect available attachments and save selected items to a PC. Download Dr.Fone for Windows, connect your compatible Redmi K70E and start looking for the document records you need.
FAQ
1. Can I recover deleted Gmail attachments on Redmi K70E?
Dr.Fone - Data Recovery (Android) can scan a supported connected Redmi K70E for discoverable local Gmail data and available attachments. Preview what is found and save selected results to a PC. This guide's supplied condition is Kernel 6.1.138 with no Android-version restriction listed for this exact model.2. Will Gmail recovery remove a password from a protected PDF?
No decryption or password-removal capability is promised by this workflow. Recovering available file data and opening that file are different tasks. Use the issuer's legitimate instructions and authorized password, then verify the readable contents.3. Does a password prompt mean my attachment was recovered successfully?
Not by itself. It may show that access is required, but it does not establish that the saved file is complete or that it is the intended statement. Open it with authorized access and check the actual information you need before counting it as a usable recovery.4. Why can I find the statement notification but not the document?
The notification may only refer to a document or link to a portal, while the actual file is absent from the scan. Check the available attachments separately. A title, link or thumbnail is not the document itself; use the issuer's authorized route if another copy is needed.5. Can a local scan recover a protected email permanently deleted from Google?
The scan does not recover Google server-side permanently deleted messages or place emails back into Inbox. It examines discoverable local phone data and saves selected results to a PC. Gmail Trash recovery is a separate path with its own retention and deleted-draft limits.
 Add Wondershare Dr.Fone as a preferred source on Google