Recover photos, messages, WhatsApp, and more — no backup
needed.


 100% Security Verified | No Subscription Required | No Malware

 :

 ChatGPT
 Perplexity
 Gemini
 Claude
 Grok
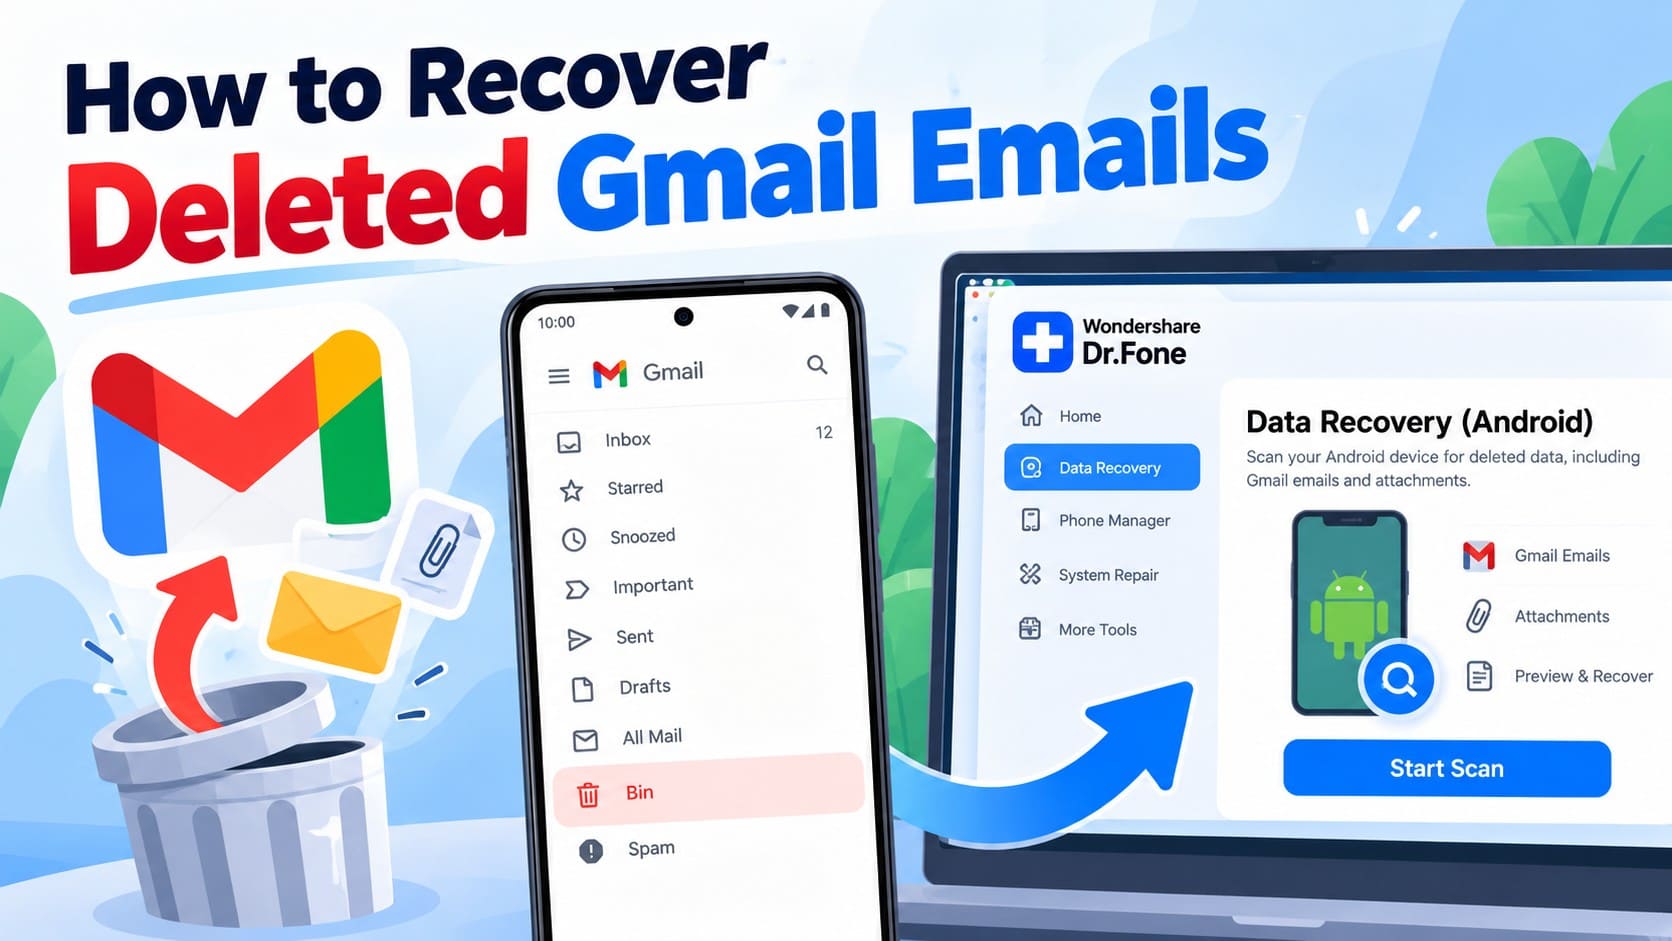
You are preparing an exhibition image and cannot find the photographer's permission email or the attached release form. A quick swipe while tidying Gmail may have removed the very message that explains which image you can use and where. Recovering deleted Gmail emails on your Samsung Galaxy Z Flip 7 starts with finding that specific permission record, not collecting every email that mentions the exhibition.
Dr.Fone - Data Recovery (Android) gives you a focused way to look for available local Gmail records and attachments, preview what was found, and save the useful items to a Windows PC. First check what Gmail actually did with the message. Then use the five-step scan to look for the wording and file you need to review.
In this article
Before you start
Check the Galaxy Z Flip 7 support condition
The supplied device record lists Samsung Galaxy Z Flip 7 with Kernel 6.6; no Android-version restriction is listed for this model. Note the model and Kernel version in the phone's About phone and Software information screens and retain that condition when checking the recovery route. This is not a support claim for every Z Flip variant. Use the access instructions shown by Dr.Fone; do not unlock the bootloader, flash firmware or invent a Root procedure.
Preserve the Gmail data and prepare a private PC folder
Keep Gmail installed and do not clear its storage, remove the account or reset the phone while looking for local records. Prepare Windows, a USB data cable and a destination folder that is not publicly shared. Advanced Recovery is Windows-only and saves selected discoverable data to the PC, not back into Inbox. It cannot reverse Google server-side permanent deletion, guarantee the full email history or promise a particular email-file format.
Identify the actual permission and deletion date
Note the photographer, image or project name, approximate email date and the expected release-form filename. Gmail Trash retains a deleted message for up to 30 days from deletion, not from its original arrival; emptying Trash or permanently deleting it sooner ends that option. A discarded draft cannot be recovered from Trash. Permission wording and the signed file are separate targets, so plan to inspect both if available.
Check whether a Gmail swipe archived or deleted the permission email
A message that disappeared immediately after a swipe or an action in an expanded Gmail notification.
Step 1 Read the configured action instead of guessing
In Gmail on Android, open Menu > Settings > General settings. Inspect Swipe actions for the relevant direction and Default notification action if you used a notification. Gmail can assign Archive or Delete to these actions. Today's setting is a clue, not proof of what happened earlier if you have changed it.
Step 2 Search the retained mailbox beyond Inbox
Select the correct account and connect to the internet. Search in:anywhere followed by a distinctive image or project name, or use the From chip for the photographer. Standard searches omit Spam and Trash; in:anywhere includes them. If an archived message is found, open its actual wording rather than treating its absence from Inbox as deletion.
Step 3 Move a surviving deleted message out of Trash
Open Menu > Trash. Touch and hold the matching email, tap More > Move to and choose the destination you want. Check the email and any attached release form. Moving this retained message changes its mailbox location; it is different from the phone-local scan below.
Step 4 Add a safeguard for future cleanup
In General settings, use Action confirmations to request confirmation before deleting or archiving messages as appropriate. This can make a future cleanup more deliberate, but changing the setting does not undo the missing email's earlier deletion.
- Gmail's swipe and notification settings are app settings, not a special recovery mechanism created by the Z Flip 7's folding screen.
Which permission material is actually useful?
| What you find | What you can check | What to keep or request |
|---|---|---|
| The photographer's email text | The named image, intended use and any conditions actually visible | Save the useful correspondence and note any unanswered permission question. |
| An available release-form attachment | The actual document, relevant image and completed details | Keep the readable file as well as correspondence that explains its purpose. |
| A form without the explanatory email | What the document itself says | Request clarification where the intended use is not established by that file. |
| Only a familiar sender or subject | That this is a possible match | Inspect the content before relying on it; a subject alone does not establish permission. |
Common problems and fixes
The swipe is set to Archive, but the permission email is still missing
Remove unnecessary search chips, verify the Google account and search in:anywhere with one distinctive term. Check the configured notification action too if that was how you dismissed the email. Do not conclude that Archive caused every disappearance or clear Gmail storage to test it.
The scan shows the release form but not the usage conditions
Inspect the actual available file and the Gmail entry separately. Save useful material to the PC, then ask the photographer about conditions that are not present. Finding a document does not supply missing approval wording or determine whether the planned use is authorized.
The Z Flip 7 is detected but the recovery option is unavailable
Confirm that you are using Windows and compare the phone's model and Kernel with the listed Z Flip 7 / Kernel 6.6 condition. Follow the displayed access guidance; if the mismatch remains, give those details and the exact message to Dr.Fone support without changing firmware.
How to use Dr.Fone - Data Recovery (Android)
Dr.Fone - Data Recovery (Android) helps you turn a missing permission email into a targeted search for useful local evidence on a supported Galaxy Z Flip 7. Its Windows-only Advanced Recovery workflow lets you inspect Gmail entries, check available attachment results and select what to save to a PC. You can concentrate on the photographer's actual words and the relevant release form instead of exporting unrelated correspondence.
- Review Gmail entries by name, title and date to identify promising permission correspondence.
- Inspect the actual available content and check Gmail Attachments separately when attachment data is found.
- Save selected useful records and files to your chosen PC folder for a careful side-by-side review.
 Scan Android phones and tablets directly.
- Preview and recover only what you want.
- Supports WhatsApp, photos, videos, contacts, and more.
- Works with 6000+ Android devices.
Follow the official Advanced Recovery workflow
Step 1 Start Advanced Recovery and connect the Z Flip 7
Launch Dr.Fone on Windows and open Toolbox > Data Recovery. Choose Android > Recover Android Data, select Advanced Recovery and click Start Scan. Connect the Galaxy Z Flip 7 by USB when prompted and follow the on-screen instructions until the phone is detected.
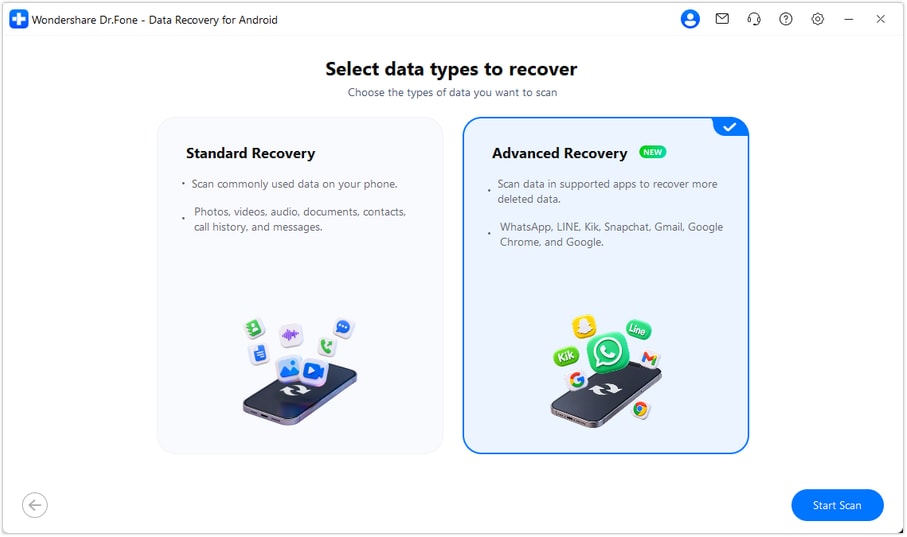
Step 2 Select Gmail data for scanning
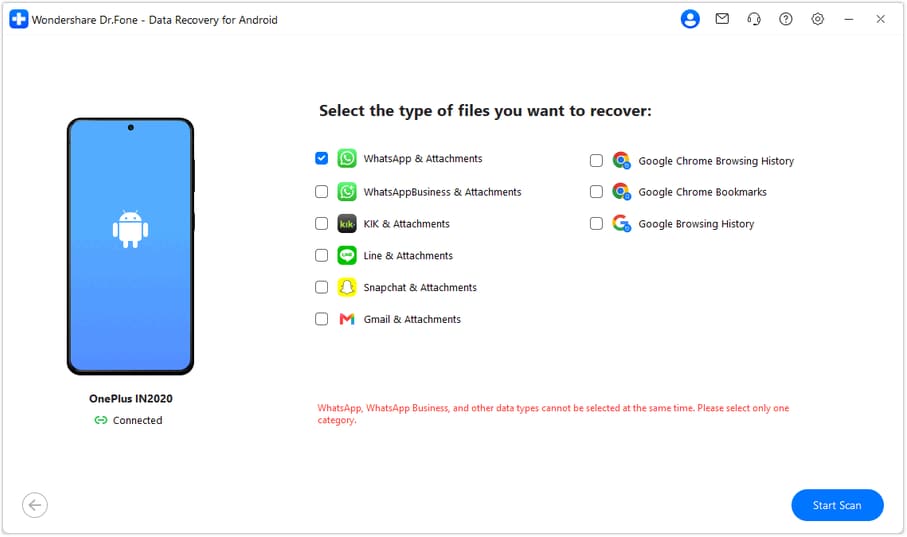
Choose Gmail among the available app-data categories, then click Start Scan. For this task, focus on the Gmail records that may contain the photographer's message and associated attachment data.
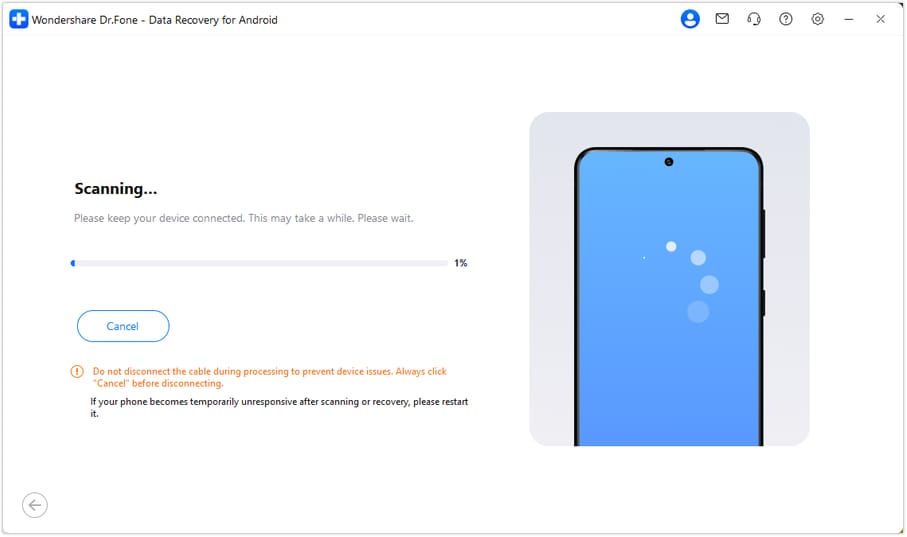
Step 3 Keep the phone connected during the scan
Let Advanced Recovery scan with the USB connection stable. To stop, click Cancel before disconnecting. If the phone is temporarily unresponsive after scanning or recovery, restart it as instructed by the on-screen guidance.
Step 4 Preview the permission email and any release form found
Choose Gmail in the results sidebar and review entries by name, title and date. Use search or filters where available, then inspect the displayed content for the image and intended-use wording. If the scan finds attachment data, open Gmail Attachments separately and check the actual available release form before selecting the items you need.
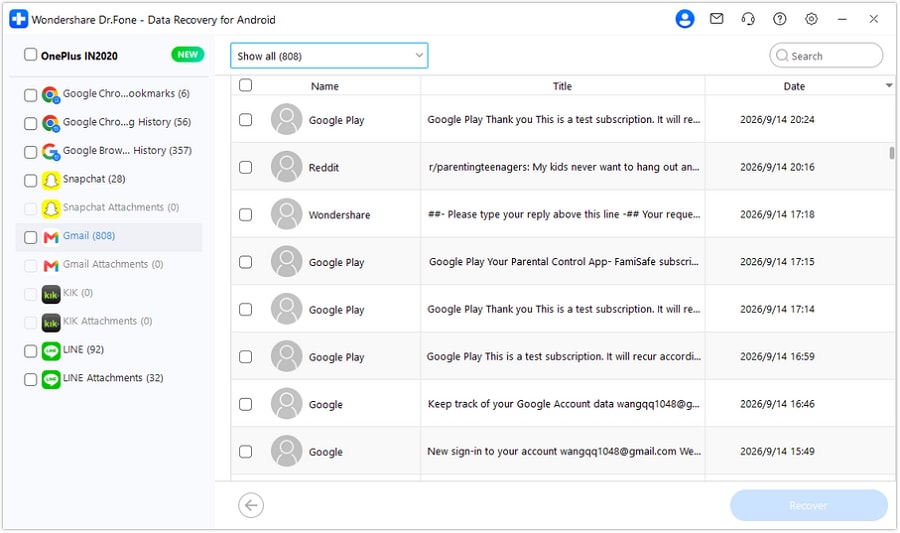
Step 5 Save the selected Gmail material to your PC
Click Recover, choose the destination folder on your computer and follow the save prompts. Open the saved output and confirm which email information and files are usable. The selected records are saved to the PC rather than inserted into the phone's Inbox.




Conclusion
For a missing photographer's permission email, the useful result is correspondence and a release form you can actually review. Dr.Fone - Data Recovery (Android) brings focused Gmail scanning, available-content preview and selective PC saving into one practical workflow. Download Dr.Fone for Windows, connect your compatible Samsung Galaxy Z Flip 7 and start looking for the records that help you move the project forward.
FAQ
1. Can I recover deleted Gmail emails and attachments on Samsung Galaxy Z Flip 7?
Check Gmail Trash first if the message survives within its retention window. For local data still discoverable on the supported phone, Dr.Fone - Data Recovery (Android) offers a Windows scan, preview and selected saving to PC. Email text and an attachment may have different availability, so review both result areas.2. Does swiping always delete a Gmail email?
No. Gmail on Android allows different actions for left and right swipes, and the expanded notification has its own default action. Inspect General settings rather than assuming a swipe deleted the message. An archived email remains in the mailbox.3. Will turning on deletion confirmation bring the old email back?
No. Action confirmations affect future actions. To retrieve an older record, look for a retained mailbox copy or use the local recovery workflow for data the scan can still find.4. Does a recovered release form prove that my planned image use is allowed?
Recovery gives you available material to examine; it does not supply missing consent or certify legal rights. Read the actual form and correspondence, and ask the rights holder about any unclear condition.5. What configuration and recovery destination does this guide cover?
The supplied Galaxy Z Flip 7 record lists Kernel 6.6 with no Android-version restriction for this named model. Advanced Recovery here runs on Windows and saves selected results to the PC; it does not restore permanently deleted Google server mail or refill Inbox.
 Add Wondershare Dr.Fone as a preferred source on Google