100% Security Verified | No Subscription Required | No Malware

 :
: 
 ChatGPT
 Perplexity
 Gemini
 Claude
 Grok
Grok
In this article
Before you start
If you are asking Can a smartphone shoot a movie, the answer is yes for short films, documentaries, student work, and low-budget projects. The key to how to shoot a movie on a smartphone is preparation, not just camera quality.
Before filming, make sure your phone, workflow, and shooting environment are ready so you can avoid common problems like shaky footage, bad sound, low-light noise, or storage failure.
Check storage and battery
High-quality video files get large quickly, especially in 4K. Clear enough free space before the shoot, charge the phone fully, and bring a power bank if you expect long takes or multiple locations.
- A smartphone with enough free storage and good battery health
- A backup plan for footage transfer during breaks
- Extra charging access for longer sessions
Pick your camera settings
Choose one resolution and one frame rate for the whole project to keep the final movie consistent. A practical starting point is 4K at 24 fps if you have enough space, or high-quality 1080p at 24 fps if you want smaller files.
If your phone supports manual controls, lock focus and exposure before important takes so brightness and sharpness do not shift in the middle of a shot.
Prepare basic gear
You do not need a full cinema setup to shoot a movie on a phone, but a few simple tools help a lot.
- A tripod, grip, or gimbal for steadier footage
- An external microphone if possible
- A quiet location and basic lighting, such as a window or small LED light
Build a simple shot plan
List each scene, the people in it, the location, and the camera angle you need. A small shot list saves time on set and reduces mistakes when you record a movie on a smartphone.

Method 1: Plan the movie before you hit record
This method is best for beginners making a short film, scene sequence, or documentary with minimal gear. A clear plan helps you move faster and waste fewer takes.
-
Step 1 Create a simple shot list
Write each scene, who appears in it, the location, and the angle you need so you do not spend shooting time deciding what comes next.
-
Step 2 Test your phone camera settings
Pick one resolution and frame rate for the entire project, such as 4K at 24 fps or 1080p at 24 fps, and record sample clips to check image quality, color, and file size.
-
Step 3 Prepare power and storage
Clear space, charge fully, and bring a power bank so your filming does not stop because of battery drain or full storage.
A strong plan often improves results more than expensive accessories. If you want to make a movie with a smartphone, planning is one of the highest-value steps.
Method 2: Capture more cinematic footage on your phone
This method focuses on getting smoother, cleaner, and more polished video. It is the practical side of trying to film a movie on a smartphone that feels less casual and more intentional.
-
Step 1 Stabilize every shot
Use a tripod for locked scenes, a gimbal for motion, or brace your hands against a wall or table if you must shoot handheld.
-
Step 2 Lock focus and exposure
Use your camera app's lock feature if available so focus and brightness stay steady during the scene instead of hunting or flickering.
-
Step 3 Use light intentionally
Film in bright natural light, face subjects toward a window, or add a small LED light to reduce noise and improve color and skin tone.
The built-in camera app is enough for many creators, while a pro video app gives more manual control. Avoid digital zoom whenever possible and move closer instead.
Method 3: Improve audio and finish the footage properly
Good sound is one of the fastest ways to make phone footage feel more serious. Many viewers will forgive average visuals sooner than distant, noisy dialogue.
-
Step 1 Record cleaner dialogue
Move the phone closer to the speaker or use an external microphone whenever possible to reduce echo and background noise.
-
Step 2 Capture room tone and extra takes
Record a few seconds of natural background sound and get backup takes for important lines so editing is easier later.
-
Step 3 Back up and review footage often
Check clips after major scenes, then transfer them to another device or cloud storage to lower the risk of losing your project.
If you record audio separately, clap once at the start of each take to help sync sound and picture during editing.
Method comparison
Different setups can still work well depending on your budget, skill level, and shooting style. Use this comparison to decide how you want to record your movie.
| Approach | Pros | Limits | Best use |
|---|---|---|---|
| Built-in camera app | Simple, fast, no learning curve | Less manual control | Quick shoots and beginners |
| Pro video camera app | Better control over focus, exposure, and frame rate | Takes more setup | Short films and controlled scenes |
| Tripod or gimbal setup | Much steadier and more cinematic footage | Extra gear to carry | Dialogue scenes, walking shots, and repeated takes |
| Phone mic only | No added cost | Usually weak audio and more background noise | Scratch audio or very casual scenes |
| External microphone | Clearer dialogue and better overall production value | Extra accessory and setup time | Interviews, scripted scenes, and documentary work |
Common problems and fixes
Most mobile filmmaking problems are predictable. Fixing them early can save a lot of time in editing.
- Shaky footage: Use a tripod or gimbal, avoid walking too fast, and keep handheld movements slow and deliberate.
- Poor audio: Move closer to the subject, use an external mic if available, and choose quieter locations away from traffic, fans, or crowds.
- Low-light noise: Add more light, shoot near windows during daytime, and avoid very dark scenes that force the sensor to struggle.
- Storage or battery issues: Delete unneeded files before filming, carry a power bank, and back up footage between scenes.
Why this Wondershare tool may help
Most of this guide is about filming technique, but there is one practical phone-management issue worth noting. If your Android filming device is locked before production starts, how to shoot a movie on a smartphone can become a much bigger problem than camera settings.
Dr.Fone - Screen Unlock (Android) may help if you cannot access the phone because of a forgotten passcode or FRP-related setup issue. It is a soft backup option for getting the device ready so your shoot can continue on time.
 Unlock Android phone in seconds.
- Remove PIN, pattern, password, fingerprint.
- Bypass Google FRP lock easily.
- Works on all Android brands & models.
- No tech skills required – user-friendly.
If your filming device is locked right before production, this tool can be a fallback so you can get ready and continue without losing setup time.


How to Use Dr.Fone - Screen Unlock (Android) for how to shoot a movie on a smartphone?
To know whether this tool fits your case, review the matched guide steps extracted for the feature: Bypass Google FRP Lock on Android Devices.
-
Step 1 Access Screen Unlock Tool
Launch Wondershare Dr.Fone on your computer and continue to Toolbox > Screen Unlock.

-
Step 2 Choose the Brand and Send Notification
Launch Wondershare Dr.Fone and continue to Toolbox > Screen Unlock . Then select Android > Remove Google FRP Lock . Now choose the brand of the phone (Vivo/Moto/Lenovo), follow the steps to proceed to the FRP lock screen and tap Send Notification .

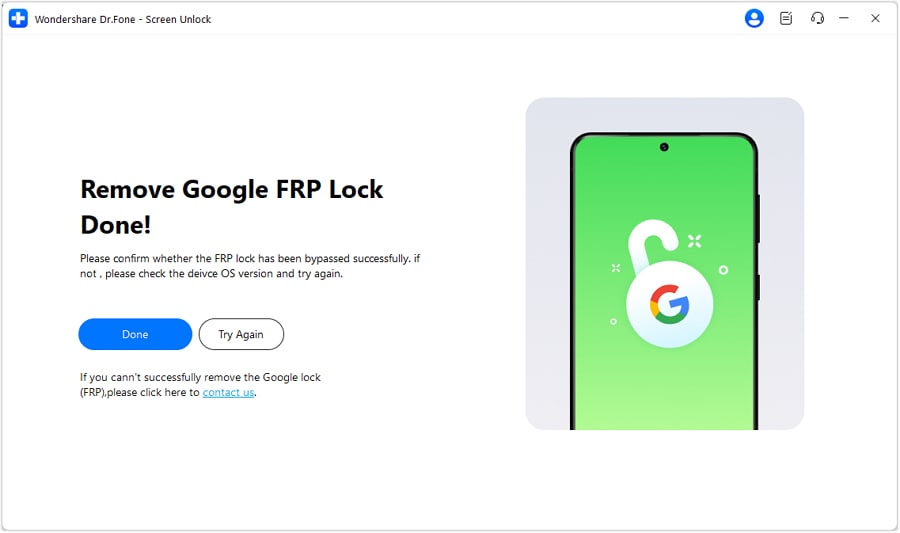
-
Step 3 FRP Lock Removal Complete
After completing all steps, tap Done to finish the process.
Conclusion
Learning how to shoot a movie on a smartphone is mostly about doing the basics well. Plan your scenes, stabilize the phone, keep settings consistent, record better audio, and use light carefully.
So, Can a smartphone shoot a movie? Absolutely yes for many creative and low-budget projects. With smart preparation and a simple workflow, you can get results that look far more polished than most people expect from a phone.
FAQ
-
1. Can a smartphone shoot a movie that looks professional?
Yes. Professional-looking results usually come from stable shots, clean audio, controlled lighting, and consistent settings rather than from the phone alone. -
2. What settings should I use to shoot a movie on a smartphone?
A safe starting point is 4K at 24 fps if you have enough storage, or high-quality 1080p at 24 fps if you need smaller files. Lock focus and exposure when possible. -
3. Do I need extra equipment to film a movie on a phone?
Not always, but a tripod, a basic external microphone, and simple lighting can improve your results much more than most other upgrades. -
4. How do I get better audio when shooting a movie on a smartphone?
Move closer to the subject, reduce background noise, use an external mic when possible, and record room tone for smoother edits. -
5. Which smartphone camera mode is best for filming a movie?
The built-in video mode works well for many creators, but a pro video app is better if you want manual control over focus, exposure, and frame rate. -
6. How much storage do I need to record a movie on a smartphone?
It depends on resolution, frame rate, and shooting length, but you should always leave plenty of free space before filming and back up footage regularly during the project.
 Add Wondershare Dr.Fone as a preferred source on Google