100% Security Verified | No Subscription Required | No Malware

 :
: 
 ChatGPT
 Perplexity
 Gemini
 Claude
 Grok
Grok

I thought phone mirroring for a livestream would be plug-and-play—then I got audio drift, a black screen, and had to restart mid-stream. I wish I’d had a checklist with clear “stop if this fails” gates.
Reddit user, r/OBS
Low-latency phone mirroring for livestreams sounds simple—until one missed setting causes audio drift, black screens, stuttering frames, or a stream that drops mid-show. This guide shows how to use AI prompts to produce a strict, verifiable workflow (with checks and stop-gates), then move from planning to real execution and testing.
In this article
- How to plan low-latency phone mirroring without missing critical steps
- Define the goal and constraints
- Set an order of operations
- Build verification checks (not vibes)
- Lock a “do not proceed” gate
- What the AI needs to know
- Using AI prompts to build a safer workflow
- AI plan vs. real device constraints
- When to stop planning and start execution
Part 1. How to plan low-latency phone mirroring for livestreams without missing critical steps
You’re going live soon and need your phone screen on a computer for OBS/Streamlabs (or similar), with minimal delay and stable audio. Advice online often conflicts (USB vs. Wi‑Fi, which toggles matter, what resolution/FPS to choose), and the real problem is usually the missing sequence: what to do first, what to measure, and what must be “frozen” before showtime.

1. Turn “setup chaos” into an ordered workflow.
Use AI prompts to output a step-by-step plan with dependencies, risks, and a fixed order of operations (preparation → execution → verification).
2. Define verification checks with pass/fail criteria.
Specify exactly what you’ll observe (latency, audio sync, dropped frames), what failure looks like, and what single variable to change next.
3. Add a hard “do not proceed” gate before you press Go Live.
Lock critical stream parameters and mirroring method only after your minimum checks pass, so you don’t introduce audience-visible glitches mid-stream.
1-1. Define the goal and constraints (before you touch settings)
Write down what “success” means for this stream: target resolution/FPS, acceptable delay threshold (for example, “under 200 ms”), whether you need vertical or landscape, and whether you must capture a specific app (gameplay vs. camera app vs. a demo).
1-2. Use an explicit order of operations (so you don’t chase ghosts)
Many setups fail because multiple changes happen at once (resolution, FPS, audio routing, Wi‑Fi band, capture source type). Your plan should force a single-variable approach: change one thing, re-test, record results, then proceed.
1-3. Build verification checks that catch drift and drops early
Even after an AI answer, people get stuck because the sequence isn’t explicit: what to test first, what to measure, and what to freeze before showtime. Add checks for latency, audio sync, stability (multi-minute run), and dropped frames/encoding overload under your real OBS scene load.
1-4. Identify the point of no return and add a stop-gate
Your point of no return is pressing Go Live (and/or changing core stream parameters while live). Once the stream starts, switching mirroring methods, changing base resolution, or re-pairing devices can force restarts, cause audience-visible glitches, or split VODs—so the plan must be verified before that moment.
Part 2. What the AI needs to know
Share your setup details so the AI can produce a workflow you can actually verify.
- Phone model + OS version (e.g., iPhone 13 iOS 17 / Galaxy S23 Android 14)
- Computer OS + specs (Windows/macOS, CPU/GPU, available ports)
- Mirroring goal (full screen, specific app, gameplay, camera app, vertical/landscape)
- Streaming software + target platform (OBS, Streamlabs; Twitch/YouTube/TikTok)
- Connection options you can use (USB-C/Lightning, Wi‑Fi 5/6, Ethernet adapter)
- Audio plan (phone audio into stream? mic source? separate interface?)
- Target video settings (e.g., 1080p60 vs 720p60) and acceptable delay (e.g., “<150 ms”)
- Constraints (no installs allowed, corporate Wi‑Fi, limited cables, one-monitor setup)
- Time window for testing (e.g., “I have 45 minutes before going live”)
Part 3. Using AI prompts to build a safer low-latency phone mirroring workflow
Use the prompts below to force a stepwise plan with explicit checks before you touch any live stream settings.
3-1. Level 1: Basic Prompt
I need a low-latency phone mirroring setup for a livestream. Create a short, ordered checklist that prioritizes stability first, then latency, and includes what to verify at each step. Do not assume specific apps; focus on decisions and checks.
3-2. Level 2: Advanced Prompt
Design a workflow for low-latency phone mirroring into a livestream.
Split it into:
1) Preparation (equipment, settings, prerequisites)
2) Execution (connection + mirroring + adding to streaming software)
3) Verification (latency, audio sync, dropped frames, failure recovery)
Mark each step as CRITICAL or OPTIONAL.
Include a “do not proceed” gate before going live that lists the minimum checks that must pass.
3-3. Level 3: Evidence Prompt
Context:
- Phone: (iPhone 14, iOS 17) or (Pixel 8, Android 14)
- Computer: (Windows 11 laptop, 16GB RAM, one USB-C port + HDMI)
- Streaming app: (OBS)
- Platform: (YouTube Live)
- Target: (1080p60) with acceptable delay (under 200 ms)
- Network: (Wi‑Fi 6 available; can use USB if needed)
- Audio: want phone audio + mic, no echo
Task:
Build a step-by-step plan with checks BEFORE, DURING, and AFTER each major action.
For each check, tell me:
- what I should observe (e.g., “audio clap test within 2 frames”)
- what failure looks like (e.g., “black screen due to HDCP/app restrictions”)
- what to change next (one variable at a time)
Also include a rollback plan if the mirror source fails 2 minutes before going live.
3-4. Prompt Refinement (follow-up prompts)
Rewrite the workflow as a table with columns: Step, Goal, Exact Action, Verification Check, Pass/Fail Criteria, Next If Fail. Keep it to one page.
Add a “variables control” rule: list the 5 variables I’m allowed to change during testing, and forbid changing anything else.
Create a pre-flight checklist that must be completed before I press Go Live, and include a hard stop if any item is unverified.
Give me a troubleshooting decision tree for these symptoms only: black screen, no audio, audio echo, high delay, stuttering frames. Each leaf should end with a single next action.
Define a 10-minute “minimum viable test” I can run if I’m short on time, and explain what risks remain if I skip the full test.
Part 4. AI plan vs. real device constraints
AI is useful because it can turn a messy setup (phone + PC + capture/stream app + network) into a clear, checkable workflow with dependencies, risks, and verification points. But it can’t actually mirror your phone, detect real latency, or confirm how your specific device/PC/cables behave under load—so you must validate on real hardware.
| Planning element | What AI can do | What you must confirm on real devices |
|---|---|---|
| Choose a stable connection priority (USB vs Wi‑Fi) | Propose an order of preference based on constraints | Actual latency, stability, and whether your ports/cables behave reliably |
| Set verification tests (clap test, frame drop check) | Define repeatable tests and pass/fail thresholds | Real measured sync, dropped frames, CPU/GPU load under your scene |
| Identify common failure points (black screen, protected content) | List likely causes and safe next steps | Whether your specific apps/screens can be mirrored and captured |
| Create rollback and “go/no-go” gates | Provide a checklist and stop conditions | Whether you can switch methods quickly without breaking your live setup |

Part 5. When to stop planning low-latency phone mirroring for livestreams and start execution
Planning is “done enough” when it produces a controlled test you can run quickly—without improvising right before you go live.
- You have one primary path (preferred connection/mirroring method) and one fallback path, each with a clear trigger to switch.
- Your verification checks have pass/fail criteria (not “looks fine”).
- You’ve identified the high-risk moment (pressing Go Live / locking stream settings) and created a hard “do not proceed” gate before it.
- You can name the top 3 likely failures in your setup and the first safe action for each.
If all four are true, stop rewriting the plan and start executing it on your real phone + computer under livestream-like load.
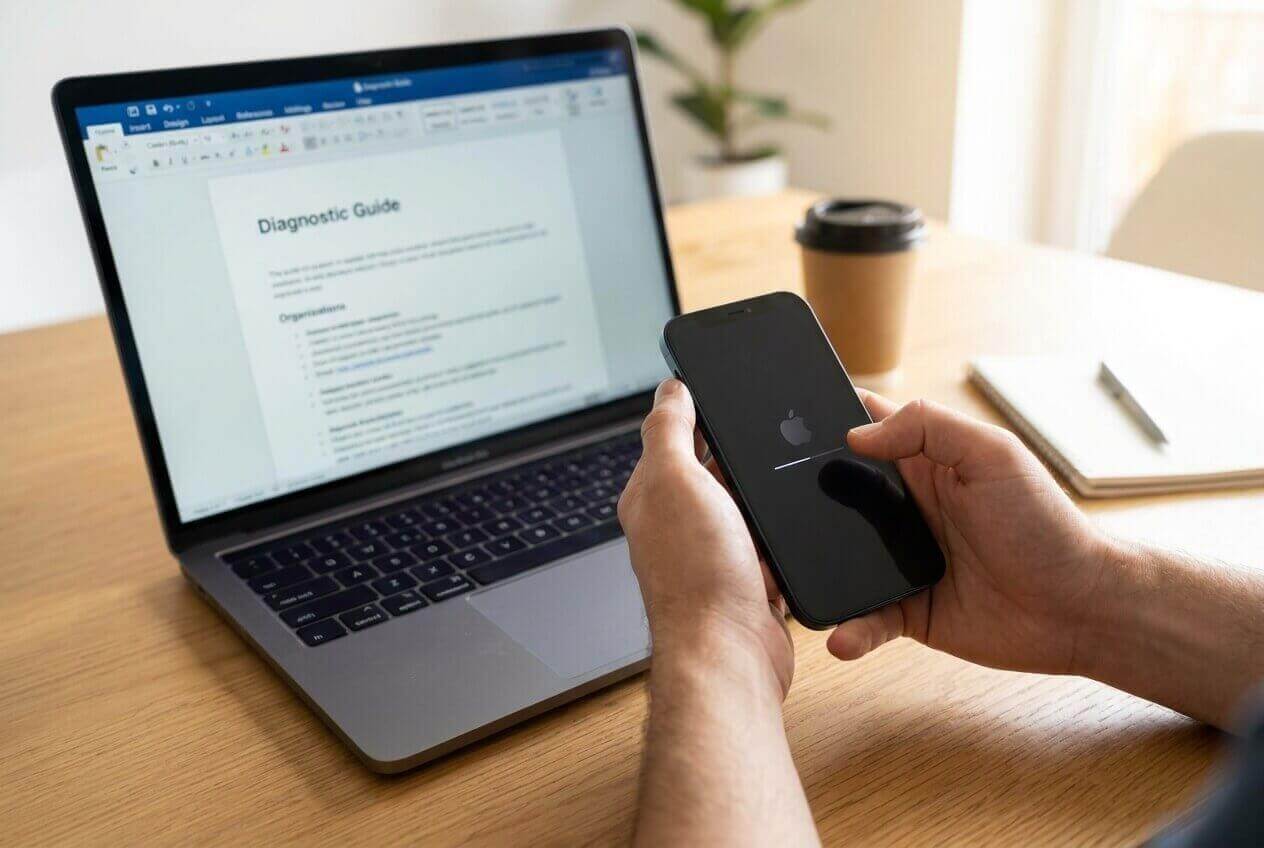
Recommended tool: Execute the workflow safely with Dr.Fone
Once your plan is locked, you still need a reliable way to run real mirroring and complete your verification checks under load. For that, you can use Dr.Fone Basic - Screen Mirroring to establish the phone-to-computer mirror connection, then validate latency, sync, and stability before you press Go Live.
 Easily manage data through preview, delete, export, etc.
- Transfer all data between devices.
- Robust backup solutions for reliable data protection.
- Mirror screens to PC for meetings, teaching, and control.

Use the execution flow below to keep the process stable first, then optimize for latency—without changing multiple variables at once.
-
Step 1 Connect and start mirroring (primary method)
Establish the phone-to-computer mirroring connection and confirm the mirrored image is stable for several minutes (no random disconnects or flicker).

Verification: keep the mirror running while you open/close the target app and rotate orientation if needed; note any black-screen behavior as a compatibility blocker to solve before showtime.
-
Step 2 Add the mirror into OBS/Streamlabs (don’t change other variables yet)
Add the mirrored display as a source in your streaming software, then align canvas/orientation. Avoid changing resolution/FPS/audio routes at the same time—otherwise you can’t isolate the cause of delay or stutter.

Verification: confirm the preview stays smooth while your normal overlays/scenes are enabled (the scene load you’ll use live).
-
Step 3 Run latency + audio sync checks (define pass/fail)
Perform your planned checks (for example: stopwatch/timer visual comparison for latency, clap test for sync, and a multi-minute stability run). Decide in advance what “pass” means (example: “under 200 ms” or “within 2 frames”).

Verification: if you fail a check, change one variable (connection type, resolution, FPS, audio route, or encoder preset), then re-test and log the result.
-
Step 4 Execute the go/no-go gate, then lock settings before Go Live
Run your “do not proceed” gate right before you press Go Live (latency acceptable, audio in sync, no dropped frames, fallback trigger tested). If anything is unverified, stop and fix it before starting the livestream.

Verification: confirm your fallback path is ready (and that switching won’t force a full restart) in case the mirror source fails minutes before going live.


Conclusion
Use AI to design a strict, verifiable workflow with stop-gates before you go live, then rely on real execution and testing to confirm latency, stability, and sync on your actual devices. Once the plan is clear, run the mirror, follow the checks, and lock settings only after your go/no-go criteria pass.
FAQ
-
How do I verify “low latency” without special tools?
Use a simple visual timer test (phone showing a stopwatch mirrored on PC) and compare the change timing; define an acceptable threshold before testing.
-
What’s the most common “point of no return” mistake?
Going live before you’ve confirmed audio sync and stability, then trying to fix it mid-stream by changing multiple settings (often forcing restarts or creating new issues).
-
Should I prioritize USB or Wi‑Fi for mirroring?
Plan to test USB first for stability, then Wi‑Fi if you need mobility—your environment decides, so verify with the same load you’ll use live.
-
Why do black screens happen during mirroring or capture?
Some apps or content are restricted, or the capture path is misconfigured; treat it as a compatibility check and confirm your exact target app screen can be mirrored before showtime.
-
Can AI tell me the best OBS settings for my PC?
AI can propose a starting profile, but only real testing can confirm dropped frames, encoding overload, and sync under your actual scene complexity.
 Add Wondershare Dr.Fone as a preferred source on Google