100% Security Verified | No Subscription Required | No Malware

 :
: 
 ChatGPT
 Perplexity
 Gemini
 Claude
 Grok
Grok
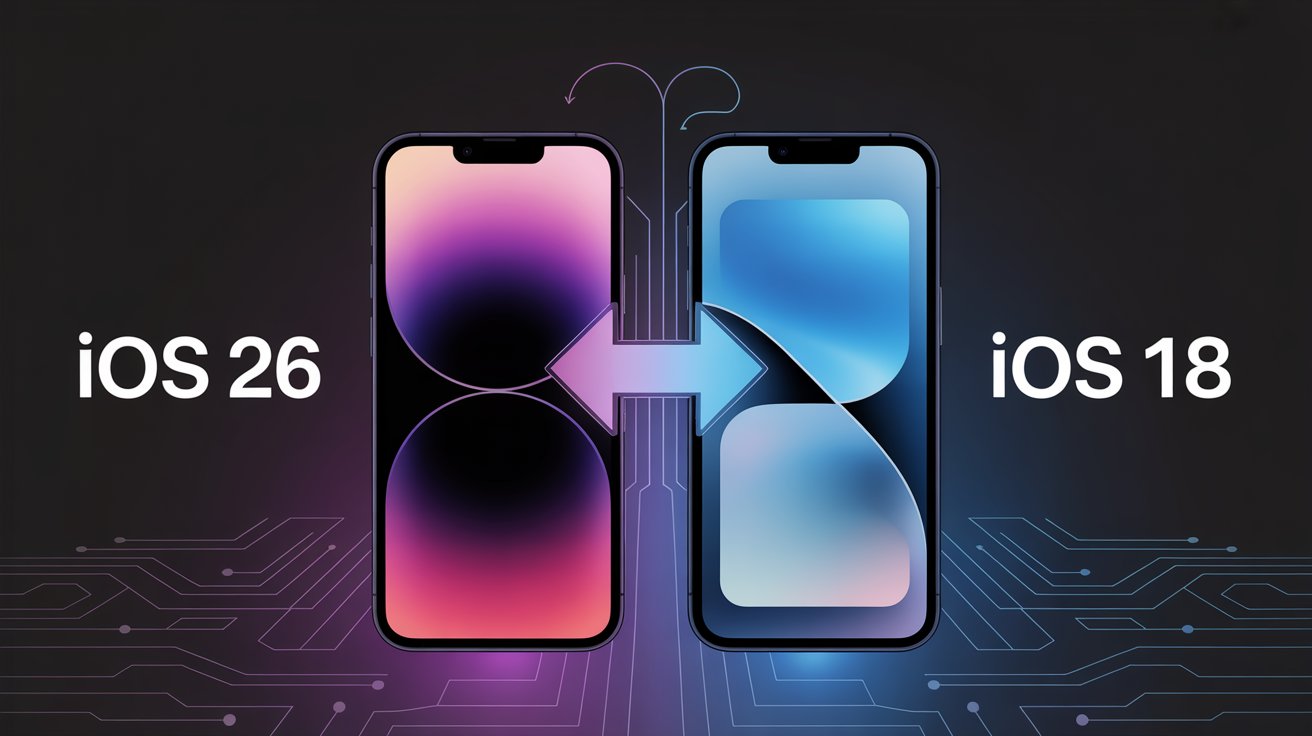
Did you jump on the iOS 18 Beta only to find it's not as stable as you'd hoped? Many users eagerly install Apple's latest beta software to test new features, but pre-release versions often come with unexpected bugs, battery drain, and app compatibility issues. If you're encountering these problems, you might be looking to downgrade from the iOS 18 Beta to the more stable iOS 17.
Reverting to a previous iOS version is a technical process that requires careful execution to prevent data loss. Fortunately, you're in the right place. This comprehensive guide provides detailed, step-by-step instructions on how to safely remove the iOS 18 beta and restore your iPhone to a stable state, ensuring your device runs smoothly once again.
In this article
Part 1. Essential Preparations Before You Downgrade iOS 18 Beta
Before you attempt to downgrade your iPhone from iOS 18 Beta to iOS 17, completing a few preparatory steps is crucial. These actions will safeguard your personal data and ensure the downgrade process proceeds without any hitches. Do not skip this section, as it's vital for a successful outcome.
- Back Up Your Data: This is the most critical step. However, be aware that a backup created on iOS 18 Beta cannot be restored to a device running iOS 17. You will need to use a backup you made before upgrading to the beta. If you don't have one, you'll have to set up your phone as new. You can use tools like Wondershare Dr.Fone to back up photos, contacts, and other data to your computer selectively.
- Turn Off Find My iPhone: This feature must be disabled to allow your device to be restored. Navigate to Settings > [Your Name] > Find My > Find My iPhone and toggle it off. You will need to enter your Apple ID password.
- Download the Correct IPSW File: For the iTunes/Finder method, you must manually download the iOS 17 IPSW file specific to your iPhone model. An IPSW file is the raw software update file. Ensure you download it from a reputable source, as Apple only 'signs' (authorizes) the latest public versions of iOS for a limited time.
- Ensure Sufficient Storage and Power: Make sure your computer has enough free space to download the IPSW file (often several gigabytes). Your iPhone should also be charged to at least 50% to prevent it from shutting down during the downgrade process.
Part 2. Proven Methods to Downgrade from iOS 18 Beta to iOS 17
There are several ways to remove the iOS 18 beta and revert to a stable version. Below, we detail the most effective methods, from a simple automated tool to the more hands-on official Apple process. Choose the one that best fits your technical comfort level and needs.
Method 1: Downgrade iOS in One Click with a Professional Tool
If you're looking for the most straightforward and secure way to downgrade, a third-party tool is your best option. We highly recommend Dr.Fone - System Repair (iOS), a comprehensive utility designed to fix various iOS system issues, including performing upgrades and downgrades effortlessly.
Key advantages of using Dr.Fone include:
- No iTunes Needed: Dr.Fone handles the entire process independently, so you don't have to navigate the complexities of iTunes or Finder.
- Simplified Process: The software automates downloading the correct firmware and installing it, reducing the risk of user error.
- No Jailbreak Required: Your device's security and warranty remain intact as no jailbreaking is involved.
- High Success Rate: It's designed to handle system modifications safely, ensuring a smooth transition back to iOS 17.
 Fix iOS issues, no data loss.
- One-click repair for all iOS problems.
- Solve recovery mode, Apple logo, black screen, etc.
- Upgrade or downgrade iOS without iTunes

Follow these steps to easily downgrade your iPhone software using Dr.Fone:
-
Step 1 Launch Dr.Fone and Select the Downgrade Option
Download and install Wondershare Dr.Fone on your computer. Open the program and select "System Repair" from the main menu. Then, choose the "iOS Upgrade/Downgrade" feature.

-
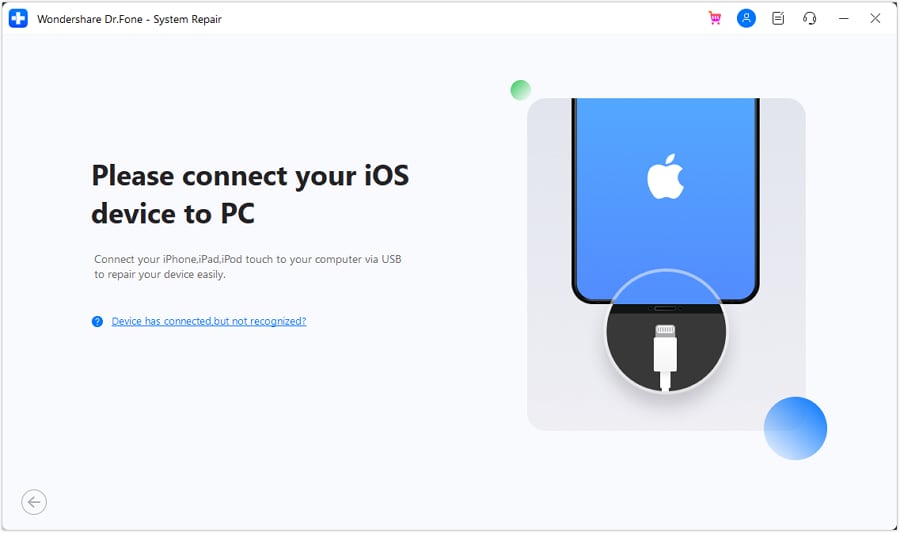
Step 2 Connect Your iPhone
Connect your iPhone to the computer using a Lightning cable. The software will automatically detect your device. You may need to trust the computer on your iPhone's screen.
-
Step 3 Choose the iOS 17 Firmware
Dr.Fone will display a list of available firmware versions for your device. Select the latest stable version of iOS 17 from the options and click "Download" to begin downloading the firmware package.

-
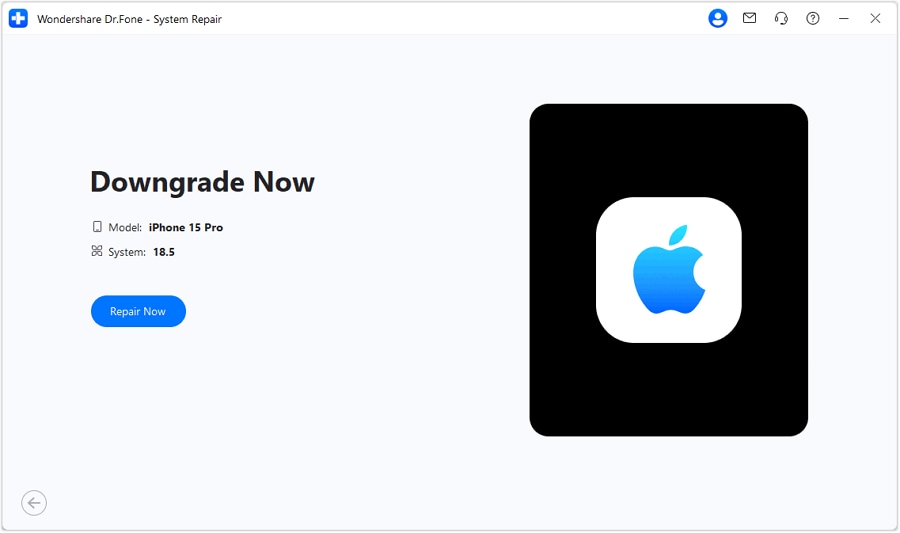
Step 4 Initiate the Downgrade Process
Once the firmware is downloaded and verified, click the "Repair Now" button to start the downgrade process. Ensure your phone remains connected throughout this procedure.
-
Step 5 Downgrade Complete
The progress bar will show the status of the installation. Once completed, your iPhone will restart with iOS 17 successfully installed. Click "Done" to finish the process.


Method 2: Use iTunes or Finder to Downgrade iOS 18 Beta (The Official Way)
Using iTunes (on Windows or older Macs) or Finder (on macOS Catalina and newer) is Apple's official method for restoring an iPhone. This is a reliable way to downgrade from iOS 18 beta to 17 free, but it is more technical and has a major drawback.

Follow these steps carefully:
-
Step 1 Download the iOS 17 IPSW File
As mentioned in the preparation section, locate and download the correct iOS 17 IPSW file for your specific iPhone model from a trusted source. Save it to an easily accessible location on your computer.
-
Step 2 Connect iPhone and Enter Recovery Mode
Connect your iPhone to your computer. Then, put your device into Recovery Mode. The process varies by model, but generally involves a sequence of button presses (e.g., press and release Volume Up, then Volume Down, then press and hold the Side button).

-
Step 3 Locate Your Device in iTunes/Finder
Open Finder on your Mac or iTunes on your PC. A pop-up should appear stating that a device in Recovery Mode has been detected. You will see options to Restore or Update.

-
Step 4 Select the IPSW File to Restore
On a Mac, hold down the Option (⌥) key and click the "Restore iPhone" button. On a Windows PC, hold down the Shift key and click "Restore iPhone." This will open a file browser window.
-
Step 5 Begin the Downgrade
Navigate to and select the iOS 17 IPSW file you downloaded in Step 1. Click "Open" and then "Restore" to confirm. iTunes/Finder will now erase your device and install iOS 17. Do not disconnect your iPhone until the process is complete and it has restarted.
Method 3: Remove the Beta Profile to Exit the Beta Program
This method does not immediately downgrade your iOS version. Instead, it removes the beta profile from your device, which unenrolls you from the beta program. Your iPhone will remain on the iOS 18 beta until the next official public version of iOS is released. If that public version is higher than your current beta (e.g., iOS 17.7), your phone will update to it automatically, taking you off the beta track.
This is a passive method for those who can tolerate the beta bugs for a while longer.
-
Step 1 Open Settings on Your iPhone
Navigate to the Settings app on your device.

-
Step 2 Go to VPN & Device Management
Tap on General, then scroll down and select VPN & Device Management.

-
Step 3 Remove the Beta Profile
Under "Configuration Profile," tap on the iOS 18 Beta Software Profile. Tap Remove Profile and enter your passcode if prompted. Confirm by tapping Remove again.

-
Step 4 Restart and Wait for Public Update
Restart your iPhone. Now, you will no longer receive iOS 18 beta updates. To return to a stable version, go to Settings > General > Software Update and wait for the next public iOS release to become available.
Part 3. Comparison: Which Downgrade Method is Best for You?
Choosing the right method depends on your technical skill and priorities. To help you decide, here is a quick comparison of the methods discussed.
| Feature | Dr.Fone - System Repair | iTunes/Finder | Remove Beta Profile |
|---|---|---|---|
| Best For | Users seeking a simple, fast, and safe process with minimal risk. | Tech-savvy users who are comfortable with manual steps. | Users who are not in a hurry and can wait for the next public update. |
| Ease of Use | Very Easy (Guided, 1-Click) | Complex (Manual steps, requires IPSW file) | Easy |
| Data Loss Risk | Low (Standard Repair mode aims to preserve data) | High (Guaranteed data erasure) | None |
| Result | Immediate downgrade to iOS 17 | Immediate downgrade to iOS 17 | Remains on iOS 18 Beta until the next public release |
| Requirements | Computer, Dr.Fone software | Computer, iTunes/Finder, correct IPSW file | None (iPhone only) |
Conclusion
If you're facing instability and bugs with the iOS 18 beta, downgrading to the stable iOS 17 version is an effective solution. While the process can seem daunting, this guide has shown you several reliable methods to accomplish it. Always remember that backing up your data is the most crucial step before you begin, as the risk of data loss is real, especially with manual methods.
For a hassle-free and secure experience, we recommend using a specialized tool like Dr.Fone - System Repair (iOS). It simplifies the downgrade into a few clicks, making it accessible even for non-technical users. However, if you prefer the official route, the iTunes/Finder method is also a viable, though more complex, free option. Choose the method that best suits your needs to get your iPhone back to a stable and reliable state.
FAQ
-
1. Can I downgrade from iOS 18 beta without a computer?
No, a direct downgrade from iOS 18 beta to iOS 17 is not possible without a computer. The only computer-free action you can take is to remove the beta profile via your iPhone's settings, which stops future beta updates but does not revert your current iOS. A full downgrade requires using a computer with iTunes/Finder or a tool like Dr.Fone to install the older OS. -
2. Will downgrading from iOS 18 beta erase my data?
Using the official iTunes/Finder method will always erase all data on your device. You must restore from a backup made on iOS 17 or an earlier version. Tools like Dr.Fone - System Repair have a standard repair mode that can often downgrade without data loss, but it's still highly recommended to back up your device first as a precaution. -
3. What is an IPSW file and why do I need it?
An IPSW file is an Apple Device Software Update file that contains the full operating system (like iOS 17). You need this file for the manual iTunes/Finder downgrade method because it tells the software which specific version of iOS to install on your device. You must download the correct IPSW file that matches your iPhone model and is still being 'signed' (authorized) by Apple. -
4. Can Apple officially help me downgrade my iOS?
Apple does not officially support downgrading iOS in most cases. Their official method is to restore your device using iTunes/Finder, which you can do as long as Apple is still signing the older iOS version. This signing window is typically very short after a new public release. Apple Support will not assist you in downgrading and will generally recommend you stay on the beta or wait for the final public release.
 Add Wondershare Dr.Fone as a preferred source on Google