Bypass iCloud Activation Lock and Android FRP without password.

 100% Security Verified | No Subscription Required | No Malware

 :
: 
 ChatGPT
 Perplexity
 Gemini
 Claude
 Grok
Grok
In this article
- Part 1. Check Phone Chipset before Hisense FRP Bypass
- Part 2. Use Android TalkBack During Hisense FRP Setup
- Part 4. Check SP Flash Tool for MediaTek-Based Hisense Phones
- Part 5. Check the SIM Notification Route on Supported Hisense Phones
- Part 6. Use Emergency call route for Hisense FRP Recovery
- Part 7. Need an Easier Hisense FRP Bypass Tool? Check Dr.Fone Compatibility
- Part 8. Which Hisense Bypass Method Should You Try?
A factory reset doesn’t always make a Hisense phone usable again. If Factory Reset Protection remains active, the device may require the Google account previously synced with it. Consequently, a dependable Hisense FRP bypass approach should begin with the specific model, Android version, chipset, and software build. These particulars may affect the possibilities on U963, U964, and U965 devices.
This guide explains how Hisense FRP bypass works across supported models and helps you choose the most suitable recovery approach without treating every Hisense phone the same.
Part 1. Check Phone Chipset before Hisense FRP Bypass
Before you try a manual Hisense FRP bypass, confirm which chipset your phone uses. This helps you select the right bypass option, USB driver, and supporting tool.
- Observe the precise model name: Search for the model name on the back of the phone, the retail box, or the SIM tray.
- Search for the phone specifications: Type in the model name along with terms like “specs” or “chipset” in your browser.
- Find chipset info: Find the Platform or Chipset section on a credible specification page.
- Identify the processor: MTK or SPD processors power many Hisense phones.
- Match the method to the chipset: FRP tools and USB drivers can differ by processor type, so choose the option that matches your device.
Once the chipset is confirmed, you can move to the next FRP bypass Hisense approach with a clearer idea of what may suit your phone.
Part 2. Use Android TalkBack During Hisense FRP Setup
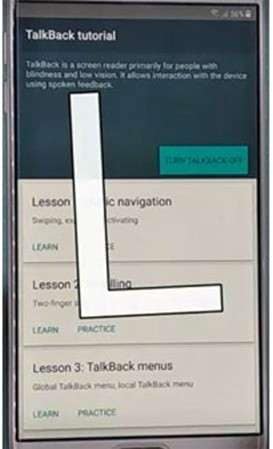
Android’s TalkBack feature provides spoken feedback and special controls that help you to use your phone efficiently. Older Android builds might show the setup screen but expose extra accessibility paths through TalkBack. Because of this, TalkBack has appeared in older Hisense FRP bypass guides.
Its success depends heavily on the Android version, firmware, and security patch. Newer updates often limit the menus and system pages that older TalkBack methods relied on.
How the TalkBack Route Works
-
Step 1 Firstly, start the Hisense phone and connect it to a working internet connection during the setup.
-
Step 2 Check whether TalkBack is available from the accessibility or vision settings on the setup screen.
-
Step 3 If TalkBack opens, review the menus and navigation options provided by that Android version.
-
Step 4 Check whether the phone offers any legitimate account-recovery, browser, or settings access that can help you sign in with an account you are authorized to use.
-
Step 5 Return to the setup screen and continue with Google verification using the recovered or previously linked account.
-
Step 6 Once your setup process has been completed, turn off TalkBack.
Having a stable internet connection is important since the phone may require loading the Google account or the accessibility services. Keep in mind that an FRP bypass Hisense route that works on one older firmware version may not appear on another device with a newer security patch.
If TalkBack does not provide the required recovery options, the next step is to check whether your Hisense phone uses hardware that supports a PC-based service method.
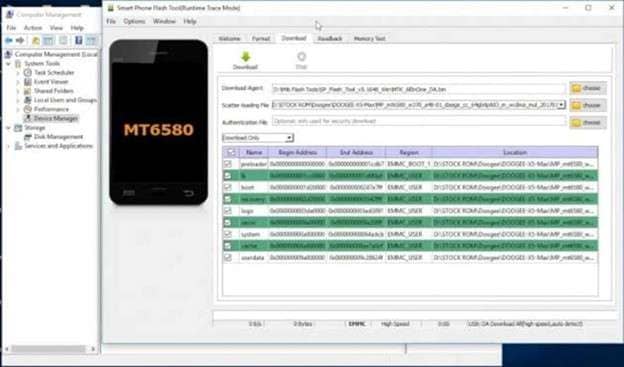
Part 4. Check SP Flash Tool for MediaTek-Based Hisense Phones
SP Flash Tool is a PC-based utility made for MediaTek devices. It works with phone firmware and system partitions through a USB connection. For some MediaTek-based Hisense phones, it may be used as part of a repair or recovery process when simpler options are not suitable.
This method needs extra care. The firmware, scatter file, USB drivers, and chipset must match the exact phone. Using the wrong files can cause startup or system problems.
What to Prepare Before Using SP Flash Tool
-
Step 1 Confirm that the Hisense phone uses a MediaTek chipset.
-
Step 2 Install Hisense USB drivers to detect the device.
-
Step 3 Download firmware for your Hisense model and hardware.
-
Step 4 Extract and check the firmware package for the scatter file.
-
Step 5 Scatter-load the appropriate firmware package in SP Flash Tool.
-
Step 6 Power down the device prior to linking it to the PC.
-
Step 7 Establish the connection of the device in the appropriate MediaTek service mode and verify that the PC recognizes it accurately.
-
Step 8 Instead of replacing unknown system partitions, follow your model's firmware or servicing instructions.
Because SP Flash Tool works close to the firmware level, it is better suited to users who already understand MediaTek servicing. For a Hisense FRP bypass, always confirm the model and chipset first before choosing this type of tool.
If a PC-based firmware method is not suitable for your device, the next section looks at a SIM-based route that may be available on some Hisense builds.
Part 5. Check the SIM Notification Route on Supported Hisense Phones
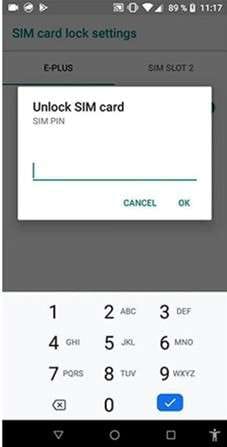
Some older Hisense software builds may react differently when a PIN-protected SIM card is inserted during setup. The SIM prompt can create temporary system notifications before the normal lock screen fully appears. On certain versions, those prompts may expose limited system options.
This Hisense FRP bypass route is highly dependent on the Android version, security patch, and timing. It should not be treated as a method that works on every Hisense phone.
What the SIM Notification Method Requires
-
Step 1 Use a working SIM card which has SIM PIN protection turned on.
-
Step 2 Insert the SIM while Hisense mobile is still on the first setup screen.
-
Step 3 Connect your phone to Wi-Fi and return to the main setup page.
-
Step 4 When the phone asks for the correct SIM PIN type it in.
-
Step 5 Once the verification is done, check for any temporary SIM or system notifications on the device.
-
Step 6 If your software version provides access to valid account or recovery settings, utilize only an account which is yours or you are authorized to use.
-
Step 7 Restart the phone and continue the normal setup process.
A working SIM with active network service may be needed for this type of notification-based access. Its behavior can also change with the Android version and security patch, so the same Hisense bypass route may not appear on another device.
If SIM notifications do not provide a usable recovery path, the next section looks at the Emergency Call interface found on some Hisense setup screens.
Part 6. Use Emergency call route for Hisense FRP Recovery
Some Hisense phones provide access to Emergency Information before the normal Android setup is complete. On certain older software builds, this area may also expose contact or system options that can help the owner reach account-recovery settings.
This route is more relevant to models such as the Hisense U963 and U964, where Emergency Information and contact-based paths have appeared in older recovery procedures. However, availability depends on the Android version and security patch. Newer updates may remove or restrict these options.
How to Check the Emergency Information Route
-
Step 1 Turn on the Hisense phone and connect it to a stable Wi-Fi network.
-
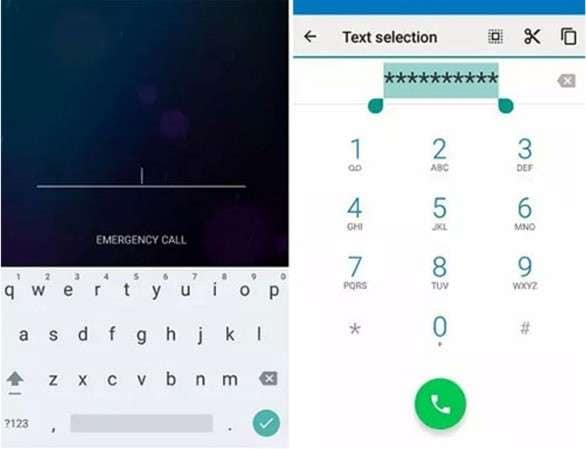
Step 2 Stay on the Welcome or Start screen and open Emergency Call.
-
Step 3 Look for the Emergency Information option provided by your Android version.
-
Step 4 Check whether the phone lets you view or edit emergency contacts or related information.
-
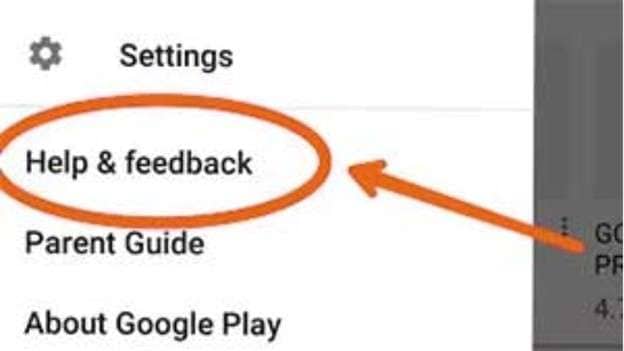
Step 5 Check what account or system-recovery options are offered. Utilize solely a Google account that is yours, or that you are permitted to access.
-
Step 6 If you have regained access, the process will resume and Google will continue the verification steps.
The Emergency Information route can be useful for FRP bypass Hisense U963 or similar older builds, but it is not consistent across every firmware version. If the required menus are missing, repeatedly trying older setup-screen tricks may not help.
At that point, a guided computer-based option can be more practical. Dr.Fone - Screen Unlock (Android), for example, includes a dedicated Remove Google FRP Lock feature for supported Android devices, so device compatibility is the next thing to check.
Part 7. Need an Easier Hisense FRP Bypass Tool? Check Dr.Fone Compatibility
Manual FRP methods have one clear weakness: they rely on specific menus, loopholes, Android builds, and security patches. A screen shown in one guide may be missing completely from your phone.
A desktop tool is more convenient for that purpose. The Google FRP removal feature lets you unlock your device through the guided steps you receive, as needed. The comprehensive official FRP guide at present comprises brands like Samsung, Xiaomi, Redmi, OPPO, Realme, Vivo, Motorola, Lenovo, ZTE, Huawei, Honor, Sony, Google, Tecno, Infinix, and many more.
 Unlock Android phone in seconds.
- Remove PIN, pattern, password, fingerprint.
- Bypass Google FRP lock easily.
- Works on all Android brands & models.
- No tech skills required – user-friendly.
How to Check Dr.Fone - Screen Unlock (Android)
-
Step 1 Install and open Wondershare Dr.Fone on your Windows PC or Mac.
-
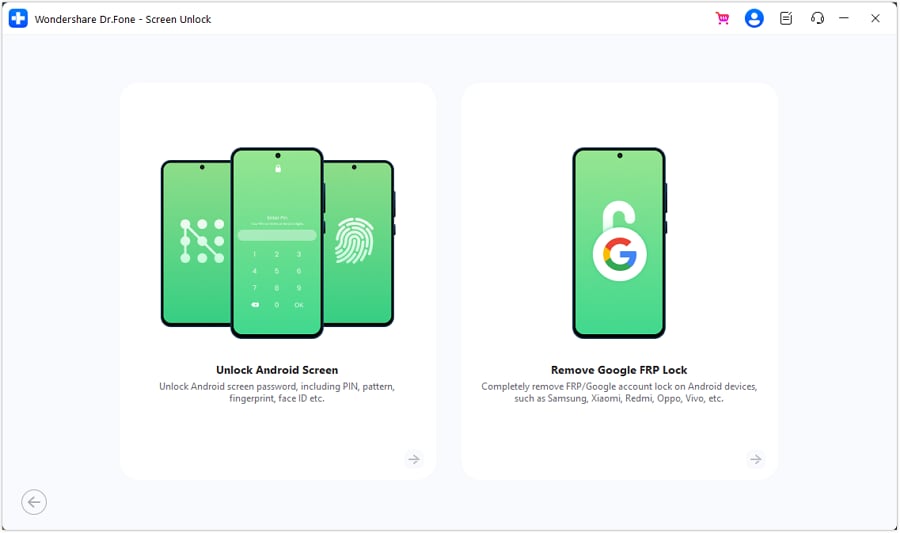
Step 2 From the main interface, open Toolbox > Screen Unlock.

-
Step 3 Select Android, then choose Remove Google FRP Lock. This is the official path shown in Wondershare's current guide.
Step 3 Connect the Supported Device
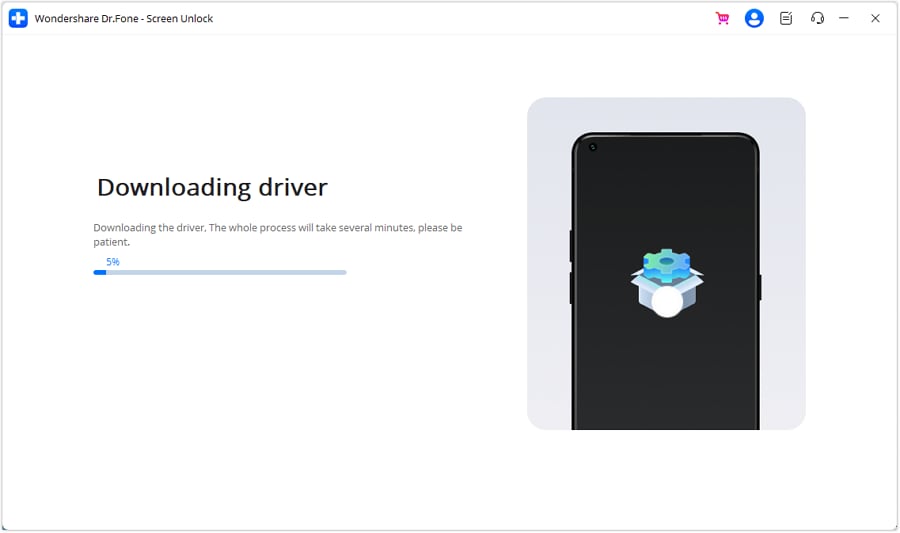
Dr.Fone downloads the required driver for the selected device. Connect the phone to the computer and follow the on-screen instructions for the detected model.
Step 4 Complete the FRP Process
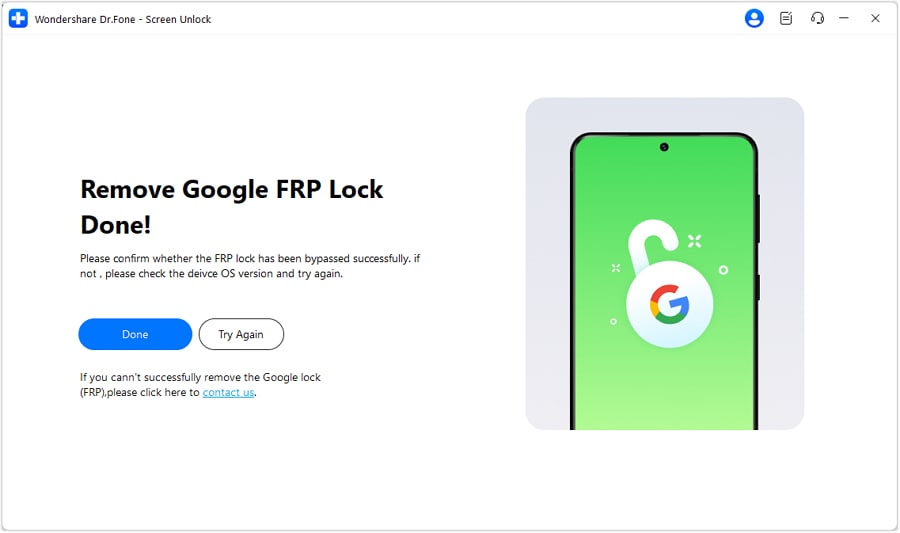
Follow the remaining prompts while Dr.Fone runs the FRP removal process. When the software confirms completion, select Done to finish.
Dr.Fone also has the advantage of guiding compatible devices through the necessary procedure as opposed to making the user manually select firmware partitions or do setup-screen tricks. Its official documentation also says the steps can vary by brand and device.
Part 8. Which Hisense Bypass Method Should You Try?
The right Hisense FRP bypass depends on the exact model, Android build, and chipset. Use the table below as a quick guide before choosing a recovery method.
| Hisense phone | Best option to check first | Why it fits | What to keep in mind |
|---|---|---|---|
| U963 | SIM Contact / Emergency Information | The U963 runs Android 10 Go with an SC9832E processor. A documented FRP bypass hisense u963 route uses a SIM contact through Emergency Information. | The route depends on the software build and may disappear after security updates. |
| U964 | SIM Contact / Emergency Information | Hisense lists the U964 with Android 11, and a documented hisense u964 frp bypass method uses saved SIM contacts from the Emergency Call area. | Menu access can change with firmware and security patches. |
| Older U965 (MT6580) | TalkBack first; SP Flash Tool for advanced servicing | This U965 variant runs Android 8.1 Go on the MediaTek MT6580 chipset. That makes older accessibility routes worth checking, while MediaTek firmware tools are technically relevant to this hardware. | Confirm that it is really the MT6580 version before using any firmware-level tool. |
| Newer U965 | Check the exact version first | Hisense also lists a U965 running Android 11, so instructions written for the older MT6580 model should not automatically be used for this version. | Do not choose a hisense u965 frp bypass method from the model name alone. |
| Other Hisense models | Match the method to the chipset and Android version | Manual FRP routes vary by device, firmware, and security level. | Check the exact model before using an FRP or flashing tool. |
| Dr.Fone option | Check device compatibility first | Dr.Fone - Screen Unlock (Android) includes a dedicated Remove Google FRP Lock feature with guided steps for supported Android devices. | Wondershare's current public FRP guide does not specifically list Hisense, U963, U964, or U965. Confirm support in the current software before using it. |
| Google account still recoverable | Google Account Recovery | This avoids relying on a bypass method and restores access through the account already linked to the phone. | Google recommends using a familiar device, browser, and location during recovery. |
Conclusion
A reliable Hisense FRP bypass starts with the exact model, chipset, Android version, and firmware build. U963 and U964 may suit SIM-contact or Emergency Information routes, while an older MT6580-based U965 may be better matched to TalkBack or MediaTek service tools. Newer programs may block older methods, meaning one approach will not suit every device.
If the manual options do not match your phone, then you can check out Dr.Fone - Screen Unlock (Android), which has a guided FRP feature. However, make sure Hisense is compatible first. If the original Google account is still recoverable, then recovery is the safest and most straightforward option available for owners.




 Add Wondershare Dr.Fone as a preferred source on Google